A pool store clerk once told a customer standing in front of me: “Just crack open that cover and dump a bucket of shock in there—your chlorine will handle the rest.” That advice fails the moment you test for it. The water stays green, the customer comes back furious, and nobody bothers to explain why the strategy collapsed. Spring pool opening isn’t a guessing game played with chemical buckets. It’s a diagnostic process—test first, treat second—and the sequence you follow determines whether you’re opening into crystal-clear water or a swamp by mid-week. I’ve overseen openings at everything from modest residential pools in Nevada to Olympic-scale facilities across the Southwest, and I’ve watched the same avoidable errors cost people money and time year after year. Here’s how to open your pool right, with no green water.
The folklore floating around every March sounds simple: “Turn on the pump, toss in some chlorine, and you’re done by Friday.” Reality is messier. Spring opening isn’t a single action—it’s a sequence where order fundamentally matters. Reverse the steps, skip one, or rush through another, and your chemicals underperform, your money disappears, and your walls turn into a biology experiment. Let me walk you through this the way it actually works.
Step 1 — Strip the Cover and Evaluate the Water Below
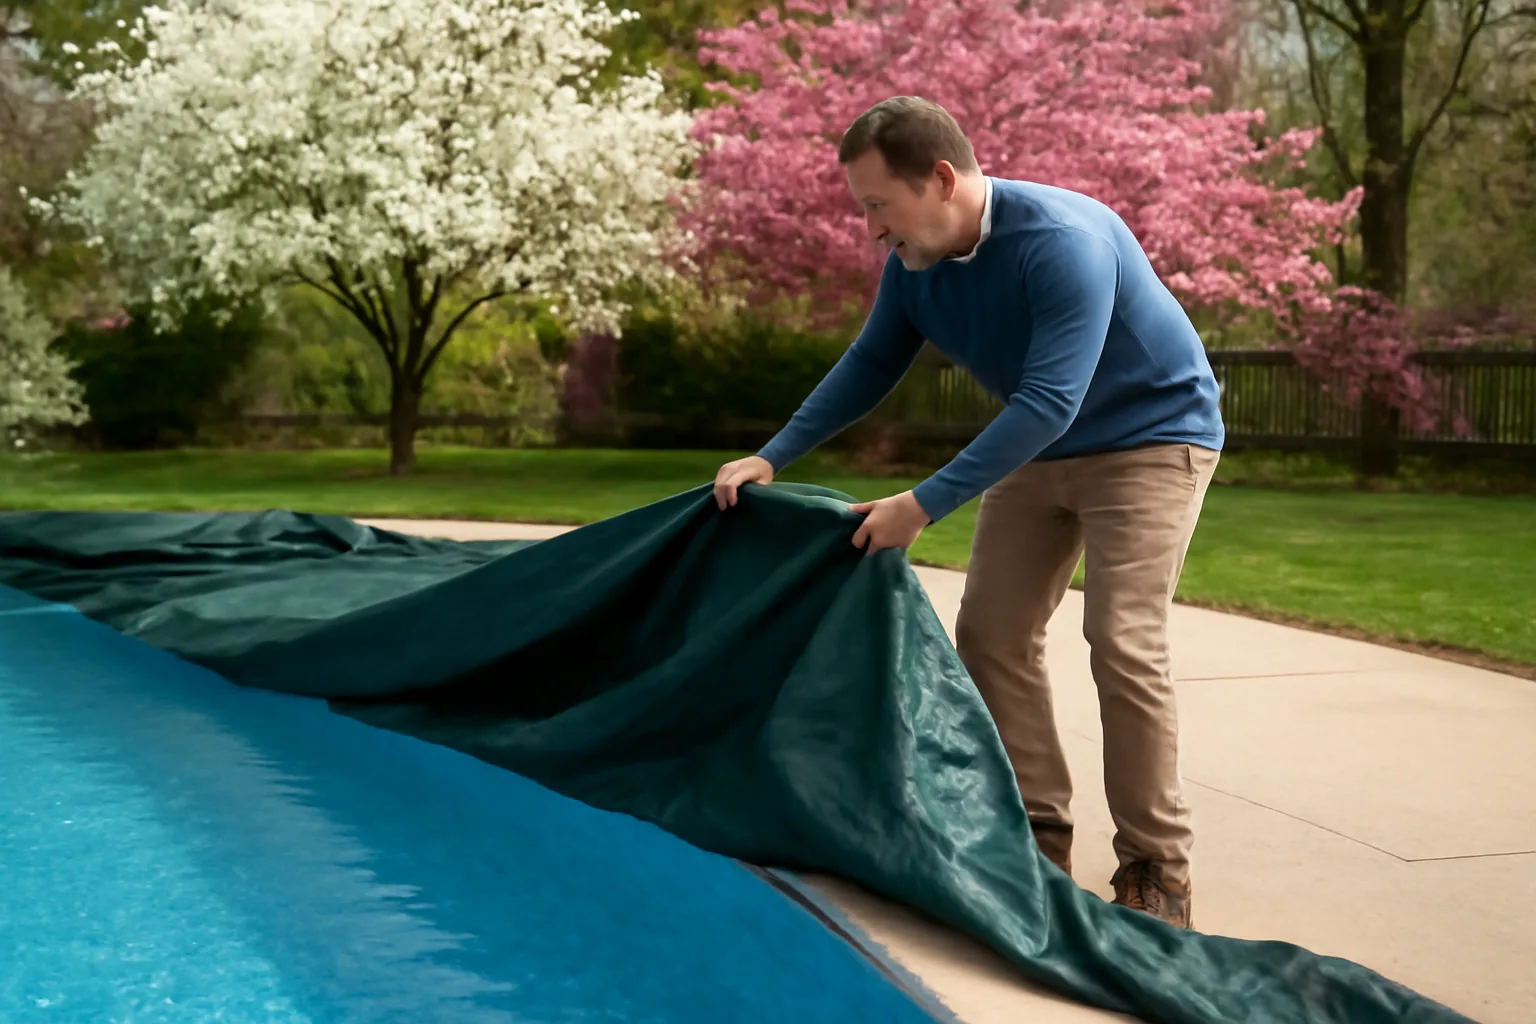
Your first move happens before you touch any chemicals at all: get that cover off without dumping its collected grime into the pool. I deploy a submersible pump—usually a Wayne PC4 or equivalent compact unit—to evacuate standing water that’s pooled on top of the cover first. On a standard 16×32, this usually takes about 20 minutes. That extra step matters. If you let that filthy water cascade into your pool, you’ve immediately added algae spores and debris that will fight against everything you do next.
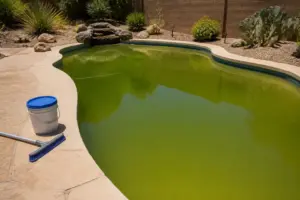
Once the cover comes off completely, look hard at what’s underneath. A pale greenish tint tells you the situation is recoverable in a standard opening timeline. Dark green or murky black-green means an algae colony has been establishing itself under the cover all winter—you’re looking at a longer, more chemical-intensive recovery. Shaded pools and those left covered into late April tend to skew toward that darker scenario. Mentally note the shade you’re seeing because it dictates your shock dosage later on.
Your cover itself needs care before storage. Hose it clean, allow it to air-dry completely, and fold it loosely when you put it away. A damp cover stored in a pile generates mold colonies that transfer directly into your water the following spring. I’ve watched homeowners blame “something in the water” for three consecutive green openings without realizing their cover storage habit was the root cause the entire time.
Step 2 — Reassemble Your System and Run Circulation First
Now comes reassembly: reinstall your return eyeballs, replace skimmer baskets, reinstall drain plugs, and reconnect whatever equipment you’d taken apart for winter storage. Pay careful attention to unions and O-rings during reassembly. A compromised O-ring on a Jandy or Pentair union fitting becomes a water fountain the instant your pump pressurizes—I keep a small supply of replacement O-rings on hand during opening season ($3 apiece) because they prevent hours of frustration.
Put your pressure gauge back on the filter housing if you removed it for winter protection. Fill your pump basket by hand if required, then start the system. Watch the gauge as pressure climbs upward. A properly functioning sand or DE filter should settle into the 8–12 PSI range when running normally. Anything spiking above 20 PSI tells you the filter needs immediate backwashing or grid replacement before you move forward with chemistry.
Run your pump continuously for at least 120 minutes before you even think about testing or treating the water. Circulation breaks up thermal stratification and ensures you’re sampling from a uniformly mixed water column—skipping this produces wildly inaccurate readings. I learned this lesson the expensive way during my first season: I shocked a pool before letting it circulate, got bad numbers from the stagnant water, and wound up using three times the shock I actually needed. That mistake taught me why patience with circulation saves money every single time.
Step 3 — Test the Water and Correct Chemistry Before Shocking
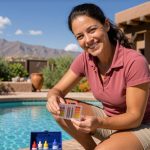
Once circulation has run for two hours, draw a water sample from mid-depth near an active return fitting. Reach for a genuine test kit, not strips—I rely on the Taylor K-2006 drop-based system, and here’s why: strips can give you directional guidance mid-season, but spring opening demands precision. The Taylor K-2006 delivers accurate readings across free chlorine, combined chlorine, pH, total alkalinity, calcium hardness, and stabilizer concentration.
Before you shock, aim to hit these baseline numbers:
- pH: 7.4–7.6
- Total Alkalinity: 80–120 ppm
- Calcium Hardness: 200–400 ppm
- Cyanuric Acid (stabilizer): 30–50 ppm
- Free Chlorine: ideally near zero before shocking so you know how much to add
Start by adjusting alkalinity, then move to pH. The reason this order exists: alkalinity acts as a pH buffer, so correcting it first makes pH adjustments simpler and more stable. Raise alkalinity with sodium bicarbonate; lower it using muriatic acid. Then tackle pH upward with soda ash or downward with muriatic acid. Shocking into elevated pH (anything above 7.8) wastes your chlorine because disinfection efficiency tanks at higher pH levels. Both CDC swimming safety standards and APSP/ANSI specifications recommend maintaining 7.2–7.8 to preserve chlorine’s antimicrobial punch.
Cyanuric Acid: The Stabilizer Decision
When your stabilizer measures below 20 ppm, solar ultraviolet radiation demolishes free chlorine faster than you can replace it—sometimes completely within hours of application. But the opposite problem exists too: levels above 80 ppm create “chlorine lock,” where the stabilizer bonds too tightly with chlorine molecules and prevents them from attacking pathogens effectively. For openings on pools that were improperly closed, test CYA concentration right away and bring it into range before you ever apply shock.
Choosing Shock That Dissolves Quickly Enough to Beat the Algae
The most expensive opening error I witness is hesitation between pulling the cover and applying heavy-duty sanitizer. Every hour you wait, algae colonies are germinating and spreading. You need shock that dissolves within minutes, not hours, and saturates your water with chlorine before the first 24-hour window closes.
Why cal-hypo works for spring opening
- Granular calcium hypochlorite dissolves and disperses in minutes—I’ve watched severely cloudy water turn transparent by sunset when dosed properly at opening time
- 68% available chlorine concentration hits dormant and active algae with genuine force, exactly what you need when you’re unsure what’s been multiplying under winter cover
- Functions across the entire pH spectrum without demanding chemical pre-correction, allowing you to shock now and fine-tune chemistry later
Where cal-hypo creates complications
- Cal-hypo inevitably pushes alkalinity and pH upward as it dissolves—post-shock correction becomes necessary, extending your full opening timeline by 24–48 hours
- Pools already choked with algae (that swamp-green condition) sometimes require a second shock application 24 hours after the first because one dose can’t penetrate the biofilm
I once opened a 25,000-gallon pool that looked absolutely hopeless — the cover had torn and rainwater mixed with months of debris — and I almost talked the owner into draining it. One aggressive shock dose with this product, 12 hours of circulation, and a second dose the next morning got it crystal clear. In The Swim Pool Shock – 68% Cal-Hypo Granular Sanitizer
This post contains affiliate links. As an Amazon Associate, I earn from qualifying purchases at no extra cost to you.
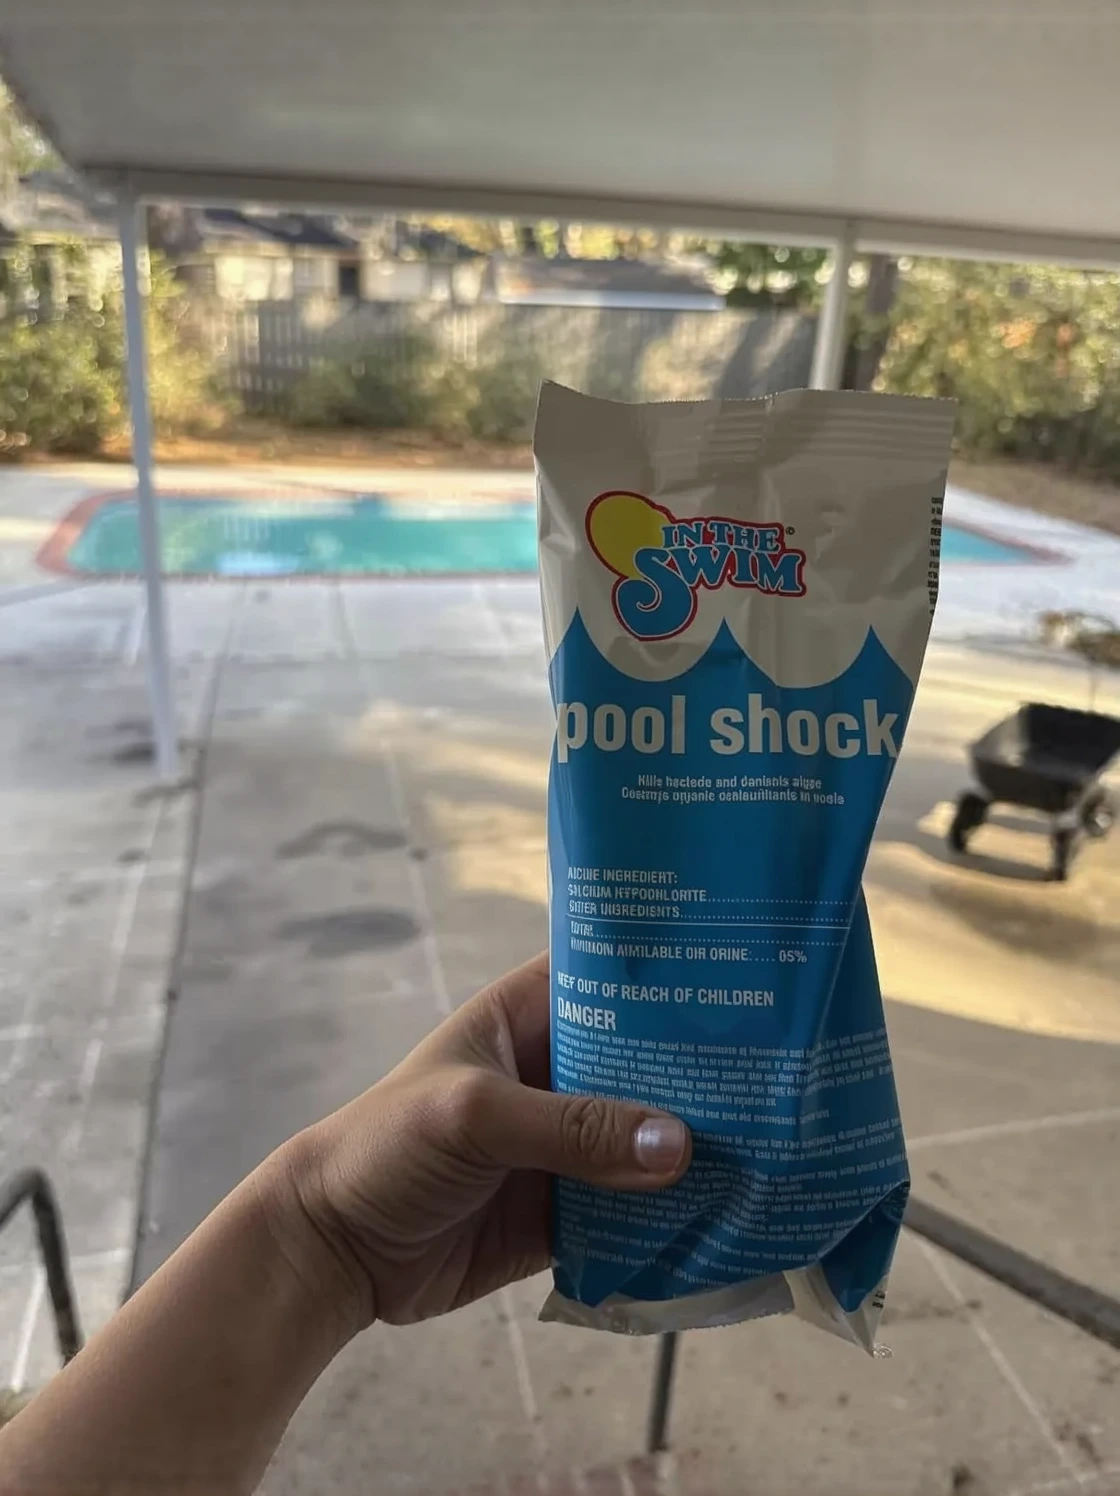
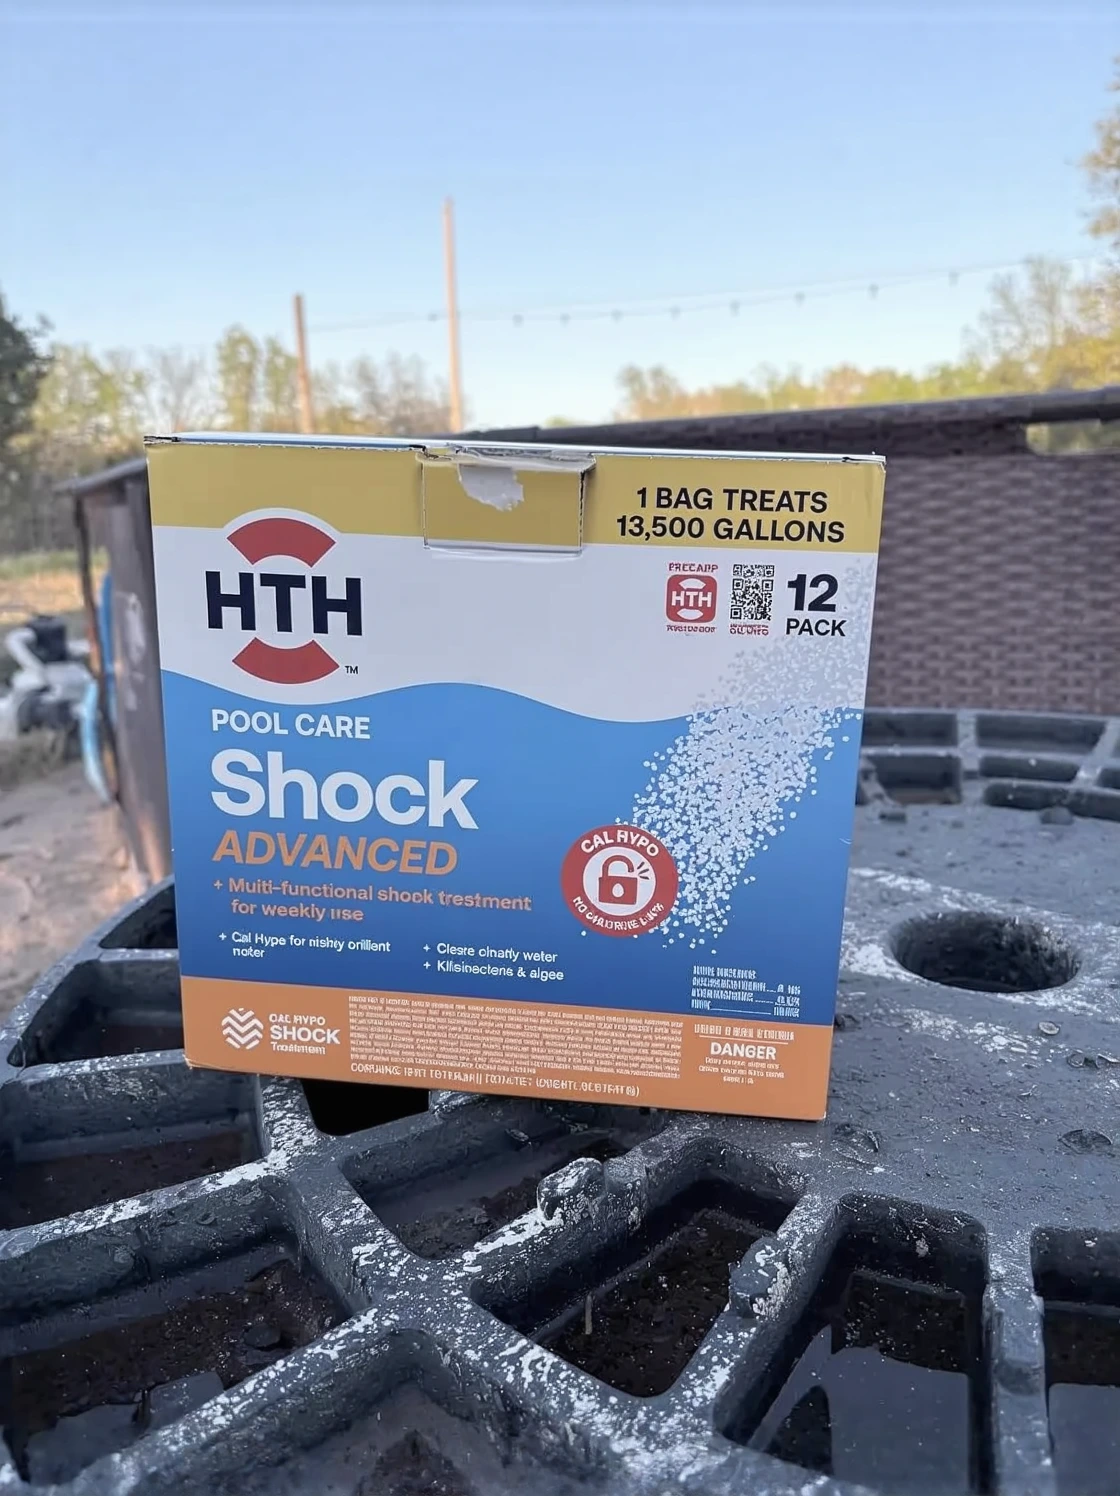
In The Swim Pool Shock – 68% Cal-Hypo Granular Sanitizer
I dosed it at opening and watched cloudy water clear by evening—no waiting around for chemistry to settle.
Check Price on Amazon →