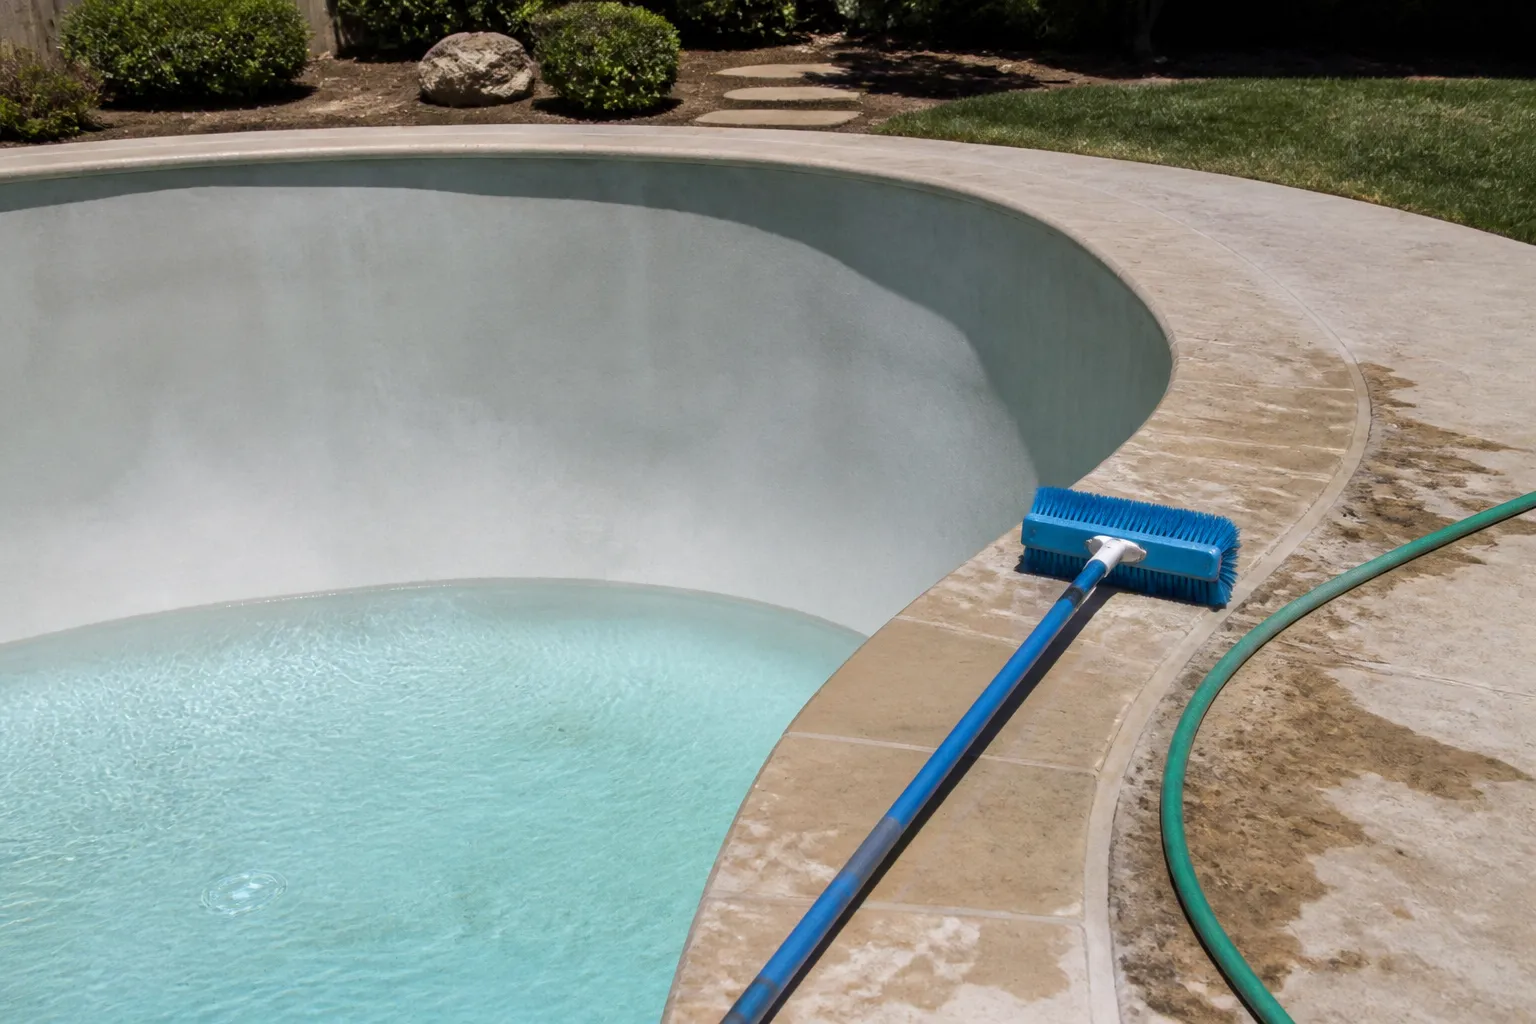
I have lost count of the number of people who have messaged me, a few days after their new plaster went in, with a photo of a floor covered in fine white scratches and a question along the lines of “I followed the brush guide and now it looks awful.” Nearly every time, they bought the stainless steel brush that the internet recommends. The short answer to the question in the title is this: for new plaster, the best pool brush is a soft nylon bristle brush, and nothing else, for the first full month. No stainless, no nylon-and-stainless combination, no wire, no abrasive pad. A wide 18-inch soft nylon brush on a sturdy pole is the entire purchase. Chlorine Corner already has a post on the best pool brush for concrete and plaster pools, and it recommends stainless. That advice is correct for cured plaster and wrong for plaster that is four days old. If you are reading this because your pool is brand new, please do not follow that recommendation yet.
Why stainless ruins new plaster
Fresh plaster is soft. It is a cementitious layer that gains its hardness gradually over several weeks as it cures, and it is at its most vulnerable in the first days, when it is still releasing material. Think of it as a surface that has not finished setting. Stainless bristles on a surface like that do not clean it. They cut it. Each pass leaves fine parallel scratch lines, and those lines trap dirt and algae, which then become a permanent feature of the finish.
There is a second problem that is easy to miss. Stainless bristles shed tiny particles of metal, and those particles can oxidise on the plaster and leave rust-coloured stains. You will be trying to remove those stains for years, and in most cases the only real fix is acid washing or resurfacing, both of which cost real money. Neither damage is a safety issue. Both are cosmetic, both are permanent without expensive intervention, and both can happen within the first handful of passes.
A soft nylon brush on the same surface does something different. It lifts the loose, powdery material off the top and moves it into the water without touching the plaster underneath. That is exactly what the first month needs.
The other half of this story is the white film. The cloud and the dust that settle on the floor in the first days are not dirt. They are plaster dust released as the surface cures. That material is calcium-based and strongly alkaline. As it dissolves, it pushes pH up, steadily and hard. Brushing has two jobs during startup. It stops the dust settling into a hardened crust on the floor and in the corners, and it keeps the material moving so it dissolves and can be managed rather than sitting there. An owner who does not brush ends up with a blotchy floor and a cloud that will not clear. An owner who brushes with the wrong brush ends up with scratches. That is why the brushing schedule below is as specific as it is.
Which brush for which stage
Most of the confusion comes from the fact that the same brush gets recommended for every stage of a pool’s life. The table below separates them out. The row that matters most is the first one, because it is the one that is most often skipped.
| Brush type | Safe on new plaster | What it does on curing plaster | When to start using it |
|---|---|---|---|
| Soft nylon bristle | Yes | Lifts loose dust without marking the surface | From the day the pool is filled, for the first month |
| Nylon and stainless combination | No | Stainless bristles scratch the soft surface | After the first month, on cured plaster |
| Full stainless bristle | No | Cuts fine scratch lines that trap dirt | Only on fully cured, established plaster |
| Wire or steel wool pad | No | Gouges and embeds metal particles | Not recommended for plaster at any stage |
| Automatic cleaner brushes | No | Wheels and tracks leave marks and patterns | Not before the startup is complete |
The row that matters most is soft nylon bristle, because it is the only row that is safe from the first day. If you buy one thing for a new plaster pool, buy that.
The step-by-step startup brushing routine
This is the sequence I would follow on a new pool. Where the order matters, I have said why.
- Buy a wide soft nylon brush on a sturdy pole and keep the stainless brush in the shed. The soft brush is the only one you will use for the first month, so there is no reason to have the wrong one within reach.
- Keep the pump running continuously, not on a timer, through the first days. Circulation does roughly half of the cleaning work during startup, and it keeps dust moving into the filter rather than settling.
- Brush the entire surface twice a day for the first two weeks. That means walls, floor, steps, tanning ledge and the waterline. Do not skip the steps or the ledge, because dust collects there fastest.
- Brush from the shallow end toward the main drain, overlapping each pass. Walking the same route every time means you are less likely to miss a strip of floor.
- Expect visible clouds during the first several sessions. This is the dust doing what it is supposed to do. Do not panic and do not add chemicals to chase the cloud before you have tested.
- After the first two weeks, drop to brushing once a day through the end of the first month. Dust production slows as the surface cures, but it does not stop immediately.
- Clean the filter much more often than normal during this period. The filter is catching all of that dust, and a loaded filter cuts circulation, which is the thing the whole startup depends on.
- Test the water daily, not weekly, and correct in small measured steps. The reasoning is in the next sections.
The pH problem and why the usual advice backfires
A new plaster pool will push pH up relentlessly for weeks. The instinct is to chase every high reading with muriatic acid, and that is where owners get into trouble. Acid will bring pH down, but it also grinds down total alkalinity, which is the buffer that keeps pH stable. If you knock alkalinity down hard, pH tends to climb straight back up the next day, and you end up trading a temporary curing condition for a permanent buffering problem that takes months to sort out. I have seen it happen, and it is miserable to fix.
The practical position is this. Expect the climb. Test daily rather than weekly so you can see the trend. Correct in measured steps rather than large corrections. And watch total alkalinity as closely as pH, so that the correction does not quietly destroy the buffer. My total alkalinity post and my pH keeps rising post go into the relationship between the two in more detail. My pH keeps dropping post covers the opposite case, and it does not apply to a curing pool, so please do not follow its advice here.
Calcium hardness and aggressive fill water
This is the most expensive mistake available during a startup, and it is the one I see least often mentioned. Soft fill water that is low in calcium is chemically aggressive toward a brand-new calcium-based surface. Water that is looking for minerals will take them out of the plaster. Calcium hardness needs to be brought into range early in the startup, not treated as something to sort out later in the season. The balance between pH, total alkalinity, calcium hardness, temperature and total dissolved solids is what determines whether the water is etching the surface or protecting it. Professionals use a framework called the Langelier Saturation Index, or LSI, to track exactly this. You do not need to be a chemist to follow the principle, but if your water test results are not giving you a clear picture, a professional water test is worth paying for.
What not to put in the pool yet
Each item on this list is a real failure I have seen or been asked about, not a theoretical risk.
- No automatic or robotic cleaner for the first weeks. The wheels, tracks and brushes drag across soft plaster and leave marks and tracking patterns that can last.
- No chlorine tablets in a floater. A puck of strong acid parked against one spot of green plaster will bleach or etch a ring into the surface.
- No tablets in the skimmer, for the same reason.
- No salt added and no salt cell switched on for the first month. Essentially every plaster manufacturer’s startup instruction says this, and it is worth checking your own.
- No metal-bodied vacuum heads or brushes with metal parts or staples that can scrape the surface.
- Nothing abrasive dragged across the floor, including scouring pads and gritty cleaning tools.
- No swimming until the startup is complete and the water is balanced and sanitised.
Acid startup versus bicarbonate startup
Your builder may have told you one thing, the internet another, and a neighbour a third. There is more than one recognised approach to starting a new plaster pool. They handle the first days of curing differently, and they are not interchangeable partway through. I am an owner, not a plasterer or a chemist, so I will not tell you which method suits your surface. The manufacturer’s or applicator’s startup instruction is the one that governs. It is usually tied to the surface warranty, so get it in writing before the pool is filled, not after. Discovering afterwards that you voided the warranty is an expensive lesson. This post is not a substitute for that document.
Frequently Asked Questions
How long does pool plaster take to cure?
Most plaster takes several weeks to reach full hardness, and the first month is the period when it is most vulnerable. The exact timeline depends on the product, temperature and how the pool was started, so the manufacturer’s startup instruction is the authority. Keep to the soft brush and gentle routine for at least the first month, and do not assume the surface is cured just because it looks solid.
When is it safe to switch to a stainless brush on new plaster?
Not before the first full month, and only once the plaster is fully cured and the manufacturer’s guidance allows it. Using stainless earlier cuts fine scratch lines and can leave rust-coloured stains that are hard to remove. If you are unsure, keep the soft nylon brush a while longer and check your startup documentation.
Should I vacuum or brush plaster dust out of a new pool?
Brush it first, so the dust stays suspended and moves toward the filter, then vacuum or let the filter catch what is left. Vacuuming settled dust straight away can clog the vacuum or the filter quickly. Brushing twice a day for the first two weeks keeps the material moving and stops it hardening into a crust on the floor and steps.
When can I put an automatic pool cleaner in a new plaster pool?
Not during the startup. Robotic and automatic cleaners drag wheels, tracks and brushes across soft plaster and can leave lasting marks. Wait until the startup is complete, the water is balanced and the surface has finished curing, then check your manufacturer’s guidance before using one.
When can I turn on a salt system in a new plaster pool?
Generally not for the first month. Most plaster manufacturers advise against adding salt or running a salt cell during startup, because the salt environment can affect the curing surface. Check your specific startup instruction, and only introduce salt once the manufacturer says it is safe to do so.
The Bottom Line
Buy one wide soft nylon brush and use it twice a day for two weeks, then daily until the end of the first month. Keep the stainless brush in the shed for at least a month. Once the plaster has cured, it becomes the right tool, and my concrete and plaster brush post is the one to follow from there. The brush is cheap. The surface is not. Almost every permanent mark on a new plaster pool is put there in the first fortnight by an owner who was trying to do the right thing with the wrong tool.
The only real exception is if your manufacturer’s startup instruction explicitly says otherwise for your specific product. In that case, follow the document, not me.
About This Article
Written by Nadia Caldwell. Backyard pool owner and water chemistry nerd. After years of chasing down cloudy water and algae blooms on my own pool and my neighbors', I now write about pool maintenance, water treatment, and everything chlorine-related for everyday pool owners. More about this site.
Scope and limits. Nadia is a pool owner who reads chemistry, not a certified pool professional. Follow label directions on every chemical, never mix them, and use a certified pool operator for equipment and sanitizer system work.
Verify this against a primary source
Specifics change, and your situation may differ from the one described here. These are the authorities worth checking directly:
- World Health Organization — guidelines for safe recreational water environments
- Pool & Hot Tub Alliance — water chemistry and pool operation standards