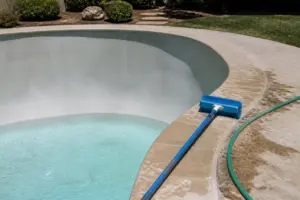
Dose 20 ppm of calcium hypochlorite shock at a CYA level of 50 ppm, and your free chlorine will oxidize contaminants efficiently. Miss either variable, and you’re wasting money on a treatment that won’t work as intended. That’s the essence of what I want to cover in this guide — the specific numbers, the reasoning behind them, and the real consequences when you get them wrong. Over the years of testing my own pool and helping out with the pools of neighbours and family members, across Arizona, Nevada, and Utah, I’ve learned that pool chemistry isn’t abstract theory. It’s applied physics and chemistry that directly determines whether your pool is safe to swim in or a liability waiting to happen. Water quality at 115°F in direct sun isn’t the same as water quality in a shaded, temperate climate. Neither is easy to manage by guessing. You need to know your parameters, test them correctly, and act on what the data tells you.
Before you add anything: follow the dose on the label, add one chemical at a time, and never mix them — not in a bucket, not in the skimmer, not back to back in the same spot. Chlorine and acid together give off chlorine gas, which is the one mistake in pool care that puts people in hospital. Always add chemical to water, never water to chemical, and let the pump turn the water over between doses.
Most introductory resources fall into one of two traps. They either strip chemistry down to oversimplifications that fail the moment conditions get challenging, or they bury readers under so much technical detail that the practical steps disappear. This guide takes a different approach. I’ll walk you through the five critical parameters — free chlorine, pH, total alkalinity, cyanuric acid, and calcium hardness — and explain not only what the target ranges are, but why those ranges exist and what actually happens to your pool when they fall outside them. You’ll learn how to test properly, when and how to shock, how to handle seasonal transitions, and how to troubleshoot the most common problems. I’ll name specific products, doses, and equipment because vague advice is useless advice.
Save this article. Refer back to it whenever your water chemistry questions arise. I update these posts regularly as I encounter new situations and as industry standards shift. This is the resource I wanted back when my own pool went green and I had no idea why — so let’s dive in.
Why Pool Water Chemistry Matters More Than You Think
Clarity is part of the chemistry equation, but it’s not the real reason chemistry matters. The true driver is microbial control. Water with inadequate chlorine residual or pH that’s too elevated becomes a vector for Pseudomonas aeruginosa, E. coli, and Cryptosporidium — organisms that cause serious illness in swimmers. The CDC documents recreational water illness clusters every year, and most of them originate from one root cause: sanitizer levels too low, or pH so high that chlorine loses its disinfection capacity.
Chemistry also directly protects your physical asset. When pH drifts consistently low — say, hovering around 6.8 — the water becomes corrosive. Plaster develops etching, metal components deteriorate, and pump seals fail prematurely. I saw this play out on a pool I helped a neighbour with: pH sat in the 6.8 range for nearly a full year before anyone noticed the damage. The plaster restoration bill topped $18,000. Had someone understood pH dynamics and adjusted proactively, the pool would have aged normally and that cost would never have existed.
The opposite problem — alkalinity and calcium that are too high — creates scale buildup that coats waterlines, heater elements, and filter media. That white crust you see forming around the tile isn’t cosmetic damage. It signals that minerals are leaving solution and depositing across all your equipment. Both extremes damage the pool. Balance protects it.
The Core Parameters Every Pool Owner Must Know
Five specific measurements define whether a pool is balanced. Neglect any one of them and the entire system begins to destabilize. These parameters form an interconnected whole — change one and you’re affecting the others. Understanding those relationships is what separates someone who manages pools competently from someone just adding chemicals blindly.
Chlorine: Your Primary Sanitizer
Chlorine is the chemical doing the actual work — killing pathogens and oxidizing contaminants. For residential pools, maintain 2–4 ppm (parts per million) of free chlorine. Commercial and high-traffic pools require 3–5 ppm because more swimmers mean more contaminant load. Free chlorine is the portion still available to sanitize. Combined chlorine — the byproduct after chlorine reacts with waste products — contributes little to disinfection and is responsible for that infamous sharp chemical odor.
Total chlorine equals free chlorine plus combined chlorine. When combined chlorine reaches 0.5 ppm or higher, you’re overdue for a shock treatment. I’ll detail that process later. The critical lesson here: low free chlorine is the #1 cause of pool problems. Test it twice weekly during the active season without fail.
pH: The Most Important Number in Your Pool
pH quantifies how acidic or alkaline your water is on a scale from 0 to 14. For swimming pools, the target window is 7.4–7.6, with 7.5 being my preferred setpoint. This range maximizes chlorine’s disinfection power while staying comfortable for swimmers — human tear ducts and mucous membranes naturally sit at about pH 7.4, making this range feel pleasant in the water.
Here’s why pH dominance matters: at pH 8.0, roughly 78% of your chlorine exists in an ineffective chemical form (hypochlorite ion) that doesn’t kill pathogens well. Drop to pH 7.5 and about 50% becomes the highly effective hypochlorous acid form. Lower still to pH 7.0 and you get nearly 73% in the active form — but you’ve now created an acidic environment that corrodes metal, etches plaster, and irritates swimmers’ skin and eyes. That’s the tradeoff. Raise pH and you handicap your chlorine. Lower it and you wreck the pool structure.
To increase pH, use sodium carbonate (soda ash). To decrease it, use muriatic acid or sodium bisulfate. The fundamental rule: introduce all chemicals into water — never the reverse. After adding any pH adjustment, allow the circulation system to run for at least 30 minutes before taking another reading.
Total Alkalinity: pH’s Stabilizer
Total alkalinity (TA) measures your pool’s resistance to pH shifts — its chemical buffering strength. The standard recommendation spans 80–120 ppm. In my Southwest experience managing pools with naturally high-alkalinity fill water, I deliberately target the lower boundary — around 80–90 ppm — because the incoming water already has significant alkalinity content.
When TA bottoms out, pH becomes unstable and swings up and down unpredictably — an issue called “pH bounce.” When TA climbs too high, pH gets stuck and resists your adjustment attempts, plus you invite scale formation. Sodium bicarbonate (baking soda) raises TA. Muriatic acid combined with vigorous aeration lowers it. Be patient with TA reduction — it’s a gradual process that sometimes requires repeated treatments over several days.
[INTERNAL LINK: total alkalinity vs pH — how to adjust each without disrupting the other]
Cyanuric Acid (CYA): Chlorine’s Sunscreen
Cyanuric acid — referred to as CYA, stabilizer, or conditioner — acts as a protective barrier that shields chlorine from solar radiation. Without it, sunlight destroys 75–90% of your chlorine within hours. For outdoor residential pools, maintain 30–50 ppm of CYA. If you operate a salt chlorine generator system, bump that to 60–80 ppm.
CYA creates a serious problem in excess. Beyond certain thresholds, elevated CYA suppresses chlorine’s effectiveness — what pool people call “chlorine lock” or the CYA effect. At 100 ppm CYA, your chlorine becomes significantly compromised even when it reads at adequate levels. Dilution is the only remedy — you cannot chemically reduce CYA once it’s in the water. I’ve seen this on plenty of backyard pools, and it’s most often caused by feeding stabilized trichlor tablets into the system for multiple seasons in a row. One pool I know of had CYA build up to 180 ppm this way. The owner drained 40% of the water to reset it before chlorine regained its killing power.
Calcium Hardness: Protecting Your Pool’s Surfaces
Calcium hardness quantifies dissolved calcium minerals in your water. The target span is 200–400 ppm. For pools with plaster or gunite, I aim toward the upper end — around 300–400 ppm — to avoid the water actively stripping calcium out of the plaster shell itself. Vinyl liner pools need less — around 150–250 ppm is sufficient.
Low calcium hardness creates “hungry” water that scavenges minerals from your pool structure and equipment. High calcium triggers scale deposits and hazy water. Calcium chloride raises hardness. Lowering it requires the only strategy that works: partial drainage and refilling with water lower in calcium. In the desert Southwest where municipal water arrives at 300+ ppm calcium, this is a perpetual balancing challenge.
How to Test Your Pool Water the Right Way
Measurement is foundational. You cannot control what remains unmeasured. My approach combines multiple testing methods based on context — I recommend adopting the same strategy.
Test Strip vs. Drop Test vs. Digital Meter
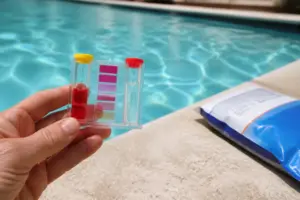
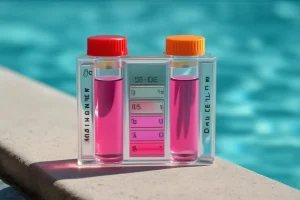
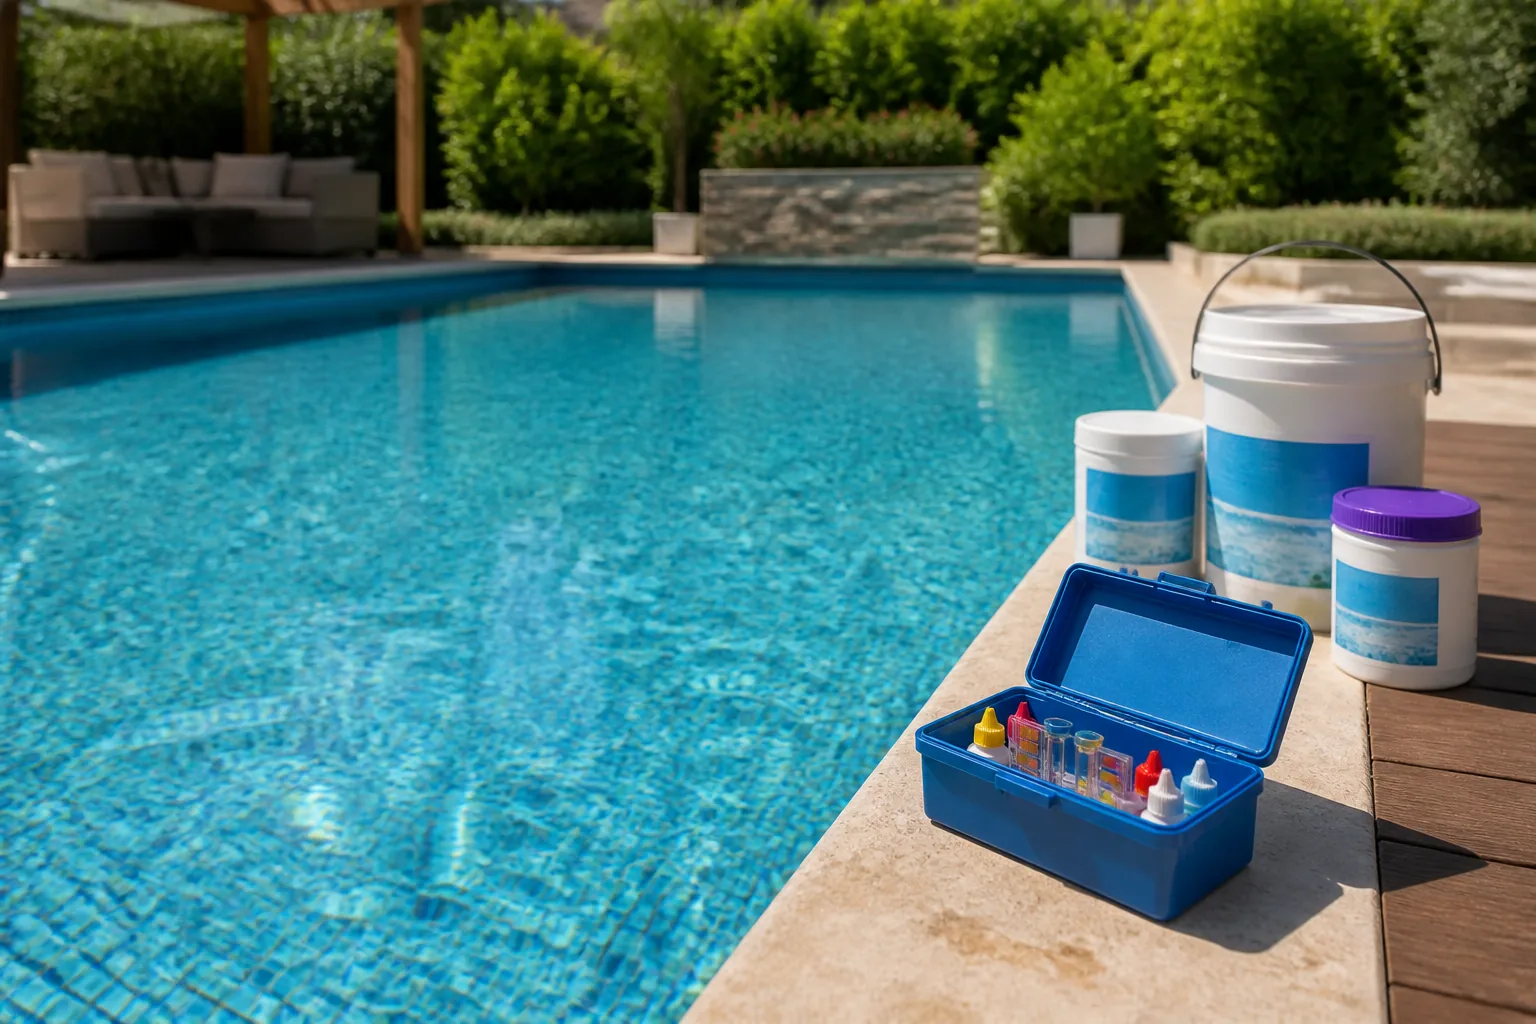
Test strips offer speed and convenience for routine daily monitoring. They’re less precise than reagent-based methods, however, and interpreting color changes in bright outdoor light introduces error. A quality DPD liquid test kit — the type with distinct reagents for each parameter — yields considerably more reliable data. For professional-grade accuracy, invest in a photometric digital colorimeter, which typically costs $80–$150.
For residential pool upkeep, a dependable drop test kit measuring free chlorine, pH, total alkalinity, and CYA is invaluable. Use test strips for quick spot-checks. However, when troubleshooting problems or testing shocked pools, discard strip results — they tend to be unreliable at extreme concentration levels.
When and Where to Take Your Sample
Collect samples at elbow depth — roughly 12–18 inches below the surface — from the pool’s center or deep end. Avoid sampling near skimmers or return streams, where water chemistry differs from the bulk pool. Test in early morning before sunlight exposure and before you treat the water for that day.
During active swim season, test free chlorine and pH at minimum twice per week. Total alkalinity, CYA, and calcium hardness warrant monthly testing, or whenever you’ve added substantial volumes of new water. Bring a sample to a certified pool testing facility twice per season for comprehensive analysis — they test for metals, phosphates, and TDS that home kits typically don’t measure.
[INTERNAL LINK: how to read a pool water test kit — step-by-step guide for beginners]
Pool Shocking: What It Is and When to Do It
Shocking — technically termed superchlorination — means temporarily elevating free chlorine to concentrations high enough to destroy combined chlorine, algae colonies, bacteria, and organic waste. For most residential applications, that requires raising free chlorine to 10 times the current combined chlorine reading, with an absolute minimum threshold of 10 ppm free chlorine. This strategy is called “breakpoint chlorination.”
When Should You Shock Your Pool?
Activate a shock treatment under these conditions:
- Following significant rainfall or severe weather events
- Following large social gatherings or abnormally high swimmer counts
- When combined chlorine surpasses 0.5 ppm
- When you detect an intense chlorine-like smell (actually chloramines, which are combined chlorine)
- At seasonal opening and closing
- At the first sign of green water or algae starting to form
As standard maintenance, I shock residential pools every 1–2 weeks through the busy swimming months. Pools experiencing heavy use or minimal shade coverage benefit from weekly shock doses. Always treat after sunset or during nighttime hours — daylight destroys a substantial percentage of your chlorine before it can be effective, particularly in low-CYA scenarios.
Choosing the Right Shock Product
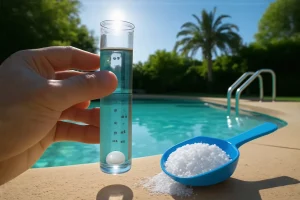
Calcium hypochlorite (cal-hypo) dominates the market due to cost-effectiveness and availability, delivering 65–78% available chlorine. The tradeoff: it adds calcium to your water, so monitor calcium hardness if you’re already elevated. Dichlor shock contains built-in stabilizer and dissolves rapidly, making it suitable for vinyl liner pools. Potassium monopersulfate (oxidizing shock without chlorine) provides oxidation for saltwater systems without pushing chlorine higher. Each formulation serves a distinct purpose. Know what you’re introducing and your rationale for using it before you add anything to the water.
Seasonal Pool Care: Opening, Closing, and In-Between
Seasonal transitions are where chemistry problems originate. Cutting corners on a spring opening or skipping closure steps creates expensive headaches later. I once took over a property where the opening crew had ignored pH adjustments — within 48 hours the water turned an alarming blue-green from dissolved copper corrosion. A methodical opening and closing routine prevents such disasters.
Opening Your Pool in Spring
Begin by removing the winter cover and cleaning it thoroughly. Bring water level to proper height — midway between the skimmer opening. Fire up the pump, ensure it’s primed, and let it circulate for a full day. Once 24 hours of circulation has passed, pull a complete water chemistry panel: free chlorine, pH, total alkalinity, CYA, and calcium hardness. Apply adjustments in this sequence: total alkalinity first, then pH, then calcium hardness, then CYA, then chlorine. This sequence minimizes chemical waste and ensures lasting balance.
Following chemistry balancing, deliver a full opening shock dose — typically twice your regular shock quantity. Circulate continuously until clarity returns. Budget approximately $40–$80 in chemicals for a 20,000-gallon pool opening and plan on 2–4 days before swimmers can safely enter.
Closing Your Pool for Winter
Winter shutdown begins with complete water balance correction. If CYA exceeds 80 ppm, this is the moment to drain and refill to reset it. Deliver a full shock dose, circulate overnight, then introduce winterizing algaecide and a mineral sequestrant if your region has mineral-heavy water. Lower the water below the skimmer line for freeze safety, remove pressure from plumbing lines, apply freeze-protection antifreeze in cold zones, and deploy a proper safety cover.
Southwest climates where I primarily operate don’t typically close pools completely — we transition to reduced winter maintenance with slower pump schedules and monthly testing protocols. That demands its own chemistry management, specifically sustaining chlorine levels high enough to prevent algae development during colder months when testing drops off.
[INTERNAL LINK: complete pool winterization checklist — step-by-step for cold and warm climates]
Troubleshooting Cloudy and Green Pool Water
The two situations I troubleshoot most frequently: “Why is my water milky?” and “My pool became a swamp overnight.” Both conditions are reversible. Both can be prevented. Let me show you the diagnostic and correction process for each.
Diagnosing Cloudy Pool Water
Multiple causes produce cloudy water. Always begin with testing. Insufficient free chlorine tops the list. Elevated pH above 7.8 creates conditions where dissolved minerals precipitate and suspend — creating haze. Elevated calcium hardness combined with high pH produces identical symptoms. An underpowered or clogged filter creates cloudiness independent of chemistry. Address each systematically rather than reaching for a clarifier bottle without context.
Low chlorine calls for shock treatment and continuous 24–48 hour filtration. If pH is elevated, bring it down first, then reassess. If filtration is the culprit, backwash sand/DE filters or rinse cartridge elements. Clarifiers and flocculants address symptoms. Fix the root cause first — that’s always the answer.
Dealing with Green Pool Water
Green coloration signifies algae bloom. Chlorella and similar species explode when chlorine drops too low. Follow this recovery sequence:
- Test and adjust pH downward to 7.2–7.4 — lower pH activates chlorine more aggressively.
- Physically brush all surfaces to disrupt algae cell clusters.
- Apply heavy shock dosing — for severe green blooms, triple the normal shock amount (approximately 3 lbs calcium hypochlorite per 10,000 gallons).
- Maintain pump operation without interruption — shutdowns halt the treatment.
- Scrub surfaces again after 12 hours of treatment.
- As clarity improves over 24–72 hours, backwash or clean your filter media.
- Keep the pump running until water achieves complete transparency.
Severe algae blooms — where you cannot discern pool bottom — demand $50–$120 in shock and algaecide plus 3–5 consecutive days of pump operation. In extreme scenarios, draining 50–100% and refilling costs less in time and chemicals than fighting the algae. I recommend that option when visibility drops below 12 inches and the water turns dark green or teal.
Common Mistakes in Pool Water Chemistry (And How to Avoid Them)
Mistake #1: Adding Chemicals Without Testing First
This tops my list of operator errors. Untested assumptions about pool condition — “I think pH is probably high so I’ll add acid” — frequently backfire. You end up lowering already-low pH, or raising alkalinity that’s already excessive. Each addition wastes money and deepens your chemistry hole. Always confirm your numbers before you treat.
Mistake #2: Ignoring CYA Buildup
Trichlor tablets and dichlor shock both introduce CYA as an ingredient. It doesn’t evaporate, photodegrade, or break down. A single season of regular trichlor use can push CYA from 30 ppm to 100+ ppm without notice — until your chlorine stops performing despite adequate test readings. Test CYA monthly. If you hit 80 ppm or higher, begin a dilution. Don’t wait until you’re at 150 ppm fighting an algae outbreak you can’t stop.
Mistake #3: Shocking During the Day
I touched on this earlier but it deserves emphasis. Daytime shocking means UV radiation obliterates chlorine before it can sterilize — particularly problematic when CYA is minimal. Always treat at dusk or after dark. Allow elevated chlorine to work through the night with circulation running. By sunrise, levels normalize to safe swimming range and you’ve actually achieved water treatment.
Mistake #4: Mixing Chemicals Together
⚠️ Safety Warning: Pool chemicals must never be mixed together, even if you’re dosing both the same day. Calcium hypochlorite and trichlor tablets generate a potentially explosive chemical reaction if combined. Always add chemicals individually into the water, with filtration operating and at least 30 minutes between each dose. Pour chemicals directly into the pool — not into skimmers — unless the label explicitly permits that application method.
Mistake #5: Letting Chemistry Slide in Fall and Winter
Colder temperatures slow algae growth but don’t prevent it. Scale still accumulates. Corrosion still progresses. An unmonitored winter pool deteriorates invisibly until spring reveals extensive damage. Monthly winter testing and minor adjustments — 20 minutes of work — prevent massive spring recovery efforts or worse, equipment replacement costs. Consistency beats intensity.
Final Thoughts on Mastering Your Pool Water Chemistry
This comprehensive guide addresses numerous topics because pool chemistry encompasses numerous variables. But don’t get paralyzed by that scope. Master the essentials: maintain 2–4 ppm free chlorine, keep pH in the 7.4–7.6 band, stay within 80–120 ppm alkalinity, watch CYA from month to month, and never skip testing. Execute those five consistently and you’ll preempt 90% of pool complications.
The remaining 10% is problem-solving using diagnostic methodology — and you now possess that toolkit. Test first, diagnose root causes, make corrections in logical order, and resist the panic impulse. Every pool — even those that resemble pea soup — returns to balance. I’ve helped bring back neglected pools that hadn’t seen proper treatment in months, including a few that were badly neglected. The method works when you follow it.
Testing feels tedious until the routine becomes automatic. Then something shifts. You understand the water. You sense what needs attention. Your routine becomes almost reflexive — roughly 10 minutes twice weekly, yielding a consistently clear, safe pool throughout the season. That’s the destination — not flawlessness every moment, but a deliberate, knowledge-based system that keeps your water pristine and swimmable.
Questions about something I didn’t fully address? The comments section is open — I respond to all of them. Interested in deeper dives into any of these topics — salt generators, specific algae strains, pump configurations, filtration options — browse the other Chlorine Corner articles. There’s extensive material waiting for you there.
About This Article
Written by Nadia Caldwell. Backyard pool owner and water chemistry nerd. After years of chasing down cloudy water and algae blooms on my own pool and my neighbors', I now write about pool maintenance, water treatment, and everything chlorine-related for everyday pool owners. More about this site.
Scope and limits. Nadia is a pool owner who reads chemistry, not a certified pool professional. Follow label directions on every chemical, never mix them, and use a certified pool operator for equipment and sanitizer system work.
Verify this against a primary source
Specifics change, and your situation may differ from the one described here. These are the authorities worth checking directly:
- World Health Organization — guidelines for safe recreational water environments
- Pool & Hot Tub Alliance — water chemistry and pool operation standards