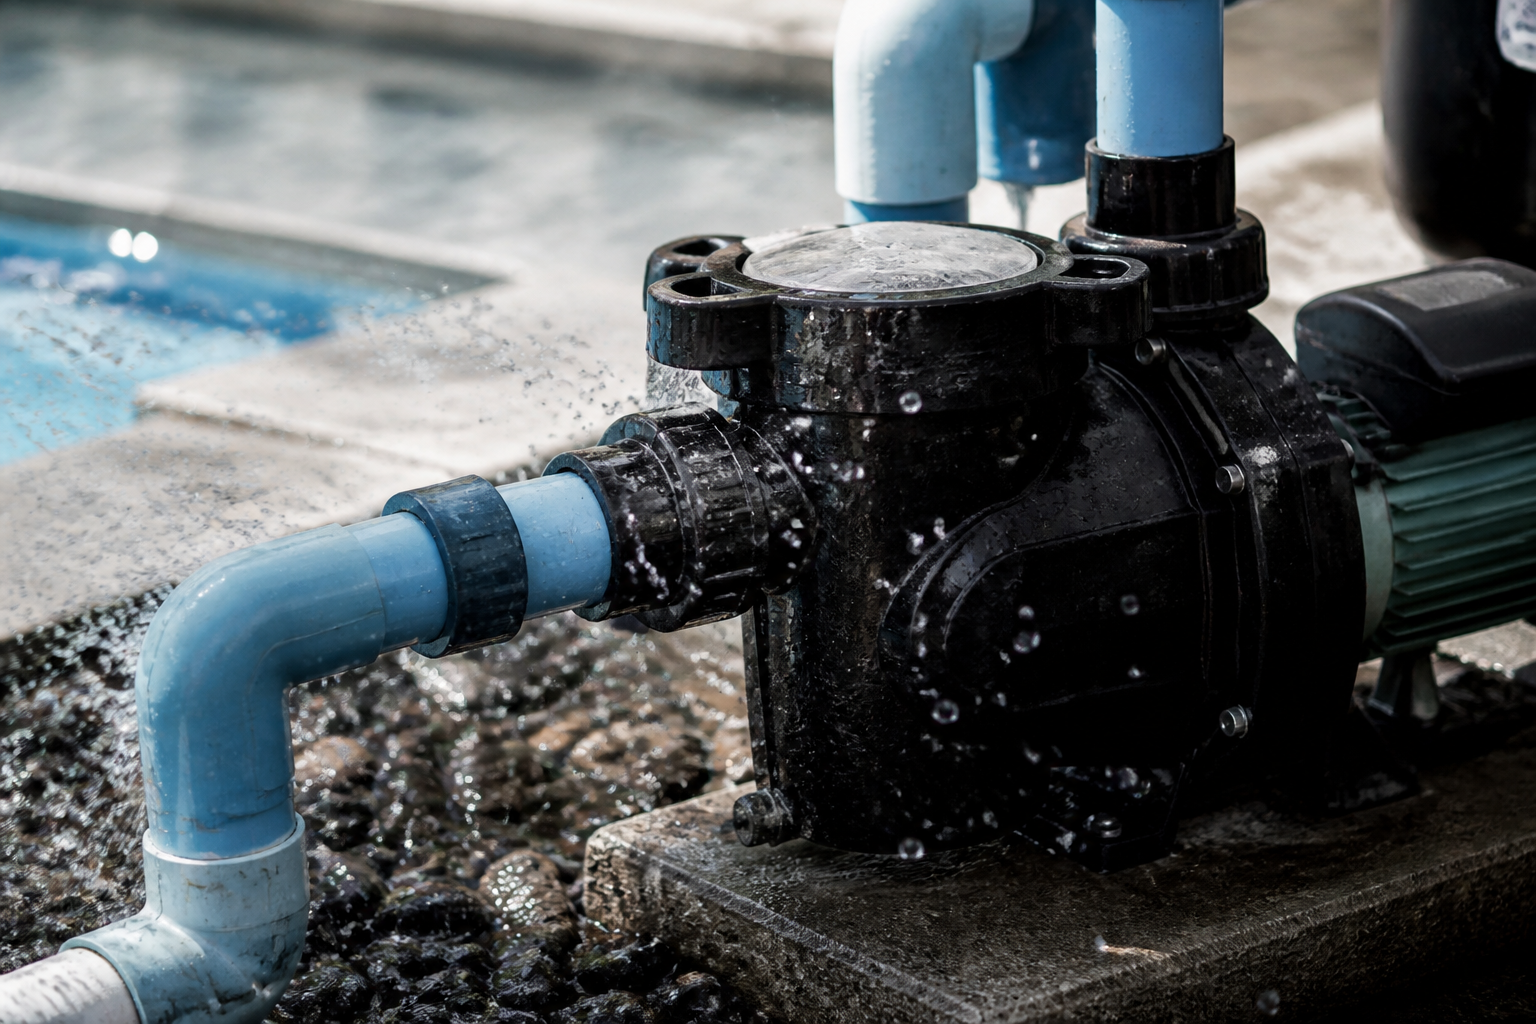
That awful grinding, squealing, or chattering noise coming from your pool pump isn’t normal—and it’s a warning sign your equipment is about to fail. What you’re hearing is cavitation: air bubbles forming inside the pump and collapsing against metal impeller blades. Each bubble implosion acts like a tiny hammer strike, and enough of them will destroy an expensive pump in days or weeks.
The good news: cavitation is preventable and usually fixable if you catch it early. The causes are straightforward, and most solutions don’t require calling a professional.
What Cavitation Is and Why It Destroys Pumps
Cavitation happens when the pressure inside your pump drops below atmospheric pressure. This causes dissolved gases (mainly air) to separate out of the water and form bubbles. When those bubbles travel to the impeller—the spinning part that moves water—the pressure rises again. The bubbles collapse suddenly, creating a shockwave that pits and erodes the impeller surface.
Over time, the impeller loses its shape and efficiency. You’ll notice weaker water flow, more noise, and eventually, a dead pump.
The sound is usually your first clue. Listen for:
- A grinding or grinding-gravel noise
- High-pitched squealing or squeaking
- Chattering or vibration
- Sudden loss of water flow
If you hear any of these, stop the pump immediately and troubleshoot. Running a cavitating pump accelerates damage.
The Three Most Common Causes (and How to Fix Them)
| Cause | Signs | Quick Fix |
|---|---|---|
| Low water level | Skimmer basket half-empty; water below skimmer opening | Top off pool to proper level (middle of skimmer) |
| Clogged skimmer basket | Basket full of leaves/debris; reduced suction | Empty basket; rinse clean |
| Leaky intake line | Hissing sound; visible cracks or loose fittings | Tighten fittings; replace cracked pipe section |
Low Water Level
This is the most common cause, and it’s the easiest to fix.
Your pump pulls water from the pool through the skimmer. If the water level drops below the skimmer opening, the pump sucks air instead of water. Cavitation starts immediately.
How to check: Look at the skimmer opening on your pool wall. The water line should be at the middle of the skimmer basket opening. If it’s lower, you have a leak or evaporation.
The fix: Top off the pool with the garden hose until the water level is at the middle of the skimmer opening. In hot, dry weather, expect to add water every few days. Significant drops over a day or two suggest a leak—check the pool structure, pump connections, and underground piping.
Prevention: Keep the pool covered when not in use to reduce evaporation. Monitor the level weekly, especially in summer.
Clogged Skimmer Basket
A full skimmer basket blocks water flow, forcing the pump to work harder and pull air.
How to check: Open the skimmer cover. If the basket is packed with leaves, twigs, or debris, that’s your problem. Even a partially clogged basket can trigger cavitation, especially if debris blocks the intake line below.
The fix: Remove the basket and empty it completely. Rinse it with the garden hose to clear fine algae and dirt. Reinstall and check the water level again—you may have lost some during the cleaning.
Prevention: Empty the basket weekly (more often if your pool is near trees or in windy conditions). A pool net or skimmer cover can reduce debris in the first place.
Leaky Intake Lines
The pipes running from the skimmer to the pump can crack, split, or develop loose fittings. Any leak pulls air into the system.
How to check: Listen for a hissing sound near the pipes. Inspect the visible intake line from the skimmer to the pump. Look for:
- Visible cracks or splits in the pipe
- Water spraying or dripping
- Loose threaded fittings or unions
- Cracks at connection points (especially in PVC pipe exposed to sunlight)
The fix: For a loose fitting, try tightening it by hand or with a wrench. Be gentle—over-tightening can crack plastic fittings.
For a small crack in rigid PVC pipe, you can apply waterproof epoxy putty as a temporary patch, but this won’t last long. A permanent fix requires replacing that section of pipe. For flexible hose intake lines, you can apply waterproof tape or use a slip coupling (a short pipe section that slides over the crack). However, if cracks are extensive or multiple, replacement is safer and more reliable.
If you’re not confident working with plumbing, calling a licensed plumber is the right move. Improper repairs can lead to leaks that cause more damage.
Prevention: Keep intake lines out of direct sunlight (UV breaks down plastic). Ensure all fittings are hand-tight plus a quarter turn. Inspect intake lines at the start of each season and after any pool system work.
Other Less Common Causes
Air leaks in the pump lid: If the lid isn’t seated properly or the gasket is dried out, air can enter at the top of the pump. Check that the lid is hand-tight and the rubber gasket is soft and pliable. A cracked or hardened gasket should be replaced.
High filter pressure: A clogged filter forces the pump to work harder, dropping internal pressure. If your filter pressure gauge reads 10+ psi higher than normal, backwash the filter (or clean cartridge filters by rinsing with a hose). A chronically high filter pressure suggests the filter media needs replacement.
Closed isolation valves: If any valve between the pool and pump is partially or fully closed, suction drops. Check all intake-side valves and ensure they’re fully open.
Diagnosing the Cause: A Checklist
- Turn off the pump.
- Check water level. Is it at the middle of the skimmer? If not, top off and run the pump again.
- Empty the skimmer basket. Rinse it thoroughly.
- Inspect intake lines. Look for cracks, leaks, and loose fittings.
- Check the pump lid. Ensure it’s secure and the gasket is in good condition.
- Verify filter pressure. Is it higher than the baseline you established at startup?
- Check isolation valves. Make sure none are partially closed.
- Run the pump. Listen carefully. Does the noise persist?
If cavitation sounds continue after you’ve addressed the obvious causes, the problem may be a collapsed or damaged intake line that’s hard to see, or an internal pump issue. At that point, a licensed pool technician can run a pressure test to pinpoint the leak.
Prevention and Early Action
Cavitation damage is cumulative and fast. A few hours of cavitation can irreversibly damage an impeller. The cost to replace a pump typically runs several hundred dollars or more, plus labor if you hire a professional.
By contrast, the fixes above take minutes and cost nothing (water level) or very little (replacing a gasket, cleaning a basket).
I’d prioritize checking water level and the skimmer basket first. Those two alone solve most cavitation problems. Then, inspect intake lines once a season and after any pool work.
If you’re unsure about any repair—especially plumbing or electrical work on the pump motor—don’t guess. A call to a licensed professional is worth the cost if it prevents a $500+ pump replacement.
Listen to your pump. When it sounds wrong, act fast.
About This Article
Written by Nadia Caldwell. Backyard pool owner and water chemistry nerd. After years of chasing down cloudy water and algae blooms on my own pool and my neighbors', I now write about pool maintenance, water treatment, and everything chlorine-related for everyday pool owners. More about this site.
Scope and limits. Nadia is a pool owner who reads chemistry, not a certified pool professional. Follow label directions on every chemical, never mix them, and use a certified pool operator for equipment and sanitizer system work.
Verify this against a primary source
Specifics change, and your situation may differ from the one described here. These are the authorities worth checking directly:
- World Health Organization — guidelines for safe recreational water environments
- Pool & Hot Tub Alliance — water chemistry and pool operation standards