That resort manager in Scottsdale called me in a full panic last summer. Her 25,000-gallon pool had transformed into something resembling swamp water between sunset and sunrise — and the first wave of guests arrived at noon. I asked three straightforward diagnostic questions, pinpointed the issue in under 120 seconds, and guided her through a complete resolution that same day. That’s what a methodical pool water green cloudy diagnosis system accomplishes. The majority of pool owners burn days and substantial cash chasing the wrong fix because they never establish what actually caused the discoloration in the first place. I want to flip that pattern for you right here, right now.
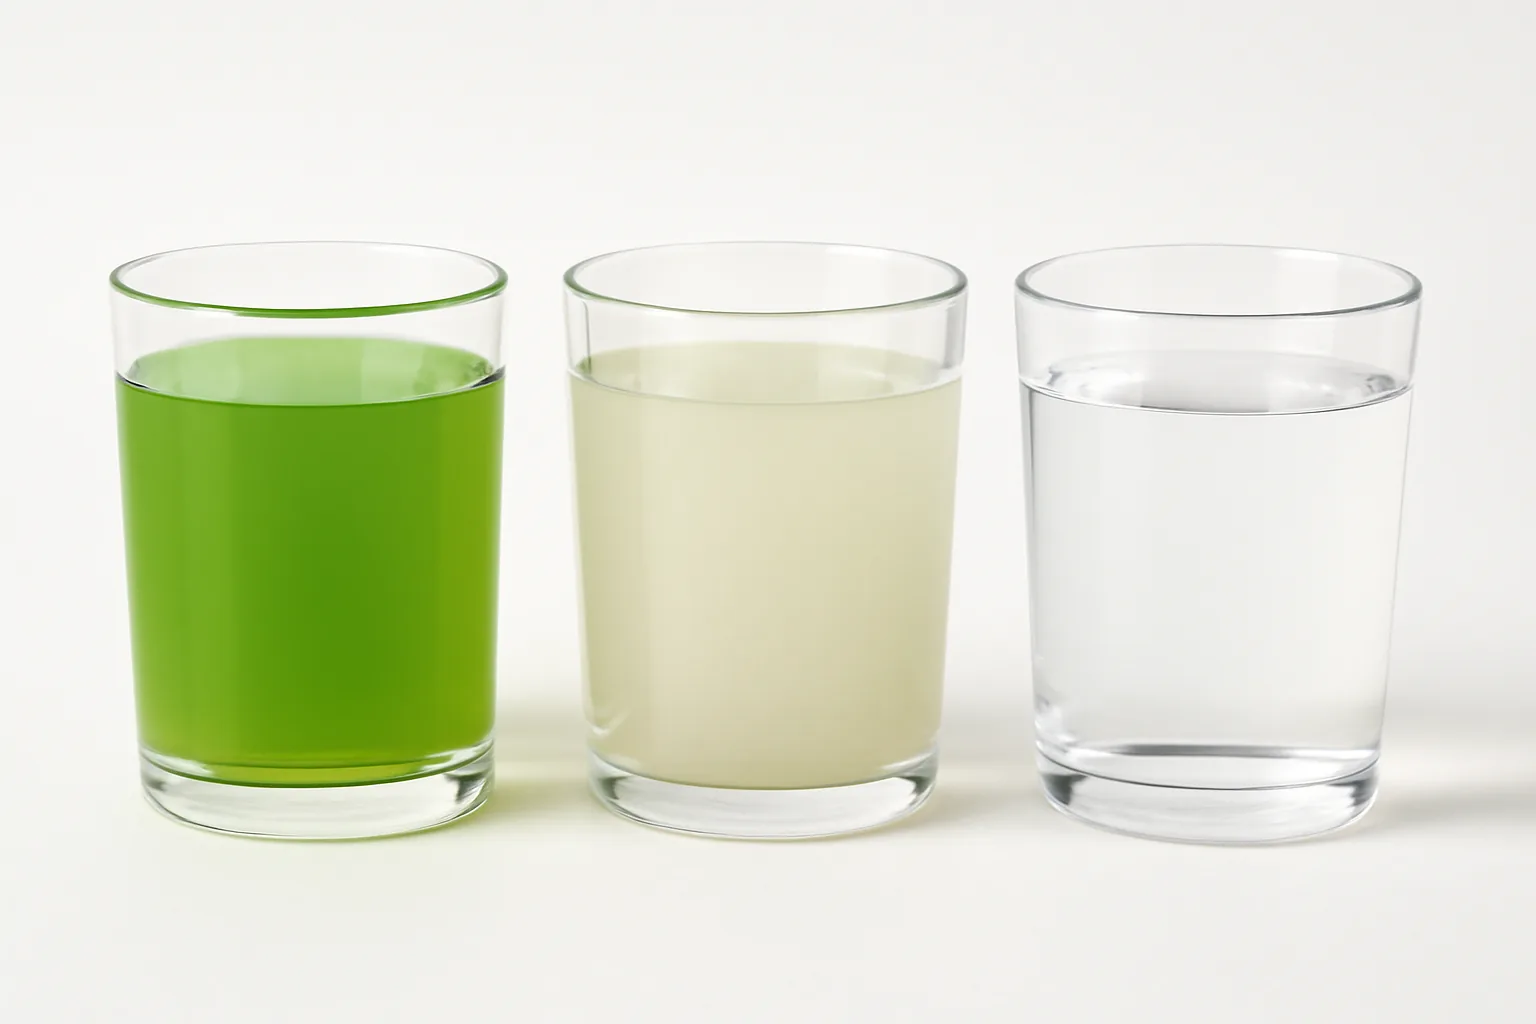
Green and cloudy aren’t interchangeable conditions, despite their surface similarities. They originate from entirely separate mechanisms and demand entirely separate remedies. Throwing an algaecide at cloudiness — or running a clarification cycle on active algae — will drain your wallet and your patience while leaving your water untreated. I once watched a homeowner spend $80 on unnecessary algaecide when the real culprit was nothing more than a calcium pH imbalance. On the flip side, I’ve encountered people burning through a full week with clarifiers when what they genuinely needed was a thorough shock treatment and manual surface scrubbing. Neither scenario should occur when the diagnostic markers are available and straightforward.
This guide functions as your hands-on, decision-tree approach to pinpointing exactly what’s happening inside your water. I’ll guide you through observation techniques, chemical validation, and targeted interventions — sequenced correctly. Once you finish reading, you’ll possess the knowledge to recognize your situation immediately and move forward with precision.
Step 1: Read the Color and Clarity First
Skip any urge to start mixing chemicals. Sit down and genuinely study your water’s appearance. What you see visually gives you your initial roadmap into the diagnostic process.
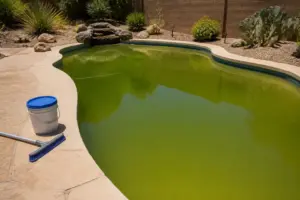
Genuinely green water manifests anywhere from pale chartreuse through heavy forest green tones. Bottom visibility fluctuates. When you can still make out the deep-end drain clearly, you’re probably witnessing nascent algal development or a pH/chlorine situation where metals such as copper are oxidizing. When the bottom vanishes completely from sight, treat it as a full-blown algae outbreak until your numbers contradict that assumption.
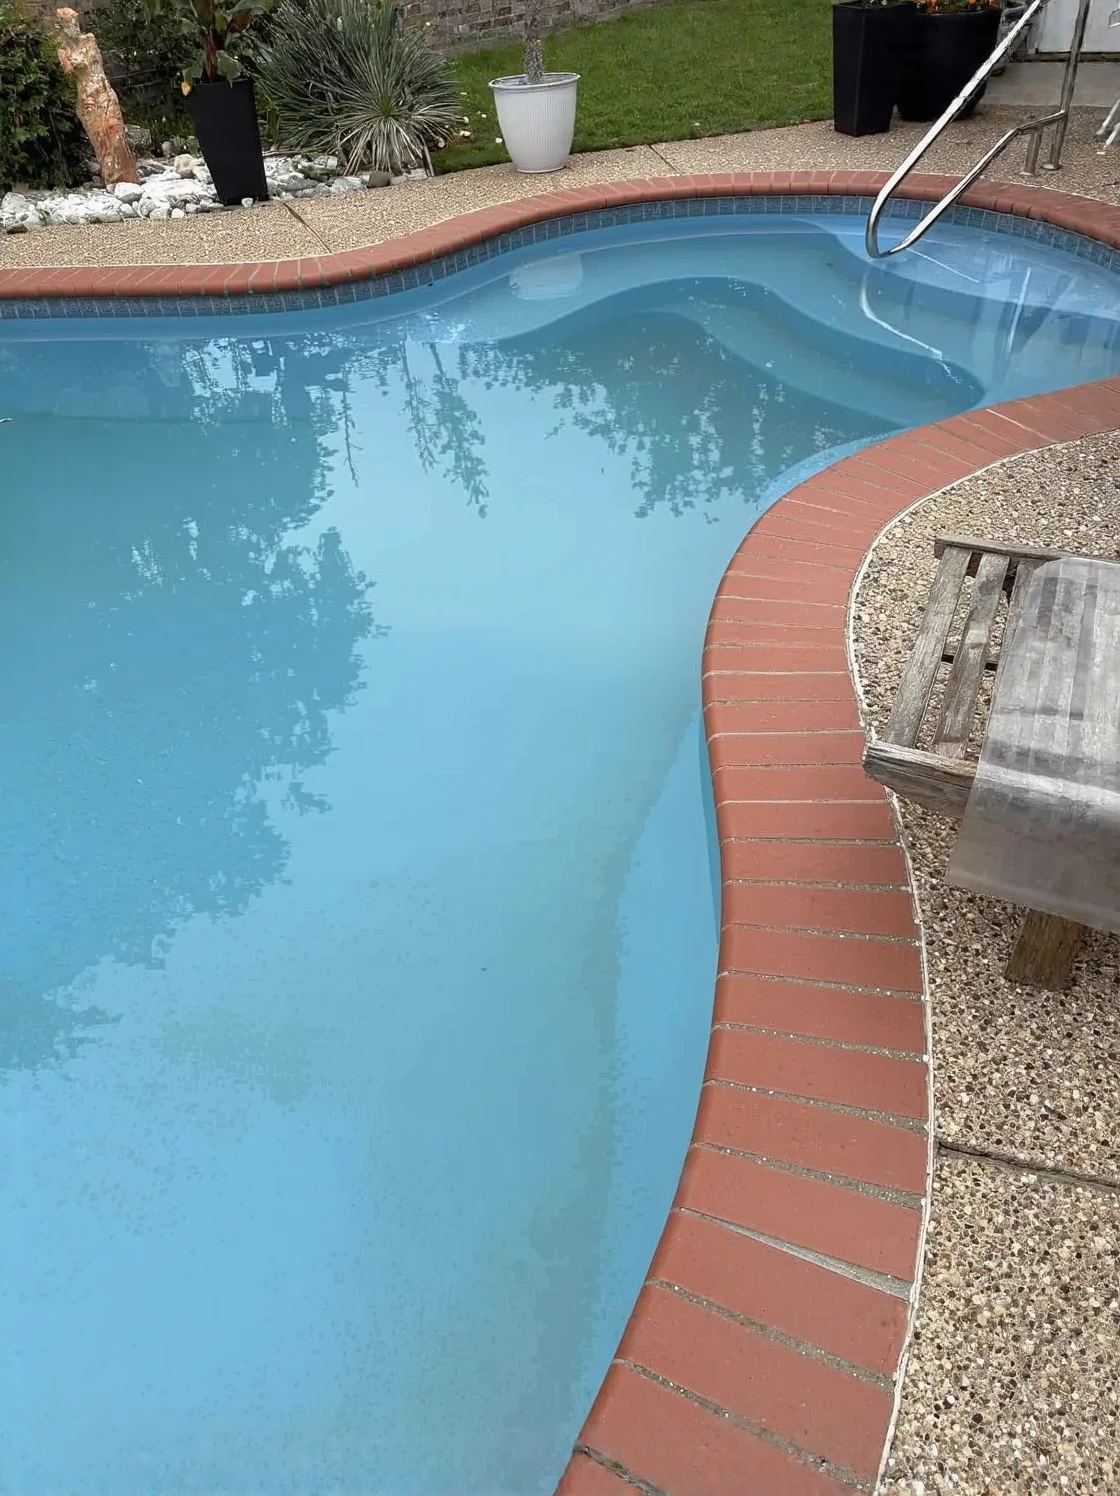
Opaque or milk-white water points in a completely separate direction. This pattern suggests equipment malfunction, elevated mineral saturation, acid-base imbalance, or debris suspended after oxidation. Standalone opaqueness without any greenish undertone almost universally indicates a mechanical or chemical condition rather than living microorganism activity.
The Visual Checklist
- Green hue + bottom is distinguishable: Incipient algal formation or oxidized metal particles — run tests immediately
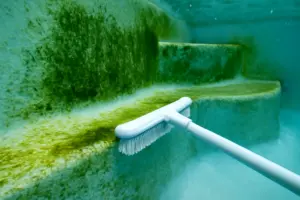
- Green hue + bottom is hidden: Progressed algal event — proceed to shocking protocol and vigorous brushing
- Opaque white or grayish tone: Mineral saturation, mechanical breakdown, or residual material from prior oxidation
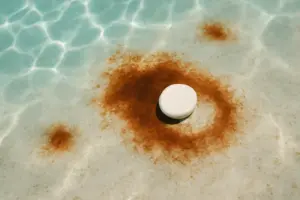
- Ochre or butterscotch coloration: Mustard algae strain — calls for specialized algicide rather than conventional shock alone
- Blue-green with iridescent finish: Dissolved copper undergoing oxidation — prevalent with pools employing copper-containing algicides or ionization tech
Step 2: Test Your Water Chemistry — In the Right Order
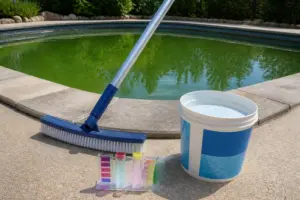
Visual inspection completed, it’s time to pull out your reagent test system. For definitive answers during diagnostic phases, liquid reagent kits outperform test strips — strips work fine during routine weekly upkeep, but diagnosis requires the precision that drop testing provides. My go-to instrument across every client account is the Taylor K-2006. There’s an explanation behind why this remains the professional benchmark.
Sequence matters enormously when running your panel. Observe this hierarchy without exception.
- Free chlorine (FC): Optimal range 2–4 ppm on residential installations
- pH: Optimal range 7.4–7.6 (exerts influence across all remaining metrics)
- Total alkalinity (TA): Optimal range 80–120 ppm
- Cyanuric acid (CYA): Optimal range 30–50 ppm for outdoor residential pools
- Calcium hardness (CH): Optimal range 200–400 ppm
- Total dissolved solids (TDS): Flag when exceeding 1,500 ppm above your baseline fill-water measurement
The Association of Pool & Spa Professionals (APSP) and NSF/ANSI 50 certification standards anchored these benchmarks. They represent the chemical sweet spot where disinfectant potency peaks and water remains transparent. Random numbers don’t exist here — this is chemistry working as designed.
What the Numbers Are Telling You
When free chlorine registers sub-1 ppm alongside green coloration, biological growth is virtually guaranteed. But if FC stays in the 2–4 ppm zone and green persists, immediately examine your CYA reading. Beyond 80 ppm, CYA starts strangling your sanitizer’s capacity — this phenomenon goes by the term chlorine lock. A pool reading 5 ppm free chlorine shouldn’t harbor algae, yet pools measuring 120 ppm CYA absolutely can and will. The disinfectant molecules are physically present but functionally neutralized.
Addressing milky or opaque conditions requires attention to hardness concentrations and pH elevation initially. Mineral hardness exceeding 400 ppm combined with elevated pH causes mineral compounds to crash out of the dissolved state. That precipitation creates the white haze. Harmless but stubborn — it won’t fade until you drop pH back toward 7.2–7.4 and keep your filter running nonstop for a full 24–48 hour window, allowing particles to escape.
Pool Water Green Cloudy Diagnosis: The Full Flowchart
Time to integrate observation and data into a working roadmap. Reference this framework whenever you encounter a water quality incident.
Branch A: Green Water
- FC registers below 1 ppm → Algal bloom confirmed. Calculate breakpoint shock (usually your CYA times 10). Scrub every surface. Maintain constant circulation.
- FC within range but CYA exceeds 80 ppm → Chlorine lock scenario. Drain a portion (typically 25–50%). Recalibrate all parameters. Shock afresh.
- FC acceptable, CYA acceptable, metallic or iridescent coating present → Metal precipitation underway. Apply metal binding reagent first. Avoid shocking — oxidation will intensify discoloration.
- FC acceptable, metals absent, pH drifts outside parameters → Chemistry-driven algal conditions. Restore pH between 7.4–7.6 as first step. Then execute shock procedure.
Branch B: Milky or White Cloudy Water
- Mineral saturation beyond 400 ppm coupled with raised pH → Mineral salt crystallization. Reduce acid dosing to lower pH. Keep filter operating. Add mineral sequestrant if desired.
- Shock treatment applied within last 24 hours → Oxidation byproduct suspension. Oxidized biological matter remains airborne. Deploy a flocculating agent. Manually extract settled material.
- Gauge pressure climbing or output stream diminishing → Filter system degradation. Run backwash cycle or swap filter media. Inspect pump strainer housing and turbine assembly.
- Heavy pool usage in recent period → Contaminant accumulation from swimmers. Oxidize using chlorine-based or oxidizer-based shock. Enable 24–48 hour filtration cycle.
Experience taught me this hierarchy through costly mistakes. Years back, I addressed a customer’s opaque white condition using three successive rounds of clarifier across five calendar days. Results: zero improvement. Root cause: the sand filtration media had fractured internally — fresh media particles were escaping back through the discharge line. I’d been treating symptoms while the genuine mechanism persisted undisturbed. The client absorbed approximately $150 in wasted clarifier that situation. I made certain never to overlook the filter assessment phase moving forward.
The Flocculant That Turned My Panicked Diagnostic Into a Same-Day Win
The moment your diagnosis confirms either algal debris, mineral suspension, or post-oxidation particles, you need a settling agent performing reliably under time constraints — particularly when deadlines loom the way they did for that Scottsdale operation. Superior settling compounds transform turbid conditions into clarity within a half-day window rather than a multi-day recovery.
What works
- Pulls microscopic suspended debris onto the floor interior within 8–12 hour timeframe, enabling faster confirmation of your diagnosis prior to implementing broader chemical interventions.
- Functions alongside existing chlorine management — no requirement for complete water replacement or system reset, allowing you to honor operational schedules and guest timelines.
- Maintains consistent performance across a spectrum of facility dimensions, ranging from modest 15,000-gallon residential systems through massive resort installations supporting thousands of daily bathers.
What doesn’t
- Demands hands-on extraction once settled — leaving deposits for your circulation system to process risks re-suspension and a fresh round of turbidity.
- Cannot salvage a mistaken diagnosis — if your real issue is mechanical blockage rather than particle overload, settlement compounds won’t resolve the underlying cause, reinforcing why flowchart accuracy comes before product selection.
I’ll admit: the first time I used flocculant, I was terrified I’d dosing wrong and would make the cloudiness worse instead of better. But once I walked through my diagnosis checklist and confirmed what I was actually treating, the Clorox® Pool&Spa™ Swimming Pool Sink to Clear Flocculant delivered exactly what I needed: clarity, speed, and peace of mind.
This post contains affiliate links. As an Amazon Associate, I earn from qualifying purchases at no extra cost to you.
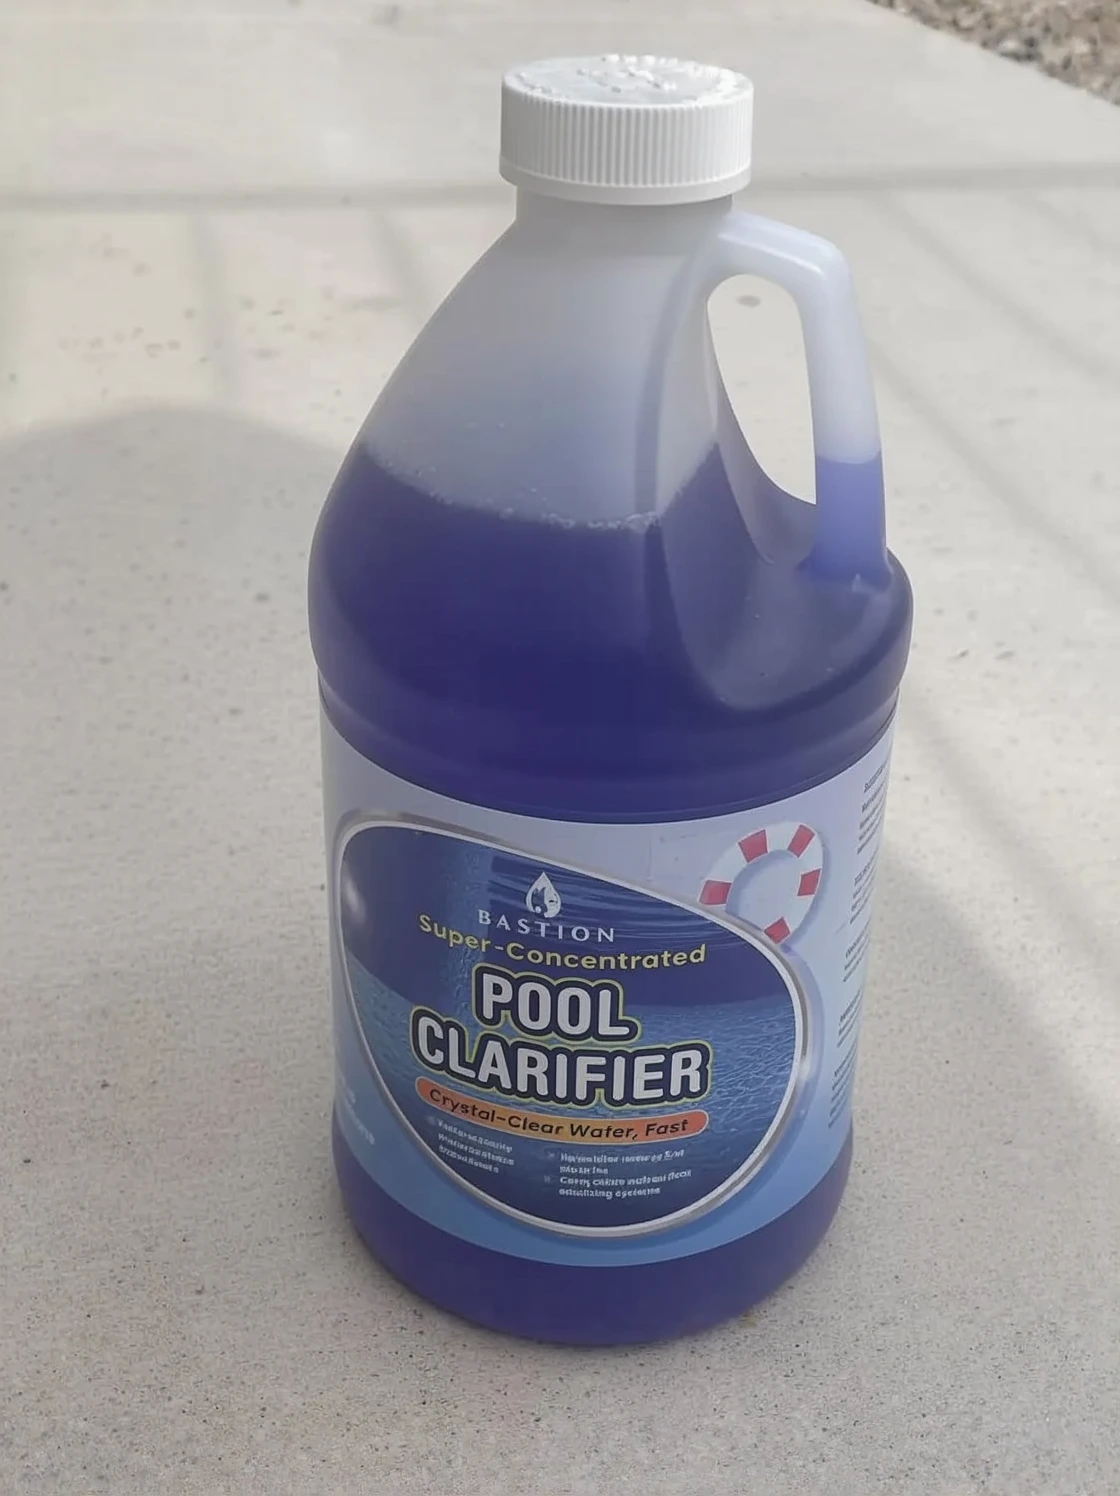
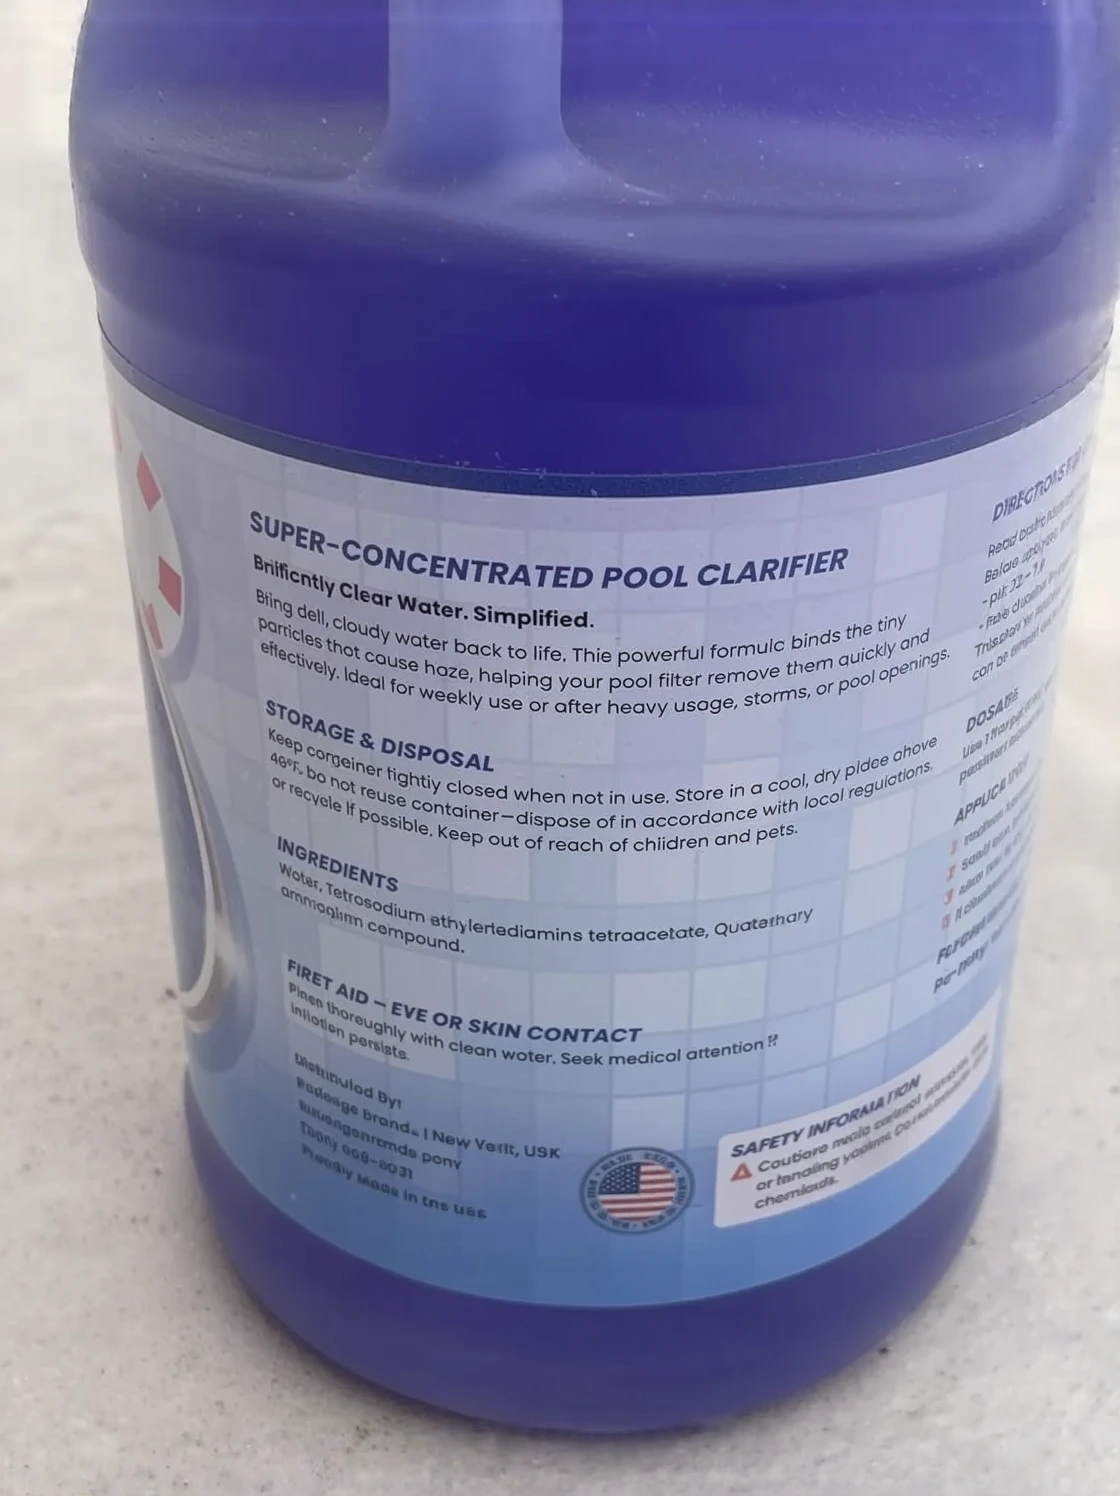
Clorox® Pool&Spa™ Swimming Pool Sink to Clear Flocculant
I use this when I need to confirm what’s causing the cloudiness before committing to a full chemical overhaul.
Check Price on Amazon →