
I’ve managed pools at three resorts in Arizona and a 200-unit HOA community in Nevada, and I can tell you the number-one question I get from vinyl liner pool owners in the spring is: “Can I add a sun shelf to my pool like the one at the resort down the road?”
The honest answer? It depends — and the “depends” part is so important that I’m going to spend the next few hundred words explaining why most people get steered wrong on this one. Because the answer to “adding shelf in vinyl liner pool” is literally opposite depending on whether your pool exists or you’re building it. One scenario costs $500. The other costs $15,000. And almost nobody explains the difference upfront.
I’ve seen homeowners spend months researching sun shelf retrofit kits that don’t actually exist for vinyl pools, or they get a quote from a builder that makes them think they misheard the number. So let’s clear this up once and for all — including what actually works if a structural shelf isn’t in the cards for your pool.
Why This Problem Is Worse Than You Think
Here’s the thing about vinyl liner pools that most pool owners don’t know until they try to modify one: the shape of your pool is locked in the moment the wall panels go in the ground.
Unlike a gunite pool — which is poured as one continuous concrete shell and can theoretically be reshaped by cutting and re-pouring concrete — a vinyl liner pool is built from modular wall panels (steel, aluminum, or polymer depending on the manufacturer) that are bolted together, set into the excavation, backfilled, and then covered with a sand or vermiculite floor base. A custom vinyl liner is cut to fit that exact panel configuration and pulled tight against the coping. That’s it. The wall panels ARE the shape. Every depth change, every corner, every flat section is a deliberate choice made at the design stage by choosing which panels to bolt together.
When you’re asking about adding a sun shelf, tanning ledge, or what some manufacturers call a “baja shelf” to an existing vinyl liner pool, what you’re actually asking is: “Can I change the shape of my pool’s structural wall after the fact?”
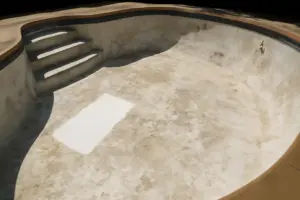
And the answer is yes — but only in the way you’d change the shape of a house after it’s built: you excavate part of it, remove the existing structure, install new structural components, and rebuild that section from the foundation up. For a vinyl liner pool, that means:
- Drain the entire pool (or at least the section being modified)
- Remove the existing liner (custom cut for your current wall shape)
- Excavate and remove the existing wall panel section
- Reshape and re-trowel the sand/vermiculite base to the new floor elevation
- Install new wall panels in the shelf configuration
- Have a fully custom liner cut for the new wall geometry (your existing liner will not fit)
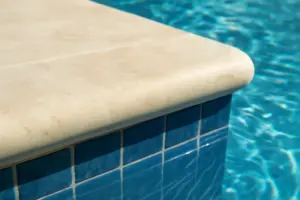
- Potentially re-cut and re-set coping and decking around the modified section
That’s not a shelf kit. That’s a partial pool rebuild. Most installers I know will quote a structural shelf retrofit for an existing vinyl pool anywhere from $8,000 to $20,000+, depending on how much wall needs to come out and whether the surrounding decking needs modification.
For comparison: a full vinyl liner replacement (when a liner finally wears out after 8–15 years) runs $2,000–$5,000 in most markets. So a retrofit shelf can actually cost more than replacing the entire liner.
There’s one exception I’ll get to in a moment. But for most vinyl liner pool owners, the math just doesn’t work.
When Adding a Shelf Actually Makes Sense (And When It Doesn’t)
Let me split this into two completely different scenarios, because they have completely different answers.
Scenario 1: You’re Building a New Vinyl Liner Pool
This one is straightforward. When you’re spec’ing out a new vinyl liner pool with your builder or manufacturer, you can choose wall panel configurations that include a sun shelf, tanning ledge, or shallow “baja” section from the start. Most major vinyl pool manufacturers (Doughboy, Vinyl Works, Aqua Leader, etc.) offer tanning-ledge panel packages as a factory option. They cost more than a straight wall configuration because both the panels and the custom liner are shaped differently, but there’s zero construction complexity — you’re just selecting the shape you want before anything goes in the ground.
Cost for a sun shelf section on a new build: typically $1,500–$3,500 more than a standard pool of the same size, depending on how large the shelf is and your region.
Scenario 2: You Already Have a Vinyl Liner Pool That’s Otherwise Healthy
This is where most people asking “can I add a shelf to my vinyl liner pool” actually are. And here’s the honest answer: a structural retrofit doesn’t make financial sense unless something else is already forcing you to tear into the pool.
However — and this is important — if your vinyl liner is already at the end of its life and you’re facing a full reline anyway, that’s the ONE window where you could ask your installer to price out adding a small shelf or bench section while the pool is already drained and open. A reline is happening regardless, so the labor to relocate a section of wall is a smaller incremental cost than it would be as a standalone retrofit.
But if your liner is healthy and you’ve got 5+ years left on it? There’s a better option.
What to Look For in a Vinyl-Liner-Safe In-Pool Bench
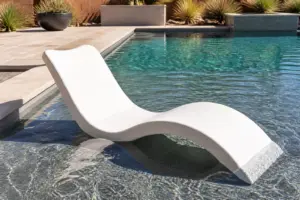
If you want the lounging and sun-bathing experience of a tanning ledge without the excavation and $15,000 bill, the practical solution is a weighted in-pool bench or ledge lounger designed specifically for vinyl liner pools.
The key word there is “designed specifically.” This is not a “generic pool lounger” from a big-box outdoor furniture section. It’s a piece built with a vinyl liner pool’s reality in mind: flexible membrane, potential to shift, and zero tolerance for sharp edges or point pressure.
Here’s what separates a vinyl-liner-safe lounger from the stuff that’ll eventually cost you a liner replacement:
1. Smooth, Wide, Flat Base
The underside needs to have a broad contact patch with no exposed feet, ridges, fasteners, or narrow supports. When someone sits on the lounger or it shifts slightly with water movement, you want the weight distributed evenly across a large area, not concentrated on four little feet that can dent and eventually puncture vinyl.
2. Manufacturer Certification for Vinyl or Fiberglass
Look for language in the product specs that explicitly says it’s rated for “vinyl liner pools” or “vinyl and fiberglass surfaces.” Generic “in-pool use” doesn’t cut it. That’s just marketing that says “it floats.” You need confirmation that the manufacturer tested it against vinyl and deemed it safe.
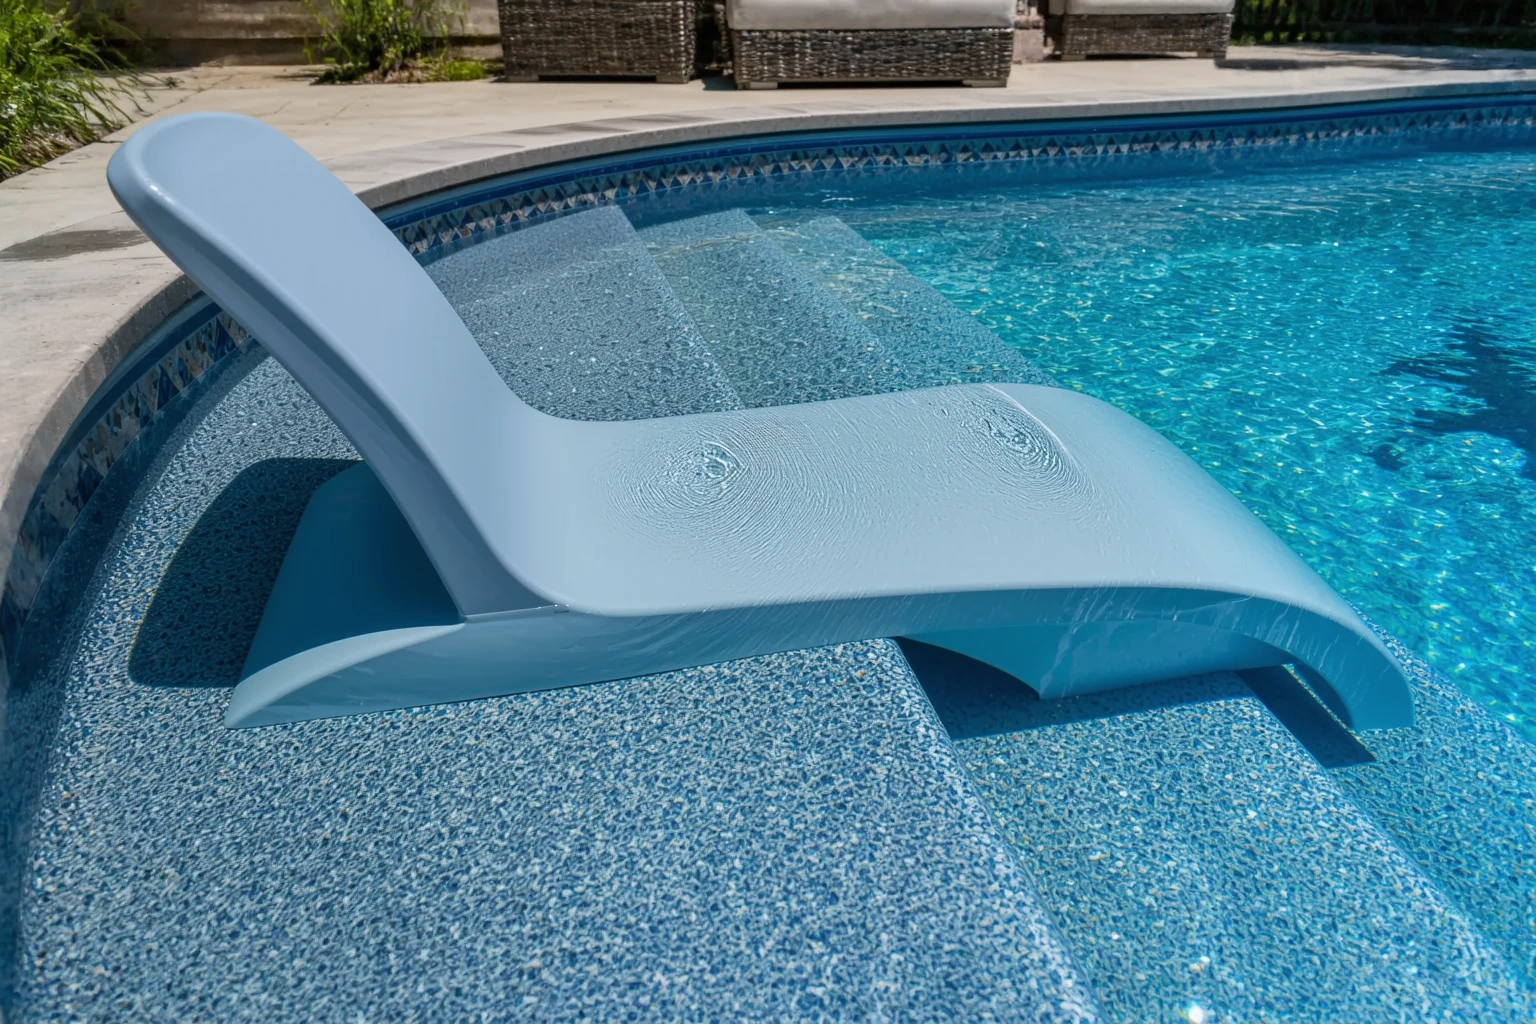
The Step2 Vero Pool Lounger 2-Pack is specifically marketed as “weighted in-pool lounge chairs for tanning ledge and Baja shelf” and designed with vinyl liner and fiberglass pools in mind. It’s priced at $449.99 for the pair, which lands in the mid-range for quality liner-safe loungers.
3. Weight Distribution Without Tipping
A lounger sitting on your shallow step or flat shallow end is only as stable as the contact it has with the floor beneath the liner. Since vinyl liners sit over sand or vermiculite, there’s always a tiny amount of give — not a problem if the lounger has a wide footprint, but a nightmare if it’s narrow and wobbly. A piece that rocks or tips easily will keep resetting its contact point on the liner throughout the season, which concentrates pressure unevenly and can eventually leave permanent marks or thin spots.
The Step2 Vero loungers are weighted for stability and have a low center of gravity, which keeps them level even on an uneven sand base.
4. Manageable Weight for Seasonal Removal
Vinyl liner owners: do not leave anything resting on your liner under a winter cover for months on end. Anything sitting in one spot for an extended period — especially under the weight of a cover — can leave a permanent impression or even wear through the vinyl if there’s any abrasion. You need to be able to pull your lounger out before winterizing. A piece that requires two people and a winch to remove is one that won’t actually get removed, and then you’ve got a problem.
The Step2 loungers at $449.99 for a pair are weighted (they sink, which is good) but light enough that one person can grab and lift them onto the deck without strain. That matters.
One Honest Limitation
In-pool loungers are not a real architectural shelf. They don’t look like a built-in tanning ledge, and they’ll never feel quite the same as a structural sun shelf at a resort pool where the ledge is part of the pool’s actual bottom. They’re also taking up space on your shallow end, so if you have a small shallow area or you need that space for kids’ wading, you’ve got a trade-off. But they’re real, they work, they’re safe for your liner, and they’re the only option most vinyl liner owners actually have without a partial rebuild.
How to Use It Like a Pro
Having managed resort pools and seeing hundreds of in-pool loungers come and go, here’s what separates owners who keep them looking good for years from those who wreck them in one season:
Placement and Setup
Position the lounger in the shallowest part of your pool where it’ll sit level. Run water through the lounger before positioning it — wet plastic slides more easily into place than dragging it dry across the sand base, which creates friction and can catch the liner. Once it’s in position, fill the pool to normal level. The lounger will float slightly until the pool reaches its full depth, at which point it’ll settle into its weighted position. This is normal.
Chemical Balance
A lounger that’s sitting in the water year-round will be exposed to your chlorine levels, pH, and alkalinity. Most quality in-pool loungers (including the Step2 Vero) are made from UV-stabilized resin or marine-grade polymers that hold up fine to normal pool chemistry — 1.0–3.0 ppm free chlorine, pH 7.2–7.6, alkalinity 80–120 ppm. But if your pool runs hot or you’re regularly dosing shock to levels above 10 ppm, or if your pH drifts high (above 8.0), the lounger will fade and the material will get brittle faster.
The solution: pull it out in late summer during heavy shock season, and definitely haul it onto the deck in the off-season. Don’t leave it sitting in a covered pool for six months if you can avoid it.
Debris and Algae
A lounger in the water collects debris just like your pool does. Leaves, dust, and pollen will accumulate on the surface and in any seams. Brush it off weekly and wipe the top with a soft cloth or old towel — nothing abrasive. If algae blooms (which happens in neglected pools, usually in late summer heat), brush that off too. Don’t use a pressure washer on it; that’s overkill and can damage the material.
Storage and Winterizing
Remove the lounger at least two weeks before you put your winter cover on. Rinse it with fresh water, let it dry fully in the sun, and store it in a shaded spot (under a tarp or in a garage if possible). Sun exposure degrades plastic over time, even UV-stabilized stuff. Leaving it under a winter cover for months is a recipe for permanent discoloration or cracking.
Pairing It With the Rest of Your Routine
A lounger doesn’t change your baseline pool maintenance, but it does add a couple of minor considerations to your seasonal rhythm:
Spring opening: When you fire up your pool for the season, set the lounger in place once you’ve got water circulation running and your chemistry is dialed in (chlorine stable, pH correct). Don’t add it before your initial shock treatment — let the shock cycle run with an empty pool, then add the lounger.
Summer maintenance: Brush and rinse the lounger weekly as part of your general pool cleaning. It takes 30 seconds. If your pool is heavily used by kids or you get a lot of tree coverage, bump that up to twice weekly.
Late summer and fall: If you run shock treatments in August or September (which most people should, to reset chlorine demand before heat spikes), pull the lounger onto the deck for those few days. No need to leave it sitting in 5+ ppm free chlorine if you don’t have to.
Winterizing: Remove it before the cover goes on. Store it dry and out of direct sun. Do not winterize your pool with the lounger in it.
That’s it. It’s a low-maintenance addition, and it fits cleanly into any standard pool care schedule.
The Bottom Line
Here’s the straight answer to “can I add a shelf in my vinyl liner pool?”
If you’re building a new pool: yes, absolutely. Spec a sun shelf or tanning ledge section with your builder. It costs more upfront but it’s clean, permanent, and built into the pool’s architecture.
If you already have a vinyl liner pool that’s healthy: no, not cost-effectively. A structural retrofit runs $8,000–$20,000+. The only exception is if your liner is already failing and you’re facing a reline anyway — then you could ask about pricing a small shelf section as part of the reline.
If you want the lounging experience of a sun shelf without major construction: a vinyl-liner-safe weighted lounger is your answer. The Step2 Vero Pool Lounger 2-Pack ($449.99) is specifically designed for vinyl liner and fiberglass pools, sits level on shallow steps or flat shallow areas, and actually delivers the tanning lounger experience without touching your pool’s structure.
Is it a permanent architectural shelf? No. Is it what most vinyl liner owners actually need? Yes. And that’s what matters.
Affiliate Disclosure
Affiliate Disclosure: This post contains affiliate links. As an Amazon Associate, I earn from qualifying purchases. If you buy something through my links, I may earn a small commission at no extra cost to you. I only recommend products I’ve actually used on the pools I manage.
Step2 Vero Pool Lounger 2-Pack
I use these instead of sun shelves since they float freely and won’t puncture the vinyl.
Check Price on Amazon →