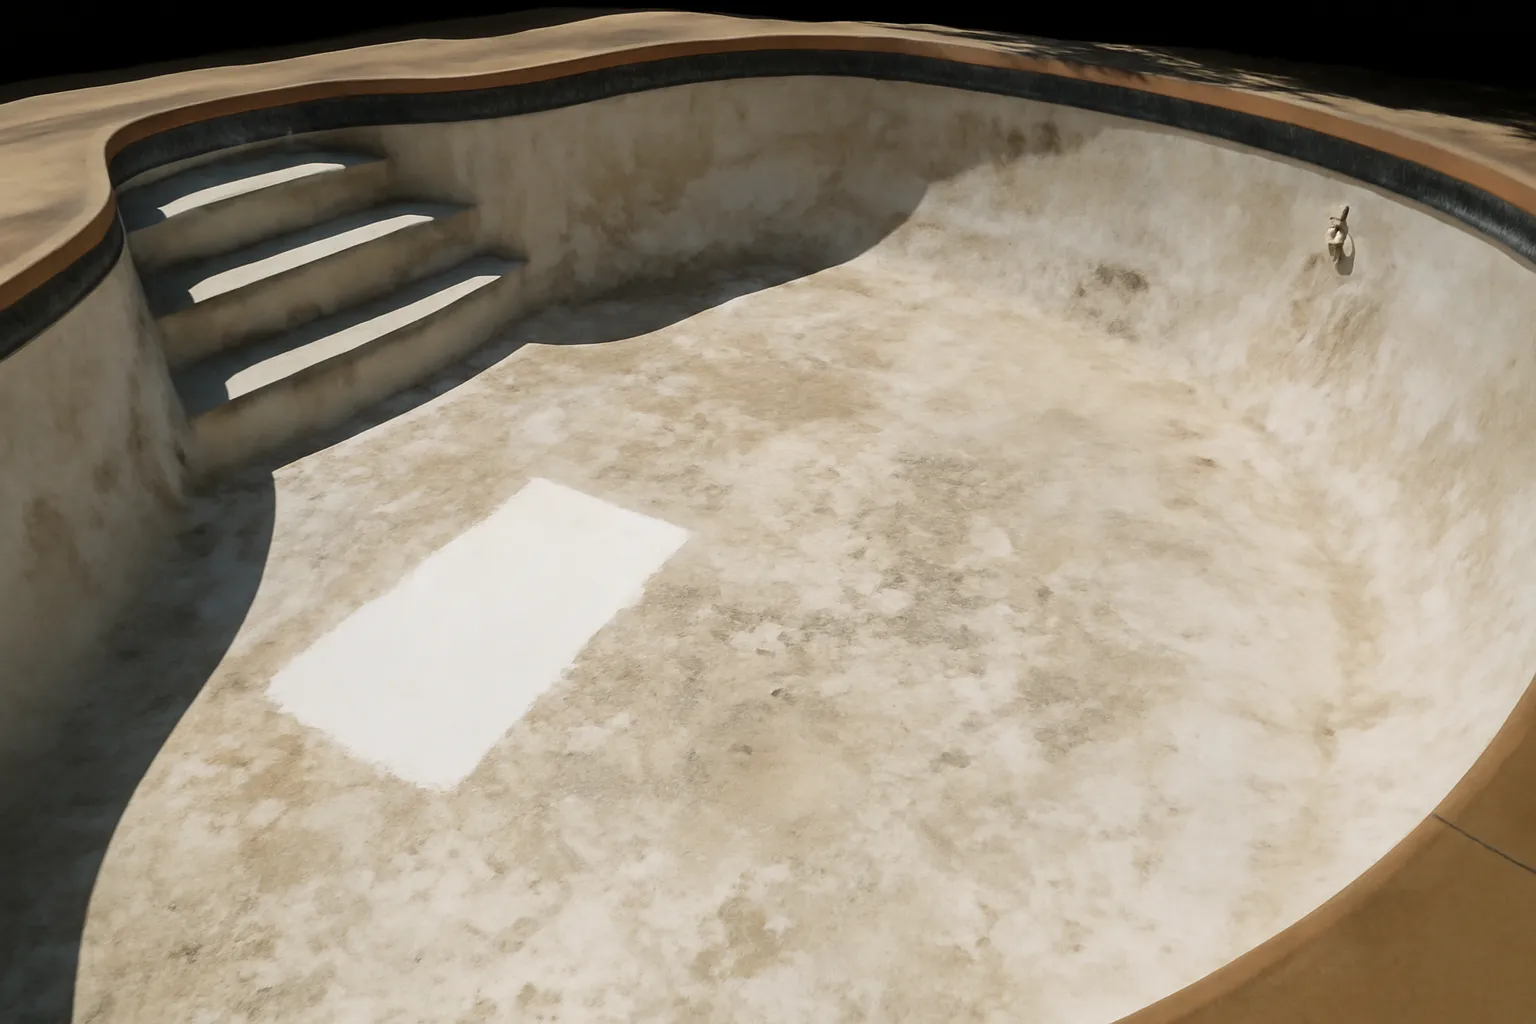
I was walking the perimeter of an HOA pool in Scottsdale last summer when a homeowner stopped me and said, “It’s not dirty — I’ve tried everything. It just feels wrong.” She was right. The water was crystal clear, the chemistry was dialed in, but the pool floor looked like the surface of the moon — pitted, grey-streaked, and rough enough to shred a pair of cheap flip-flops. I knew immediately what I was looking at: pool resurfacing plaster that had crossed the point of no return. The smooth, bright white finish she’d paid for eight years ago was dissolving from the inside out, and no amount of shock or acid washing was going to bring it back. What she needed was an honest assessment of where her pool stood on the repair spectrum — from a $30 DIY patch kit all the way up to a full $12,000 replaster. If your pool is starting to feel less like a luxury and more like a liability, this post is for you.
Why Deteriorating Pool Plaster Is Worse Than You Think
I get it — rough plaster feels like a cosmetic problem. Something you’ll “get to eventually.” But after managing pools for resorts and HOA communities across Arizona and Nevada for over a decade, I’ve watched that mindset turn small plaster issues into five-figure repair bills more times than I can count. Here’s what’s actually happening beneath the surface.
Pool plaster is a thin layer — typically half an inch to three-quarters of an inch thick — of white cement mixed with marble dust or aggregate, applied directly over the concrete shell (called the gunite or shotcrete). It’s not decorative. It’s the waterproofing layer. When it fails, water starts migrating toward the structural shell, and that’s when things get expensive fast.
The Four Stages of Plaster Failure
- Etching and roughness: Low pH is the silent killer of plaster. When your pH drops below 7.2 — and especially when it dips under 7.0 — the water becomes aggressive and literally dissolves the calcium compounds in your plaster. The smooth surface layer erodes away, exposing the aggregate underneath. What you’re left with feels like 60-grit sandpaper. Swimmers notice it first on their feet. Then their suits. Then their kids start coming out of the pool with scraped knees.
- Staining: Metal stains are one of the trickiest problems in pool water chemistry, and rough plaster makes them dramatically worse. Copper from corroding heat exchanger pipes turns your pool floor a ghostly green-blue. Iron from fill water or well sources leaves brown and rust-red streaks. Manganese — common in well water across the Southwest — creates deep purple-black stains that look alarming. Once metals penetrate into degraded plaster, standard stain removers can’t reach them. Acid washing helps temporarily, but you only get two or three rounds of that before your plaster is simply too thin to be viable.
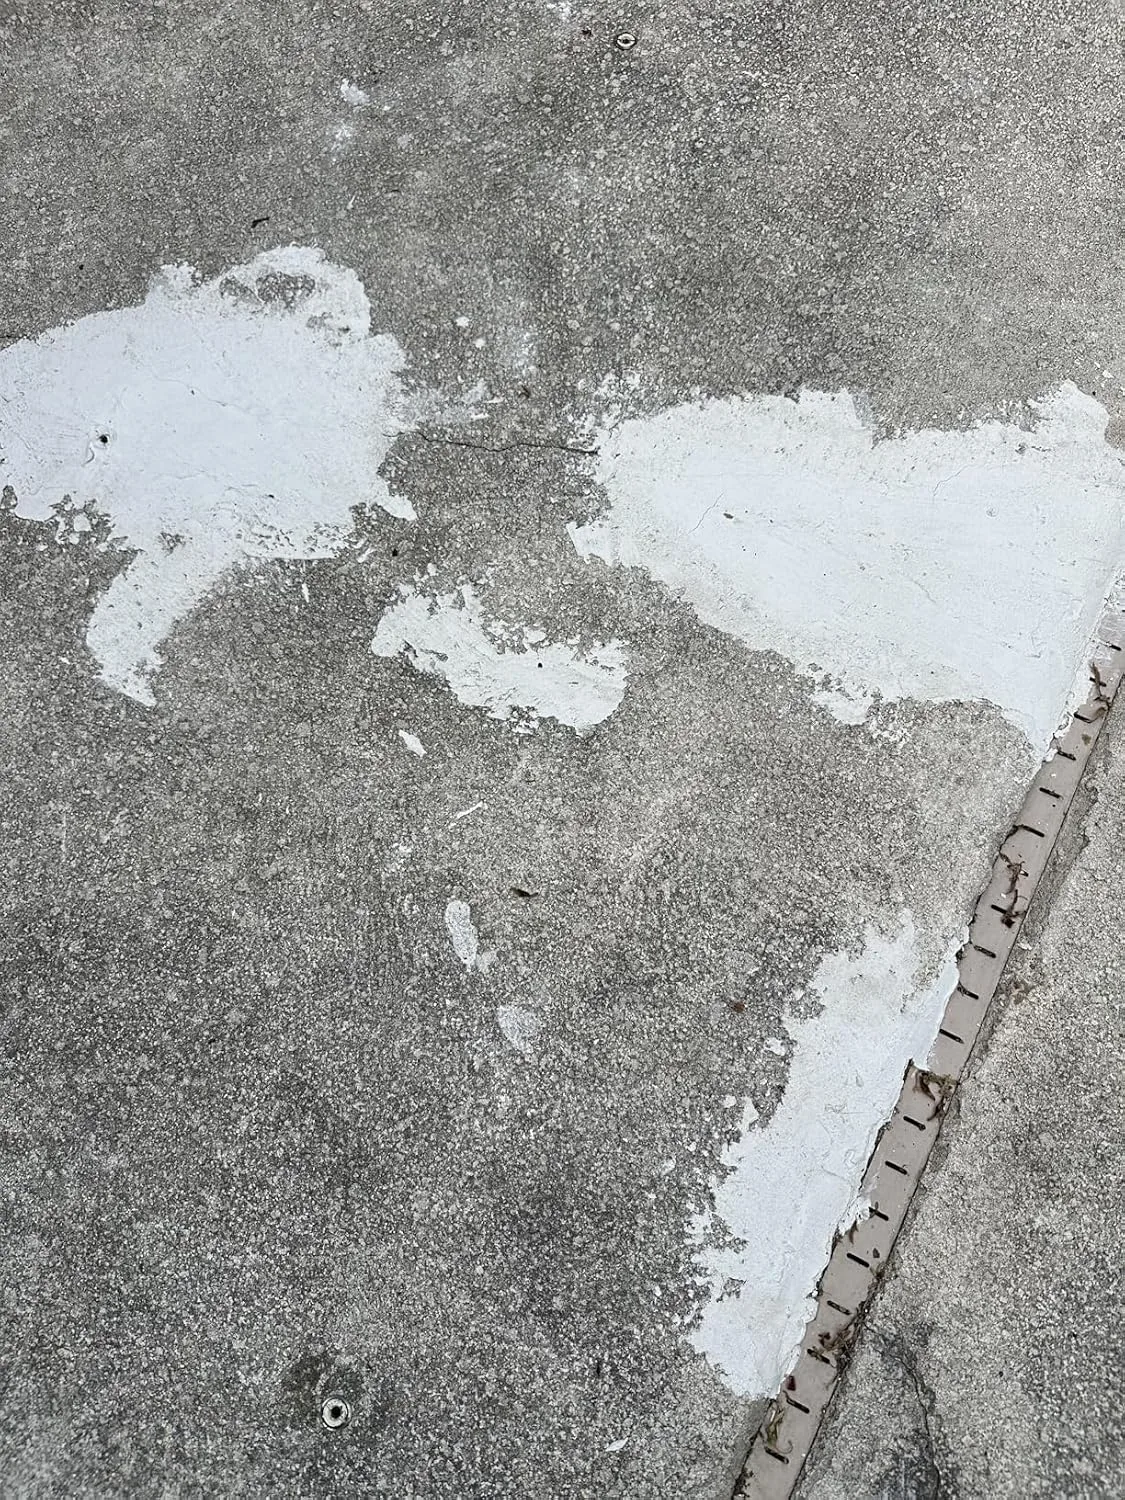
- Spalling and delamination: This is where it gets structurally serious. Spalling is when chunks of plaster separate from the concrete shell beneath — sometimes driven by freeze-thaw cycles, sometimes by improper installation, sometimes just age. You’ll see flakes of plaster on the pool floor, rough patches the size of dinner plates, and occasionally sharp edges that can cut feet. Sharp debris in a pool frequented by children is not a cosmetic problem. It’s a liability.
- Crazing and hollow spots: Fine hairline cracks across the surface — called crazing — start cosmetic but become structural over time as water works its way in. Worse are hollow spots, which you can identify by slowly walking the perimeter and tapping the plaster with a metal rod. A hollow thud instead of a solid ring means the plaster has separated from the shell. In a commercial pool, that’s an immediate documentation-and-repair situation. In a residential pool, it means your window for a cost-effective repair is closing.
Beyond swimmer safety, failing plaster also wrecks your water chemistry balance. Etched plaster leaches calcium into the water, sending your calcium hardness levels soaring past the ideal 200–400 ppm range and making it harder to keep the water balanced. Your pump and filter work overtime processing the particulate matter that dissolves off the surface. Equipment that should last 10–12 years ages out in 6–7. The plaster problem is never just a plaster problem.
What to Look For in an Underwater Pool Plaster Repair Kit
Let me be honest about where DIY pool plaster repair fits in the overall picture: it’s a tool, not a solution. A good underwater repair kit is perfect for addressing isolated chips, small delaminated areas under two square feet, and minor spalling before it spreads. Think of it like a dental filling — it saves the tooth if you catch it early enough. What it won’t do is reverse widespread etching, eliminate deep metal stains, or substitute for a full replaster when the surface is globally compromised.
That said, a quality kit used correctly can absolutely extend the serviceable life of a pool by one to three seasons while you save up for a bigger project — or buy enough time to do the replaster in the off-season when contractors are cheaper and more available. Here’s what separates a good repair kit from a waste of money.
The Patch That Actually Stops Deterioration Before It Spreads
Once plaster starts pitting, it accelerates — water works into those micro-fractures and the damage compounds fast. Catching it early and sealing those rough spots can buy you years before a full resurface becomes mandatory.
What works
- Sets underwater without draining — critical when you’re spot-treating active deterioration and don’t want to shut down the pool
- Bonds directly to existing plaster and hardens into the pit structure, actually preventing water infiltration instead of just filling surface cracks
- 3-pound size is perfect for catching early damage on a budget — you’re not committing to a full resurfacing contractor if you’re not sure how far the problem goes
What doesn’t
- Won’t fix deep structural damage — if the pitting is more than an eighth of an inch and spreading, this is a temporary measure, not a permanent fix
- Requires honest surface prep and patience to apply correctly; rush the cleaning or curing time and the patch fails fast
I’ll admit my first attempt was rushed — I was skeptical it would hold, and I didn’t let the surface dry completely before applying. That patch failed in three weeks. The second time, I did it right: cleaned the pit thoroughly, waited for the plaster to dry, and applied carefully. It’s now been eighteen months and counting. If you’re in that gray zone where you know resurfacing is coming but you’re not ready to pull the trigger, Pool Patch 3 LB Perma Repair White – Fast Acting Under Water Cement Repair is worth the experiment.
This post contains affiliate links. As an Amazon Associate, I earn from qualifying purchases at no extra cost to you.