If you’ve ever stared into a green, murky pool and wondered what went wrong, this pool water chemistry guide is exactly what you’ve been looking for. I’ve spent years managing pools for resorts and HOAs across the Southwest — pools that see hundreds of swimmers a week, blazing UV exposure, and temperatures that climb past 115°F in summer. In that environment, water chemistry isn’t optional. It’s the difference between a safe, sparkling pool and a health hazard you have to drain and start over.
I wrote this guide because most beginner resources get it wrong. They either oversimplify to the point of uselessness or dump so much jargon on you that you give up halfway through. Neither helps you actually manage your pool. What I’m going to do here is walk you through every core parameter — chlorine, pH, alkalinity, CYA, calcium hardness — and explain not just what the numbers should be, but why they matter and what happens when they drift. I’ll cover testing, shocking, seasonal care, and the most common problems I see beginners make.
Bookmark this page. Come back to it. I update it as I learn new things and as chemistry standards evolve. This is the guide I wish I’d had when I first got my Certified Pool Operator certification — so let’s get into it.
Why Pool Water Chemistry Matters More Than You Think
Most pool owners think chemistry is about keeping the water clear. That’s part of it. However, the deeper reason is microbial safety. An improperly balanced pool can harbor Pseudomonas aeruginosa, E. coli, and even Cryptosporidium — pathogens that cause real illness. The CDC tracks recreational water illness outbreaks every year, and the majority trace back to inadequate sanitizer levels or pH that’s too high for chlorine to function effectively.
Beyond health, chemistry protects your investment. A pool with chronically low pH will etch the plaster, corrode metal fittings, and chew through your pump seals. I once took over a resort property in Scottsdale where the previous operator had let pH sit around 6.8 for an entire season. The cost to replaster that pool alone was over $18,000. Proper chemistry would have prevented every dollar of that damage.
On the flip side, water that’s too alkaline or too high in calcium causes scale buildup. That white, crusty ring around your waterline isn’t just ugly — it’s a sign that minerals are precipitating out of solution and depositing on every surface, including your heater element. Chemistry is protection in both directions.
The Core Parameters Every Pool Owner Must Know
There are five parameters I check on every pool I manage. Miss any one of them and the others start to fall apart. Think of them as a system — they interact with each other constantly, and understanding those interactions is what separates a competent operator from someone who’s just guessing.
Chlorine: Your Primary Sanitizer
Chlorine is the workhorse of pool sanitation. The target for free chlorine is 2–4 ppm (parts per million) for a residential pool. For commercial pools, I maintain 3–5 ppm to account for higher bather loads. Free chlorine is what’s actually available to kill pathogens. Combined chlorine — what’s left after chlorine has reacted with contaminants — is largely ineffective and causes that harsh chemical smell people associate with poorly managed pools.
Your total chlorine reading is free chlorine plus combined chlorine. When combined chlorine exceeds 0.5 ppm, it’s time to shock. I’ll cover shocking in detail later. For now, the key takeaway is this: low free chlorine is the single most common cause of pool problems. Test it at least twice a week during swim season.
pH: The Most Important Number in Your Pool
pH is the measure of how acidic or basic your water is, on a scale of 0–14. The ideal range for pool water is 7.4–7.6. I personally target 7.5 as my sweet spot. At this level, chlorine is highly effective and the water is comfortable for swimmers — human eyes and mucous membranes have a natural pH close to 7.4, which is part of why this range feels good to swim in.
Here’s why pH is so critical: at pH 8.0, roughly 78% of your chlorine is in an ineffective form (hypochlorite ion). At pH 7.5, about 50% is in the active hypochlorous acid form. At pH 7.0, that climbs to about 73% active — but now you’re acidic enough to corrode equipment and irritate swimmers. That’s the balancing act. High pH cripples your chlorine. Low pH destroys your pool.
To raise pH, add sodium carbonate (soda ash). To lower it, add muriatic acid or sodium bisulfate. Always add chemicals to water — never water to chemicals. And always let the pump run for at least 30 minutes after adding any pH adjuster before retesting.
Total Alkalinity: pH’s Stabilizer
Total alkalinity (TA) is your pool water’s ability to resist changes in pH — essentially, its buffering capacity. The recommended range is 80–120 ppm. In my experience managing pools in the Southwest, I tend to keep TA at the lower end of that range, around 80–90 ppm, because our fill water often runs high already.
When TA is too low, pH becomes unstable and bounces around wildly — this is called “pH bounce.” When TA is too high, pH gets locked in place and becomes difficult to adjust, and you’re more likely to get scale. To raise TA, add sodium bicarbonate (baking soda). To lower it, add muriatic acid and aerate the water. Note that lowering TA takes patience — it’s a slow process that often requires multiple treatments over several days.
[INTERNAL LINK: total alkalinity vs pH — how to adjust each without disrupting the other]
Cyanuric Acid (CYA): Chlorine’s Sunscreen
Cyanuric acid — also called CYA, stabilizer, or conditioner — protects chlorine from UV degradation. Without it, the sun can destroy 75–90% of your free chlorine within just a few hours. The recommended range is 30–50 ppm for residential outdoor pools. For pools using salt chlorine generators, I recommend 60–80 ppm.
However, CYA has a dark side. Too much of it reduces chlorine’s effectiveness — a phenomenon called “chlorine lock” or the CYA effect. At 100 ppm CYA, your chlorine is significantly hampered even at seemingly adequate levels. The only way to lower CYA is to partially drain and refill your pool. There’s no chemical fix. I learned this the hard way at a community pool in Tucson where a well-meaning maintenance crew kept adding stabilized trichlor tablets for years. CYA hit 180 ppm. We had to drain it 40% before chlorine started working properly again.
Calcium Hardness: Protecting Your Pool’s Surfaces
Calcium hardness measures the amount of dissolved calcium in your water. The ideal range is 200–400 ppm. For pools with plaster or gunite surfaces, I stay on the higher end — around 300–400 ppm — to prevent the water from leaching calcium directly out of the plaster. For vinyl liner pools, 150–250 ppm is sufficient.
Low calcium hardness causes “aggressive” or “hungry” water — it pulls minerals from wherever it can find them, including your pool shell and metal fittings. High calcium causes scale and cloudy water. To raise calcium hardness, add calcium chloride. To lower it, the only practical solution is dilution — drain some water and add fresh fill water with lower calcium content. In the desert Southwest where our fill water often comes in at 300+ ppm, this is a real management challenge.
How to Test Your Pool Water the Right Way
Testing is the foundation of everything. You cannot manage what you don’t measure. I use a combination of test methods depending on the situation — and I recommend you do the same.
Test Strip vs. Drop Test vs. Digital Meter
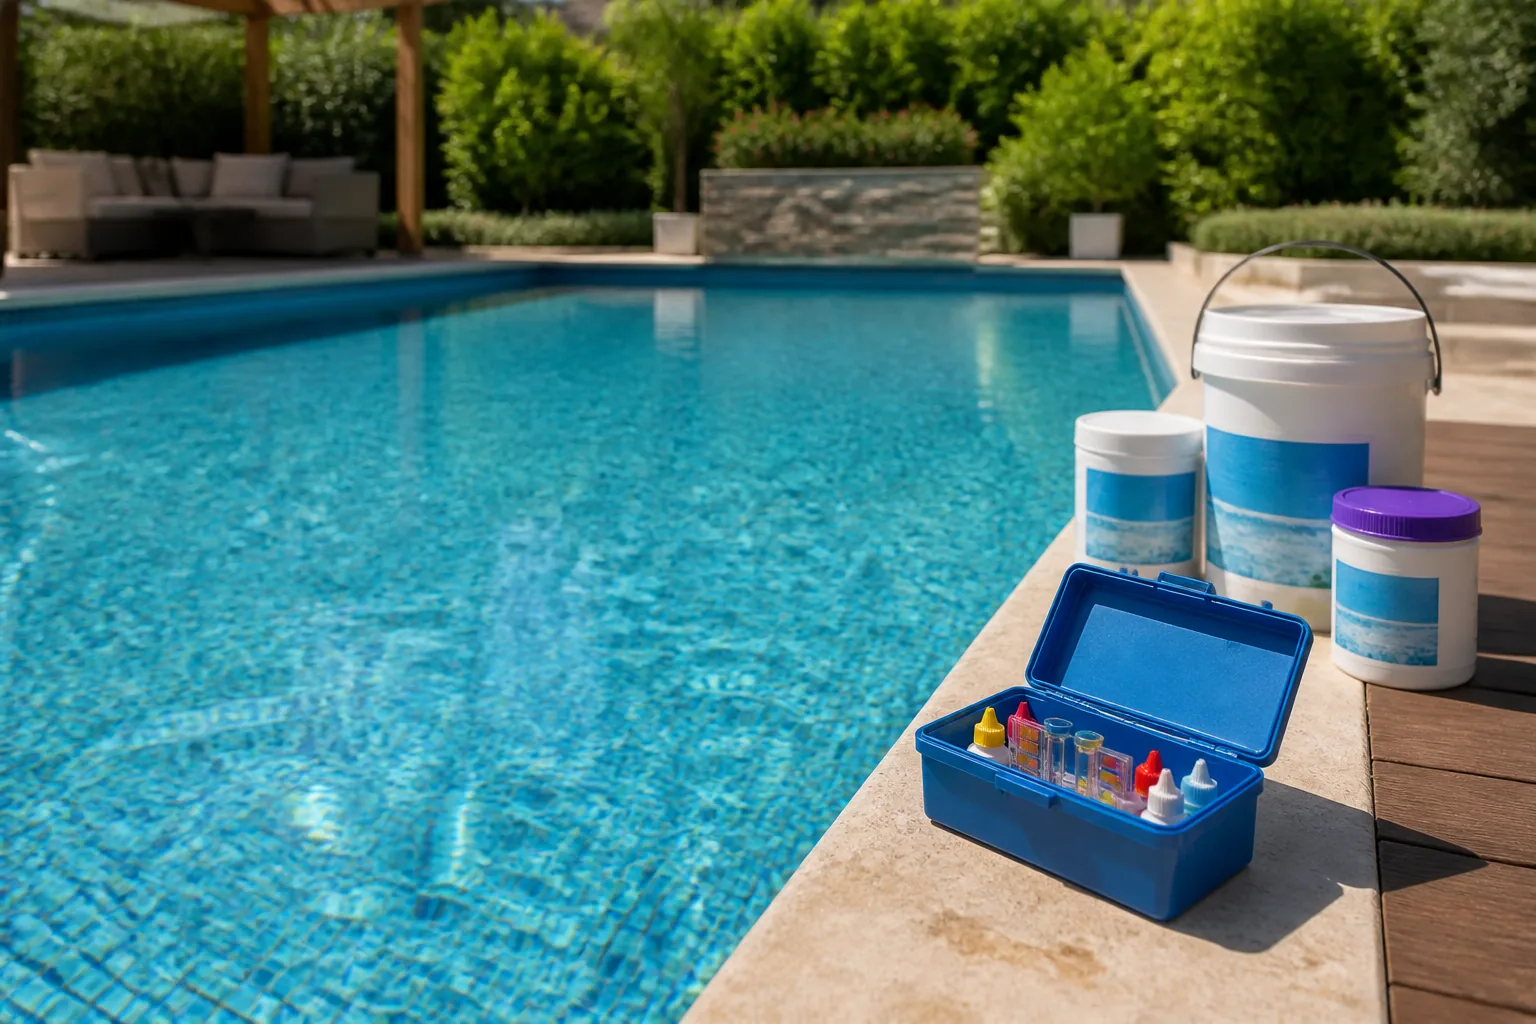
Test strips are convenient and fine for quick daily checks. However, they’re less accurate than liquid drop test kits, and the color comparison can be tricky in bright sunlight. A quality DPD liquid test kit — the kind with separate reagents for each parameter — gives you more reliable readings. For professional-level accuracy, a photometric tester (digital colorimeter) is the gold standard. Expect to spend $80–$150 for a good digital meter.
For day-to-day home pool management, a solid drop test kit covering free chlorine, pH, total alkalinity, and CYA is your best friend. Test strips work as a backup. Specifically, I never rely on test strips alone for a shocked pool or when troubleshooting a problem — the readings at the extremes tend to be inaccurate.
When and Where to Take Your Sample
Always collect your water sample at elbow depth — about 12–18 inches below the surface. Never sample near a return jet or skimmer, as these areas don’t represent the bulk of your pool water. Sample in the middle or deep end of the pool. Test in the morning, before direct sunlight hits the water and before you add any chemicals for the day.
During peak swim season, test free chlorine and pH at least twice a week. Test total alkalinity, CYA, and calcium hardness monthly, or any time you’ve added significant water to the pool. Take a water sample to a pool store for a full professional analysis at least twice per season — this catches parameters your home kit may not cover, like phosphates, metals, and TDS (total dissolved solids).
[INTERNAL LINK: how to read a pool water test kit — step-by-step guide for beginners]
Pool Shocking: What It Is and When to Do It
Shocking — also called superchlorination — means raising your free chlorine to a level high enough to oxidize combined chlorine, algae, bacteria, and other contaminants. For most residential pools, that means raising free chlorine to 10 times the combined chlorine level, with a minimum of 10 ppm free chlorine. This process is called “breakpoint chlorination.”
When Should You Shock Your Pool?
Shock your pool in these situations:
- After heavy rain or a major storm
- After a large pool party or unusually high bather load
- When combined chlorine exceeds 0.5 ppm
- When you notice a strong “chlorine” smell (that’s actually chloramines — combined chlorine)
- At the beginning and end of the swim season
- When you first notice the beginning of an algae bloom
As a general maintenance practice, I shock most residential pools every 1–2 weeks during peak season. For pools with heavy bather loads or minimal shade, weekly shocking is the norm. Always shock at dusk or after dark — sunlight will burn off a significant portion of the chlorine before it can do its job, especially in pools with low CYA.
Choosing the Right Shock Product
Calcium hypochlorite (cal-hypo) is the most common and cost-effective shock — typically 65–78% available chlorine. It adds calcium to your water, so if you’re already running high on calcium hardness, be mindful. Dichlor shock is pre-stabilized and dissolves quickly, making it a good option for vinyl liner pools. Potassium monopersulfate (non-chlorine shock) oxidizes without adding chlorine — useful for maintaining a saltwater pool’s oxidation demand without overcholorinating. Each product has its place. Understand what you’re adding and why before you dump it in.
Seasonal Pool Care: Opening, Closing, and In-Between
Seasonal transitions are when most chemistry problems start. Rushing a pool opening or skipping steps on a closing sets you up for expensive problems down the road. I’ve seen pools opened in spring with pH so low the water turned an angry blue-green from dissolved copper within 48 hours. A proper opening and closing routine prevents all of that.
Opening Your Pool in Spring
Start by removing and cleaning your winter cover. Fill the pool to the proper level — midway up the skimmer opening. Reconnect and prime your pump, then run the system for 24 hours. After the water circulates, take a full chemistry reading: free chlorine, pH, TA, CYA, and calcium hardness. Balance in this order: total alkalinity first, then pH, then calcium hardness, then CYA, then chlorine. Balancing out of order wastes chemicals and time.
Once chemistry is balanced, shock the pool with a full opening dose — typically double your normal shock amount. Run the pump continuously until the water clears. For a 20,000-gallon pool that’s been closed all winter, plan to spend $40–$80 on opening chemicals and budget 2–4 days before the pool is truly swim-ready.
Closing Your Pool for Winter
A proper winterization starts with a full water balance adjustment. Lower your CYA if it’s above 80 ppm — this is the time to dilute if needed. Shock the pool, let it run overnight, then add a winterizing algaecide and a sequestrant if your area has hard water. Drain water to the appropriate level (below the skimmer for freeze protection), blow out the lines, add antifreeze where necessary for freeze-prone climates, and install a quality safety cover.
In the Southwest where I work, we often don’t fully close pools — we go to a winter maintenance mode with reduced pump run times and monthly chemical checks. That has its own chemistry considerations, specifically keeping chlorine up enough to prevent algae during cooler months when testing frequency drops.
[INTERNAL LINK: complete pool winterization checklist — step-by-step for cold and warm climates]
Troubleshooting Cloudy and Green Pool Water
Two of the most common calls I get are “my pool is cloudy” and “my pool turned green overnight.” Both are fixable. Both are usually preventable. Here’s how to diagnose and solve each one systematically.
Diagnosing Cloudy Pool Water
Cloudy water has several possible causes. Test your water first — always. Low free chlorine is the most common culprit. High pH (above 7.8) can cause cloudiness by causing dissolved minerals to precipitate. High calcium hardness combined with high pH causes the same effect. A dirty or undersized filter will also cause cloudiness regardless of your chemistry. Work through each possibility before reaching for a clarifier product.
If chlorine is low, shock and run the filter continuously for 24–48 hours. If pH is the issue, adjust it first, then reassess. If the filter is the problem, backwash a sand or DE filter, or clean a cartridge filter. Clarifiers and flocculants are useful tools, but they’re treatments for symptoms — not root causes. Fix the underlying chemistry first.
Dealing with Green Pool Water
Green water means algae. The most common culprit is Chlorella or similar green algae that bloom rapidly when chlorine drops. Here’s the recovery process I use:
- Test and adjust pH to 7.2–7.4 (slightly low helps chlorine work more aggressively).
- Brush all pool surfaces thoroughly to break up algae colonies.
- Shock heavily — for a green pool, use triple shock dose (typically 3 lbs of cal-hypo per 10,000 gallons).
- Run the pump continuously — do not turn it off during treatment.
- Brush again after 12 hours.
- Backwash or clean the filter once the water starts to clear — usually 24–72 hours.
- Continue running the pump until water is completely clear.
For a severely green pool — one where you can’t see the bottom — expect to spend $50–$120 on shock and algaecide, plus 3–5 days of continuous pump operation. In extreme cases, a full or partial drain-and-refill is faster and cheaper than fighting a heavy bloom. I make that call when visibility is below 12 inches and the water is dark green or teal.
Common Mistakes in Pool Water Chemistry (And How to Avoid Them)
Mistake #1: Adding Chemicals Without Testing First
This is the number one mistake I see. Pool owners add shock, or raise alkalinity, or dump in a bottle of algaecide — without knowing what their current levels are. As a result, they often make the problem worse. Adding acid to already-low pH, or raising alkalinity that’s already at 150 ppm, wastes money and compounds your chemistry problems. Test every time, before you add anything.
Mistake #2: Ignoring CYA Buildup
Every time you use trichlor tablets or dichlor shock, you’re adding CYA. It doesn’t evaporate or break down naturally. Over a season, CYA can climb from 30 ppm to 100+ ppm without anyone noticing — until chlorine stops working properly. Test CYA monthly. If it climbs above 80 ppm, it’s time to dilute. Don’t wait until you hit 150 ppm and have a full algae bloom on your hands.
Mistake #3: Shocking During the Day
I mentioned this earlier, but it’s worth repeating. Shocking in the middle of a sunny afternoon means UV radiation destroys much of your chlorine before it can work — especially if CYA is low. Always shock at dusk or after dark. Let the elevated chlorine work overnight, with the pump running. By morning, levels will have dropped to a safe range for swimming and you’ll have actually treated your water effectively.
Mistake #4: Mixing Chemicals Together
⚠️ Safety Warning: Never mix pool chemicals with each other, even if you’re adding both to the pool on the same day. Specifically, never mix calcium hypochlorite (shock) with trichlor tablets — this combination can cause a violent, explosive reaction. Always add chemicals separately, with the pump running and at least 30 minutes between additions. Add chemicals directly to the pool water, never to the skimmer unless the product label specifically allows it.
Mistake #5: Letting Chemistry Slide in Fall and Winter
Cool water still grows algae, just more slowly. And scale still forms. And low pH still corrodes equipment. A pool sitting unattended through winter with no chemical maintenance can cost you a full spring recovery treatment — or worse. In my experience, checking chemistry once a month during off-season, and adjusting as needed, takes 20 minutes and prevents hours of work come spring.
Final Thoughts on Mastering Your Pool Water Chemistry
This pool water chemistry guide covers a lot of ground — because pool chemistry is genuinely a lot to manage. However, don’t let that overwhelm you. The fundamentals are simple: keep chlorine up, keep pH between 7.4 and 7.6, maintain alkalinity in the 80–120 ppm range, watch your CYA, and test regularly. Get those five things right and you’ll solve 90% of pool problems before they start.
The other 10% is troubleshooting — and now you have a framework for that too. Test first, identify the root cause, fix it in the right order, and don’t panic. Every pool can be brought back into balance. I’ve recovered pools that looked like pea soup. I’ve rehabilitated neglected resort pools that hadn’t been properly treated in months. With the right knowledge and a methodical approach, it’s always fixable.
Chemistry can feel like a chore at first. That said, once you understand how the parameters interact and what your specific pool needs, it becomes almost intuitive. You start to read the water. You develop a routine that takes 10 minutes twice a week and keeps everything running smoothly. That’s the goal — not perfection every single day, but a consistent, informed approach that keeps your pool safe, clear, and inviting all season long.
If you have a specific question I haven’t covered here, drop it in the comments. I read every one of them. And if you want to go deeper on any of the topics in this guide — testing methods, salt systems, algae types, equipment — explore the rest of Chlorine Corner. There’s a lot more where this came from.