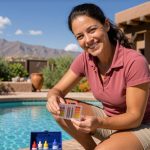
The phone rings in July, and it’s always the same story: “My above-ground pool turned green overnight, and I swear I’m doing everything the manual says.” I ask a few questions about their routine, and the culprit emerges almost immediately — they’ve lifted their maintenance strategy straight from in-ground pool playbooks. That approach fails spectacularly with above-ground systems. A vinyl-lined pool sitting above ground operates on different principles: the filter works differently, the water column is shallower, circulation patterns don’t behave the same way, and the liner itself will degrade rapidly if your chemistry drifts into the danger zone. Building a maintenance plan that actually works means respecting those structural and chemical differences — not adapting advice designed for concrete or gunite installations.
I hold a Certified Pool Operator credential and have spent more than ten years hands-on with water chemistry across commercial and residential settings throughout Arizona, Nevada, and New Mexico. Resort pools, HOA facilities, municipal installations — that’s been my bread and butter. But residential consultations have become a steady part of my practice, and above-ground pools show up in a remarkable percentage of those calls. I’ve worked directly with Intex, Bestway, and Wilbar installations, from compact 12-foot rounds up through sprawling 24-foot ovals. Years of troubleshooting those systems have produced a maintenance protocol I keep refining. This piece shares what that protocol looks like and why it matters.
If you own an above-ground pool and you’re finished with trial-and-error guessing, what follows is the exact framework I follow — the reasoning behind each step, and the places where most people’s routines break down.
Why Above-Ground Pool Maintenance Is Not the Same as In-Ground
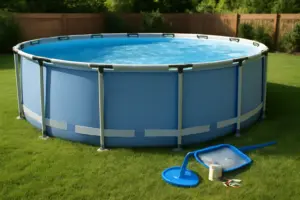
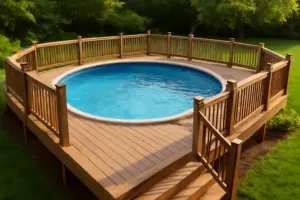
The misconception I run into constantly treats all pool water identically. The logic goes: if you follow the same weekly shock schedule, pump hours, and dosing amounts, the pool stays balanced regardless of construction type. This assumption is fundamentally wrong. The typical above-ground pool holds somewhere between 5,000 and 15,000 gallons — significantly smaller than the typical in-ground installation. That reduced volume means any chemical addition creates faster concentration shifts and more dramatic swings in readings.
In-ground pools generally feature larger return plumbing and dedicated main drain systems engineered for thorough full-depth circulation. Above-ground pools operate with a single return jet and a skimmer — that’s it. Stagnant zones materialize easily, particularly in the section farthest from the return outlet. I’ve documented this directly: testing the water right at the return jet yielded 2.0 ppm free chlorine, but pulling a sample from the far corner six inches down showed 0.4 ppm in the identical pool at the identical moment. Chlorine doesn’t penetrate uniformly, and algae exploits those gaps.
The vinyl liner introduces additional complications. Liners respond acutely to pH fluctuation. The APSP (Association of Pool and Spa Professionals) sets the target pH window at 7.2 to 7.6 across all pool types, yet with vinyl lining, prolonged exposure to readings above 7.8 accelerates fading and reduces the material’s elasticity. I’ve observed three-year-old liners that appeared deteriorated beyond their years — the sole cause being chronically elevated pH. Replacing that liner runs $300–$800, and it was entirely preventable through basic pH management.
My Weekly Above Ground Pool Maintenance Routine
I organize my weekly approach into four distinct components: water analysis, circulation operation, physical cleaning, and chemical balance. Skip even one, and problems cascade and compound within a short window. Here’s how I execute each phase in real conditions.
Testing First — Always
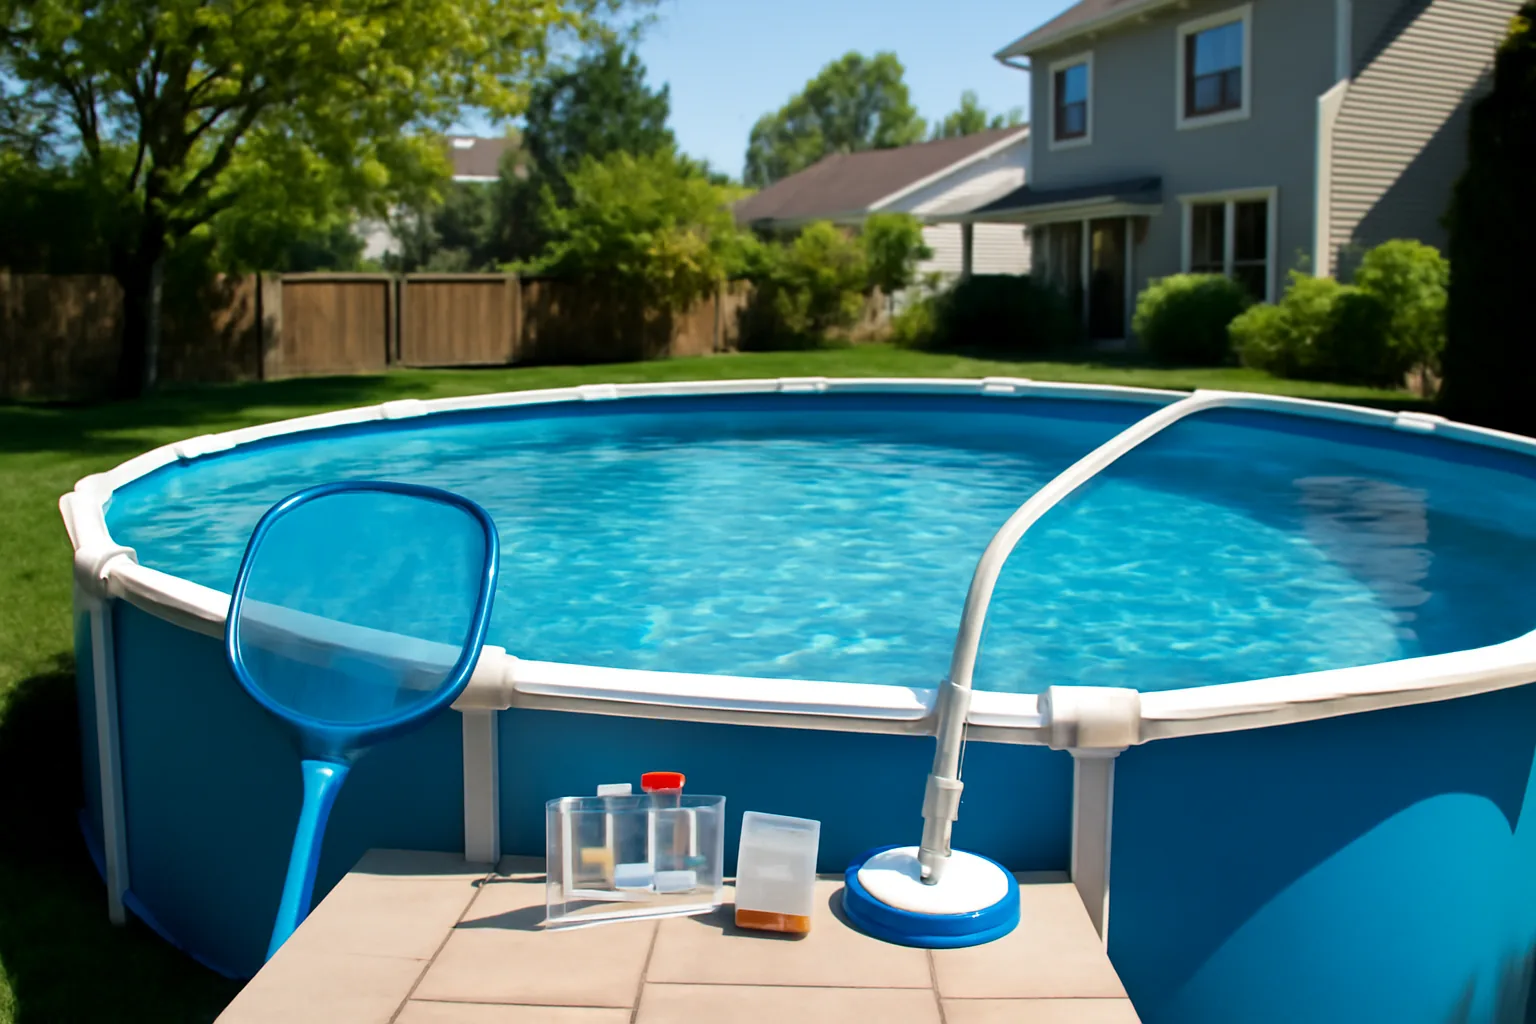
I verify what’s in the water before I dose anything into it. That principle sounds self-evident, yet countless owners apply chemicals on a predetermined schedule without ever measuring actual water conditions. My go-to tool is a Taylor K-2006 test kit when checking my own installations or visiting client sites. Test strips offer convenience but sacrifice the accuracy you genuinely need when managing a vinyl liner pool where small margins carry real consequences. The K-2006 costs roughly $75 — absolutely worth the investment.
For above-ground pools, I maintain these parameters: free chlorine between 2.0–3.0 ppm, pH positioned 7.2–7.4, total alkalinity spanning 80–120 ppm, cyanuric acid held at 30–50 ppm, and calcium hardness between 150–250 ppm. When dealing specifically with vinyl, I bias toward the lower calcium hardness range — vinyl doesn’t gain the same benefit that plaster does from elevated calcium, and mineral buildup on equipment becomes an issue.
Circulation: Run Times Matter More Than You Think
I advise keeping an above-ground pump operational for at least 8 hours daily under cooler conditions, escalating to 10–12 hours once heat peaks. My region sees water temperatures routinely climbing into the 85°F–90°F range. That warmth consumes chlorine faster and creates ideal conditions for algae proliferation. Extended filtration hours translate to additional complete pool turnovers, ensuring your sanitizer actually reaches the entire body of water, including those dead zones.
I learned this principle through direct experience: A Scottsdale client operated her Intex 16-foot round on a 6-hour daily cycle to reduce her electrical draw. Her readings taken at the skimmer inlet checked out fine during my weekly visits. Yet algae kept surfacing along her rear wall, consistently. Once I bumped her pump schedule up to 10 hours and repositioned her return jet at a 45-degree angle pointing downward to drive circulation across the floor, the algae stopped reappearing. Her monthly energy cost rose by approximately $3. That trade was worth it.
Brushing and Vacuuming: The Steps People Skip
Brushing cannot be skipped. I brush all the above-ground pools in my care twice weekly throughout the active swim window. Vinyl liners accumulate a biofilm — a microscopic layer where algal cells and microorganisms establish themselves — far faster than homeowners typically realize. Regular brushing disrupts that film before it becomes entrenched. Always use a soft nylon brush on a vinyl liner; metal bristles will puncture and tear the material, resulting in accelerated leaks.
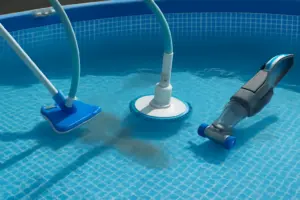
Vacuuming creates practical challenges for many above-ground pool owners. Attaching a manual vacuum head to a garden hose or threading a hose-fed vacuum through the skimmer opening will function — but the ergonomics are awkward on a smaller pool footprint. The physical shape of an above-ground pool — with its rounded basin and angled perimeter — makes standard full-length pool vacuum poles cumbersome and inefficient.
The Handheld Vacuum That Actually Fits Above-Ground Pool Geometry
Above-ground pools feature angled floors and confined corners that full-size pool vacuums simply cannot navigate effectively — and particles sink rapidly through that shallow water column. A battery-powered handheld vacuum allows you to target and remove specific problem areas without activating your entire filtration loop, which is important when you need to keep your chemistry from fluctuating unnecessarily.
What works
- Battery-powered operation means you grab it and clean in seconds, pulling sunken leaves or early algae before your water clouds over — no hose connections or waiting for your filter to process everything.
- A compact form factor navigates the slopes and side panels of above-ground pools without jamming or losing suction the way broader vacuuming equipment tends to.
- Frequent spot cleaning preserves your liner’s appearance and prevents blemishes from establishing, which matters because above-ground vinyl shows staining far more readily than in-ground plaster would.
What doesn’t
- You’re working with 30-45 minutes of battery capacity per charge, so this tool supplements rather than replaces your primary filter circulation or tackles large debris cleanup events.
- Suction handles fine particulates and light sediment layers effectively, though it won’t match the aggressive pull of a wheeled unit when you’re extracting heavy accumulations of branches or leaves.
I was skeptical that a handheld would actually save me time until I realized how many 5-minute cleaning sessions I was skipping with my old setup — and how fast the water clarity dropped because of it. Grab the KOKIDO Cordless Handheld Pool Vacuum and keep it poolside where you’ll actually use it.
This post contains affiliate links. As an Amazon Associate, I earn from qualifying purchases at no extra cost to you.
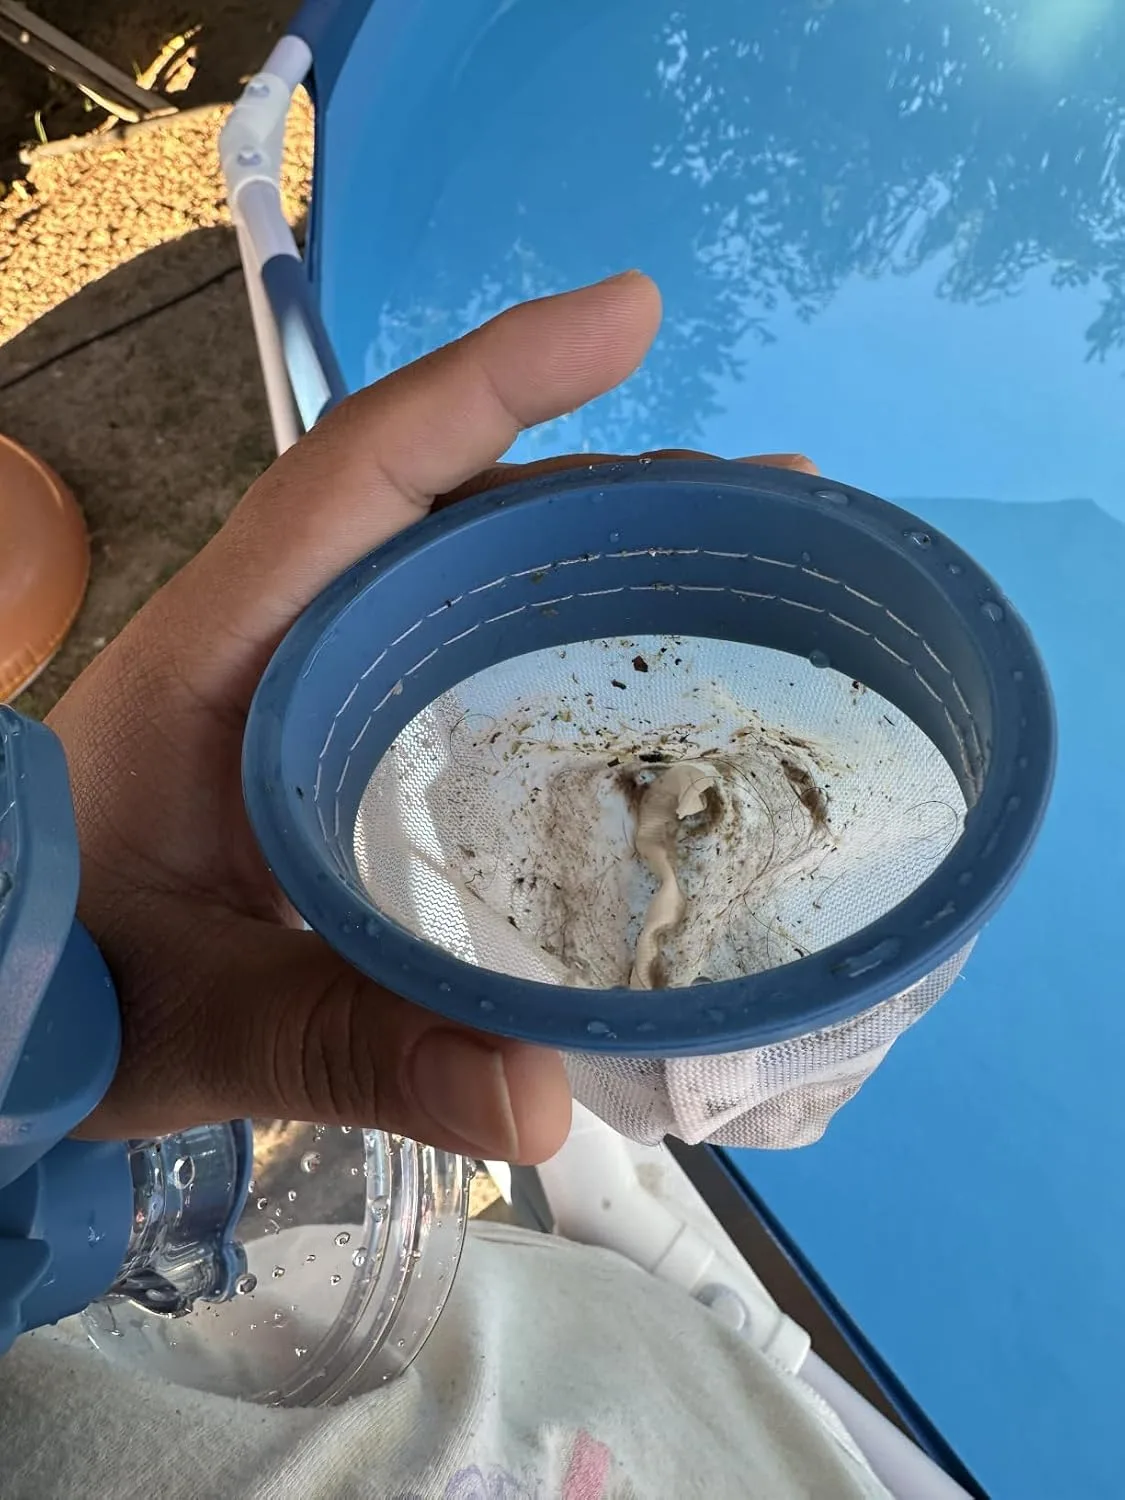
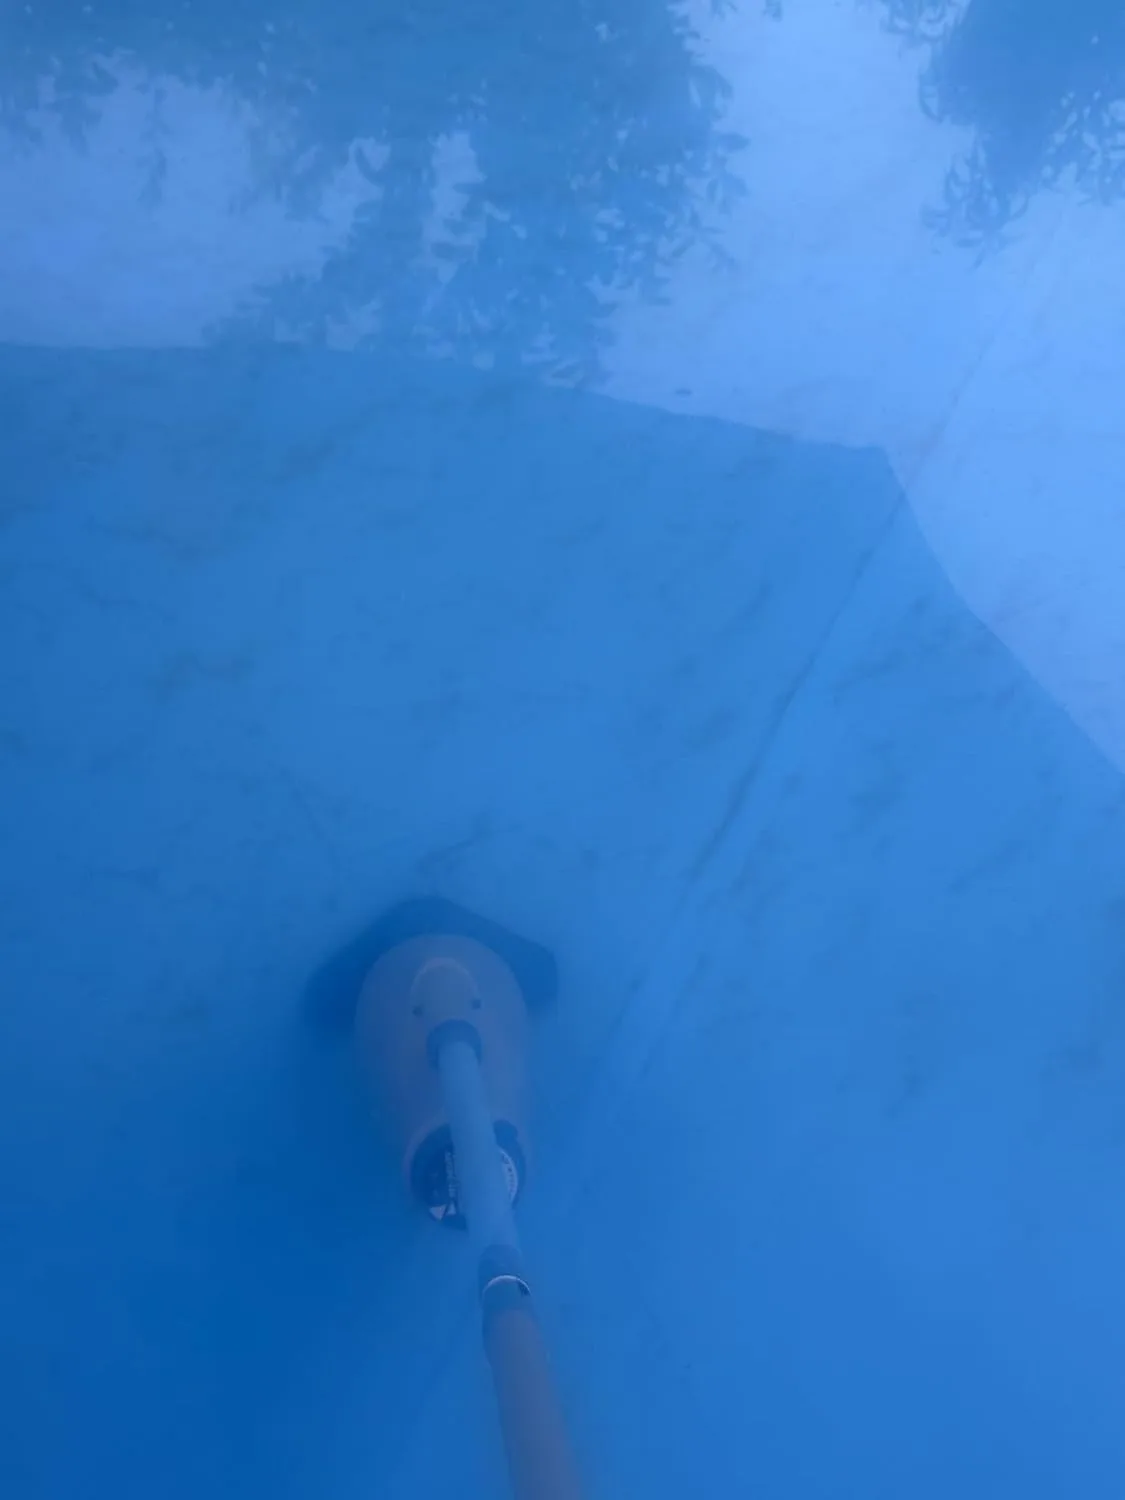
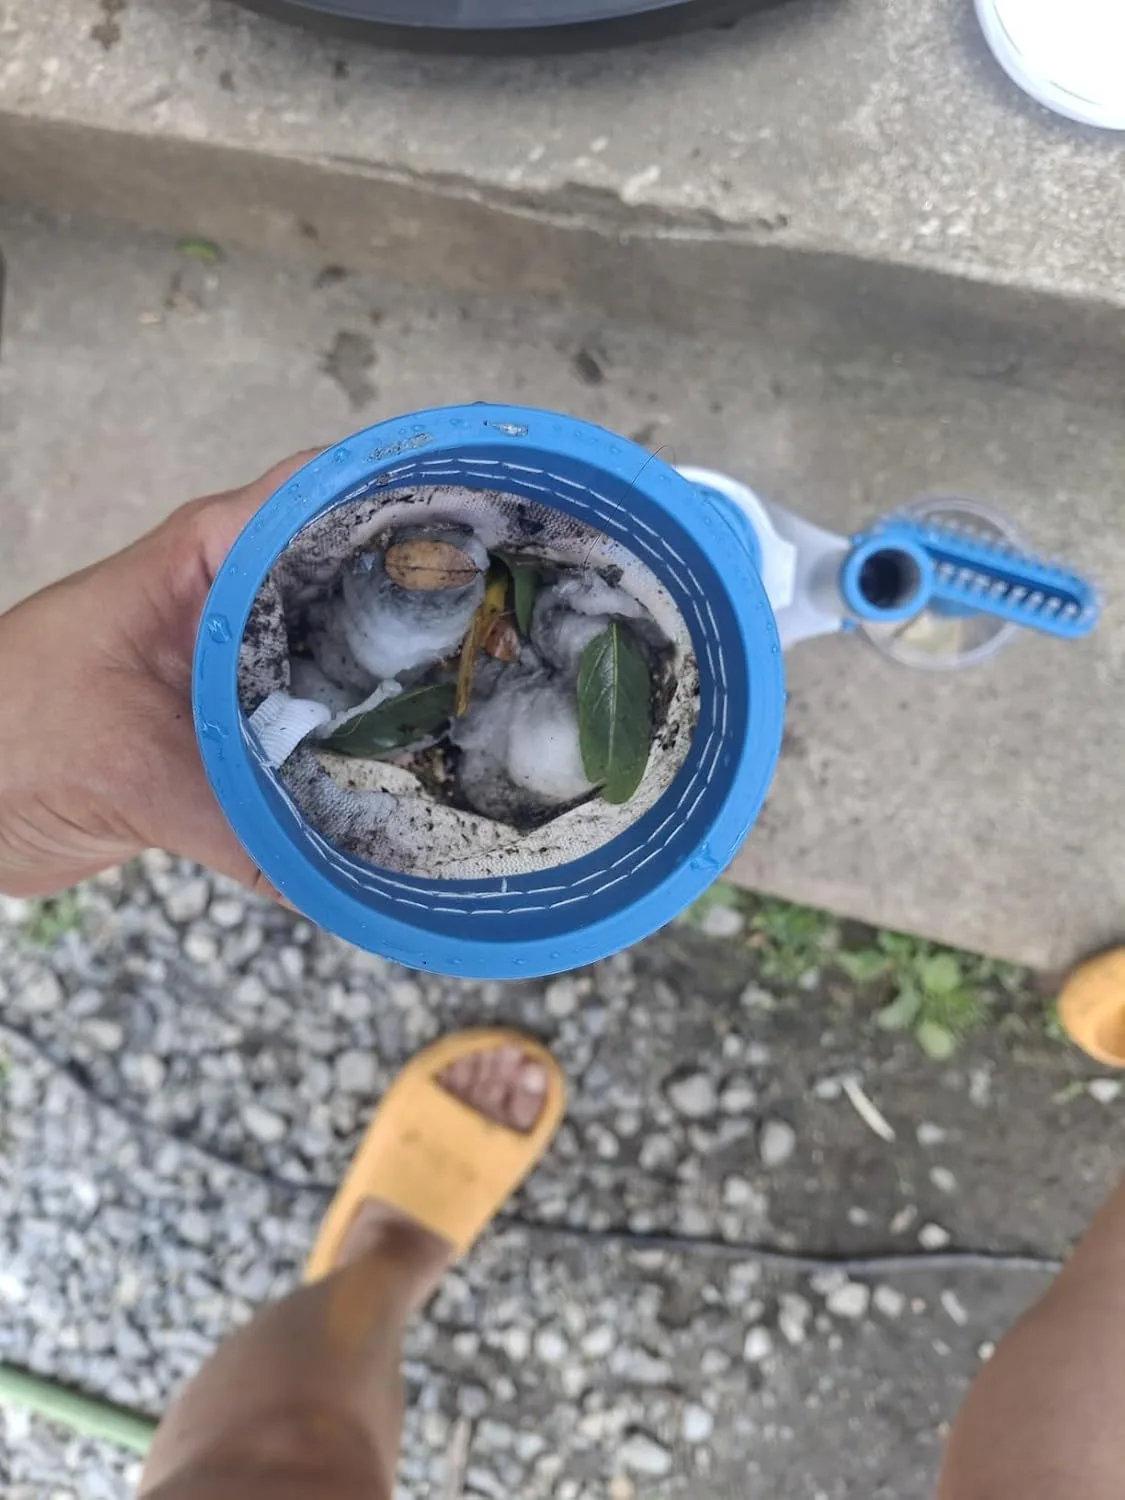
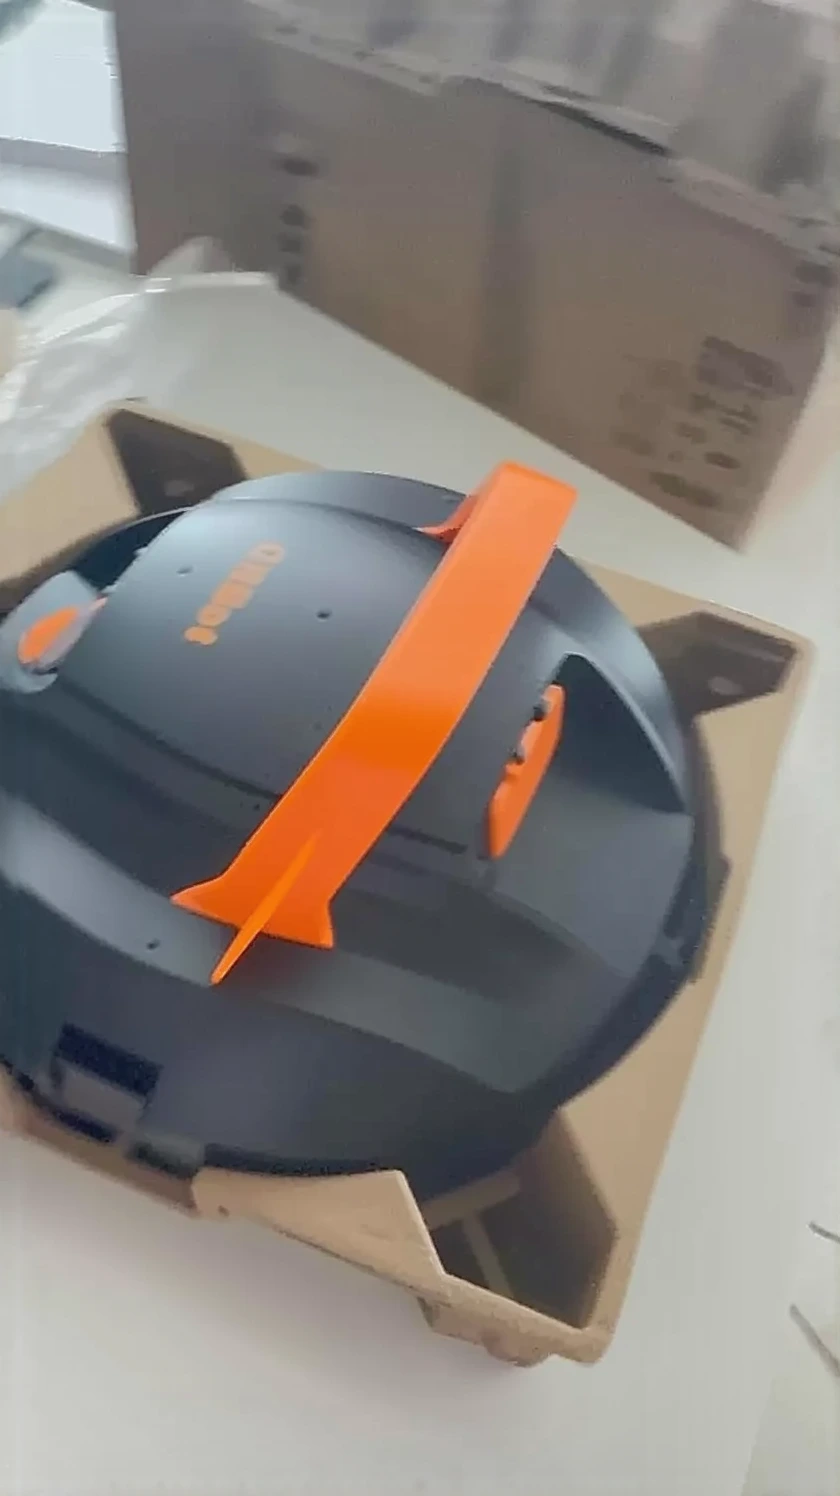
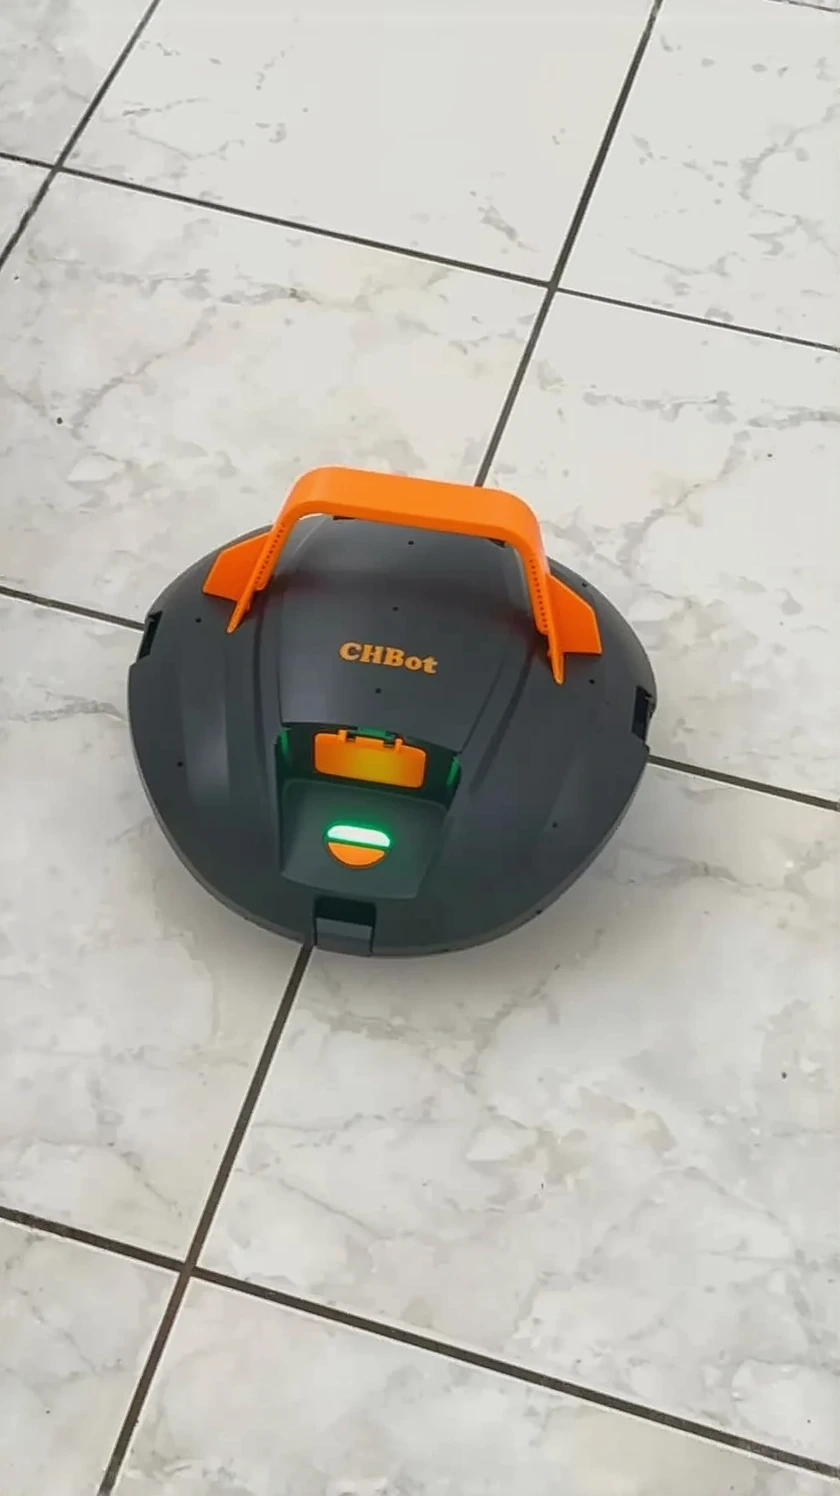
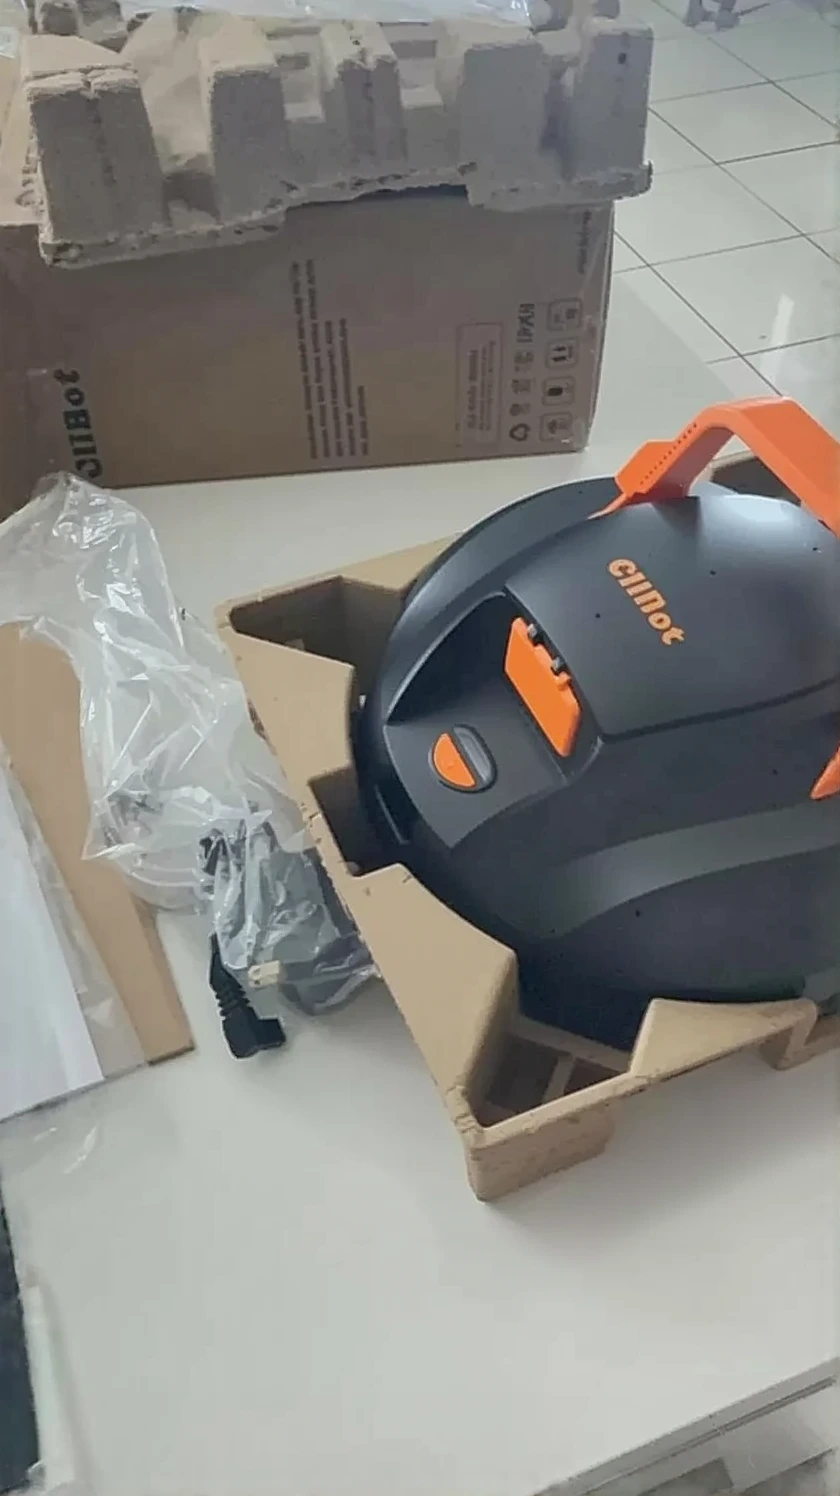
KOKIDO Cordless Handheld Pool Vacuum
I use this weekly to catch debris before it stains my liner or clouds the water.
Check Price on Amazon →