You won’t find this on the salt cell manufacturer’s label, and your pool store clerk probably won’t mention it unprompted: salt chlorinator cells need regular cleaning, and nobody tells you how often until the thing stops working. A property manager called me last month because their salt system had quit producing chlorine entirely. I extracted the cell and found it encrusted in calcium deposits so thick it looked like a geology specimen. When I asked about their maintenance schedule for the cell, the response came back — “We’re supposed to clean those?” If the question of salt cell cleaning frequency has ever crossed your mind, you’re in good company. The answer carries real weight.
Calcium scale is the primary threat to salt chlorinator longevity. A severely scaled cell strains harder, generates excess heat, and burns out years ahead of schedule. Replacement cells run anywhere from $200 to $900 depending on capacity and brand. That’s expensive — but entirely preventable with a basic acid soak costing roughly $10 and happening every couple of months. Across my decade-plus working pools throughout the Southwest, managing everything from compact residential setups to Olympic-scale facilities, this remains the single most overlooked maintenance action and simultaneously one of the easiest to fix.
In the sections ahead, you’ll get the exact schedule I recommend, my field-tested method for cleaning salt cells, and the specific tools and materials I use. Whether you’re running a single backyard installation or overseeing multiple commercial accounts, this walkthrough will extend your cell lifespan and eliminate unnecessary replacement costs.
How Frequently Should You Actually Clean Your Salt Cell?
Industry standard suggests that three-month intervals work for most installations — or roughly seasonal cleaning in cooler regions. But that’s a minimum threshold, not a maximum. Throughout my years managing properties in Arizona and Nevada, where water hardness frequently exceeds 400 ppm, I’ve found that every six to eight weeks becomes necessary during months of peak use. Hard water dramatically speeds up the calcification process.
What really drives the cleaning schedule is your specific water composition. The Pool & Hot Tub Alliance publishes guidance suggesting calcium hardness stay between 200 and 400 ppm for salt systems. Once that number climbs higher — which happens regularly in western states — calcium carbonate starts accumulating on cell plates at an accelerated rate. Layer in elevated pH, and the problem worsens significantly. Calcium carbonate precipitation increases sharply when pH drifts above 7.6, which means your water balancing routine directly impacts cell preservation. You’re not just keeping bathers comfortable; you’re protecting expensive equipment.
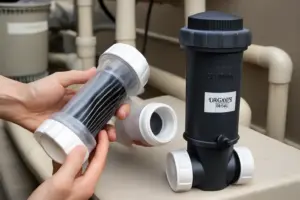
Here’s how I advise clients to approach this: examine your cell during your standard monthly water chemistry routine. Angle it toward natural light. If you notice white or gray crusty layers on the plate surfaces, a cleaning is overdue. Don’t wait for your controller to flash an alarm. By the time fault codes appear, scale has already begun compromising function.
Conditions That Accelerate Deposit Formation
- Calcium hardness readings above 400 ppm
- Water pH staying above 7.6 persistently
- Elevated water temperature (exceeding 85°F)
- Intense bather activity raising total dissolved solids
- Cell output throttled to high levels (75% or greater) without interruption
Gathering Your Materials and Safety Gear
You won’t need an extensive arsenal, but the items you select matter significantly. This is what I carry into the field for every cleaning appointment I make.
- Muriatic acid (hydrochloric acid solution) — diluted at a 4:1 ratio of water to acid for standard maintenance jobs
- A dedicated cell cleaning stand to hold the unit steady during the procedure
- Chemical-resistant gloves — nitrile works in a pinch, but thick rubber is superior
- Eye protection — safety goggles or a full-face shield minimum
- A standard garden hose fitted with a spray nozzle
- A plastic container or basin to catch and contain spent solution
Perform this work in the open air or somewhere with exceptional ventilation. Muriatic acid liberates chlorine gas vapors that pose genuine health risks in confined spaces. The OSHA standard for hydrochloric acid vapor exposure sits at just 5 ppm — you’ll reach that threshold much faster than intuition suggests in an enclosed garage or utility room. I’ve witnessed people attempt this indoors. Don’t replicate that error.
One critical pointer: steel brushes and metal scrapers belong nowhere near cell plates. I discovered this the hard way during my initial year servicing Hayward TurboCell assemblies, scoring the titanium coating when tackling stubborn deposits. That unit failed within twelve months. Let the chemical reaction do the heavy lifting — your role is simply ensuring the cell stays positioned correctly.
The Process I Follow for Every Salt Cell Cleaning
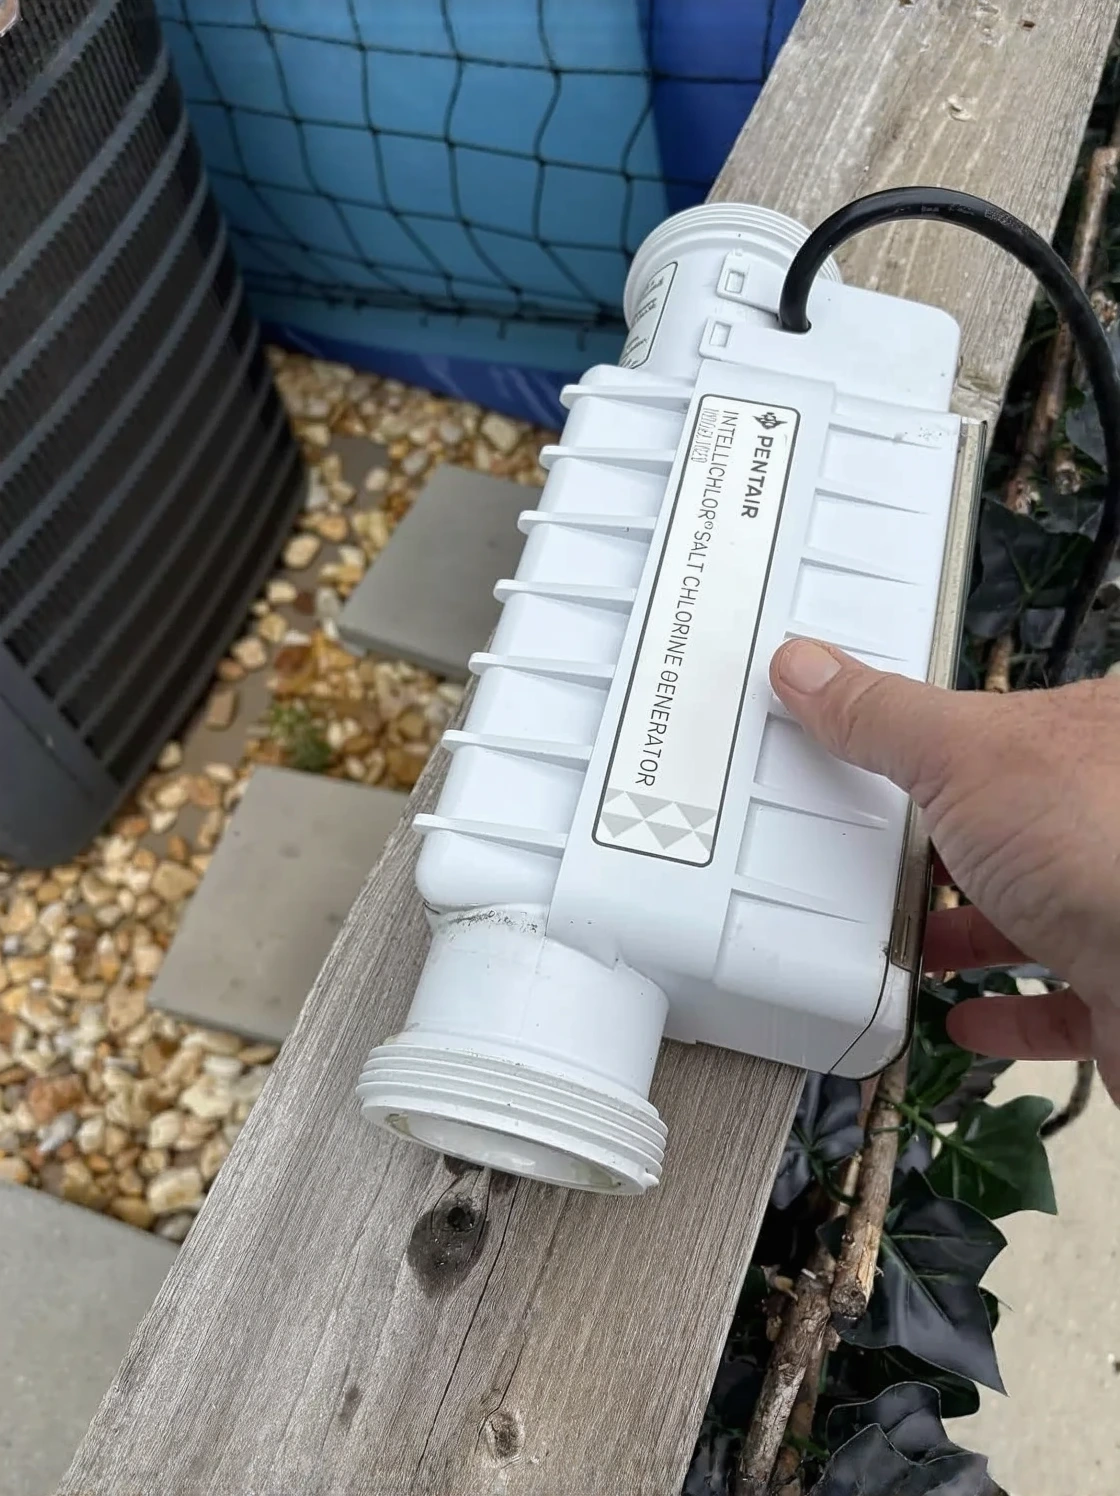
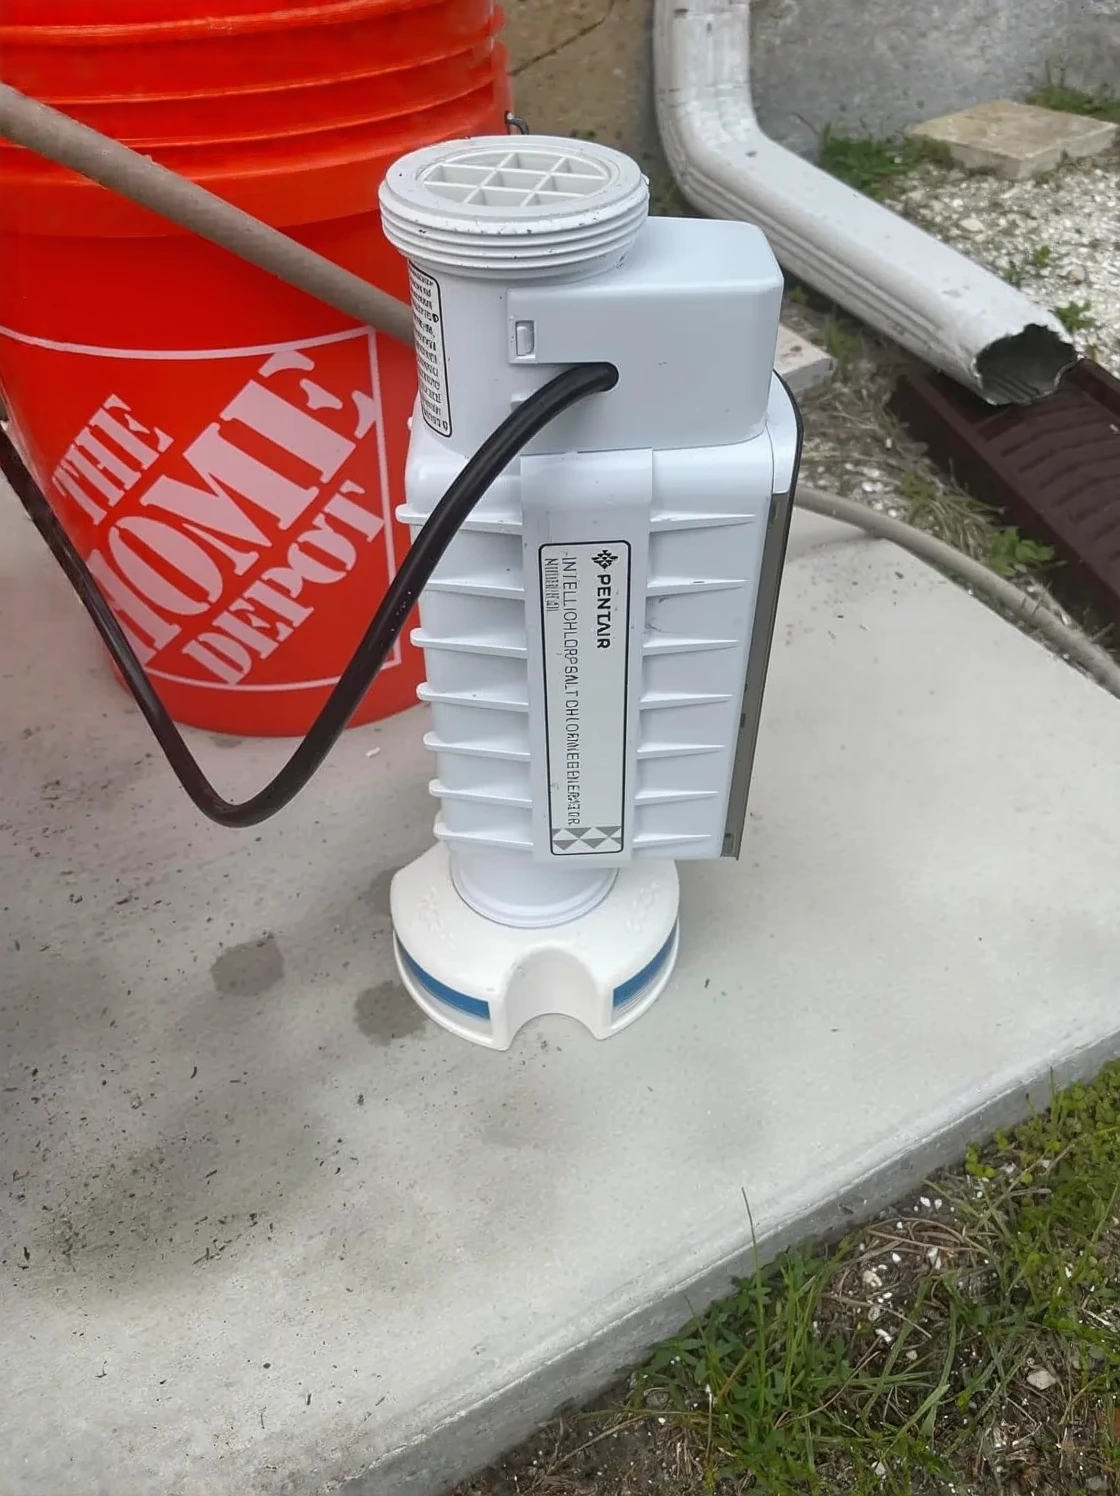
I’ve completed this procedure on several hundred units across my career. This method remains consistent regardless of whether I’m working on a Hayward AquaRite paired with a T-CELL-15 or a Pentair IntelliChlor IC40. The underlying chemistry transcends brand labels.
Step 1: Turn Everything Off and Disconnect
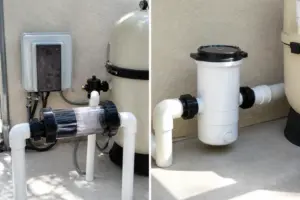
Switch off both the pump and the salt controller. Go beyond standby mode — flip the breaker switch if you can access it. Uncouple the cell electrical connector from the main control unit. Then rotate the cell in a counterclockwise direction until it detaches from the plumbing connection. Most contemporary Hayward and Pentair units feature quick-disconnect fittings that release without any wrench or tool assistance.
Step 2: Pre-Rinse With Fresh Water
Before introducing acid into the equation, flood the cell with water from your hose. A vigorous water spray clears away loose particles and lets you see precisely where deposits have accumulated. Position the cell vertically and direct spray through both the top and bottom openings. Frequently, lighter accumulation dissolves completely from the water rinse alone — in which case, acid treatment becomes unnecessary.
Step 3: Position the Cell on the Stand and Pour Diluted Acid
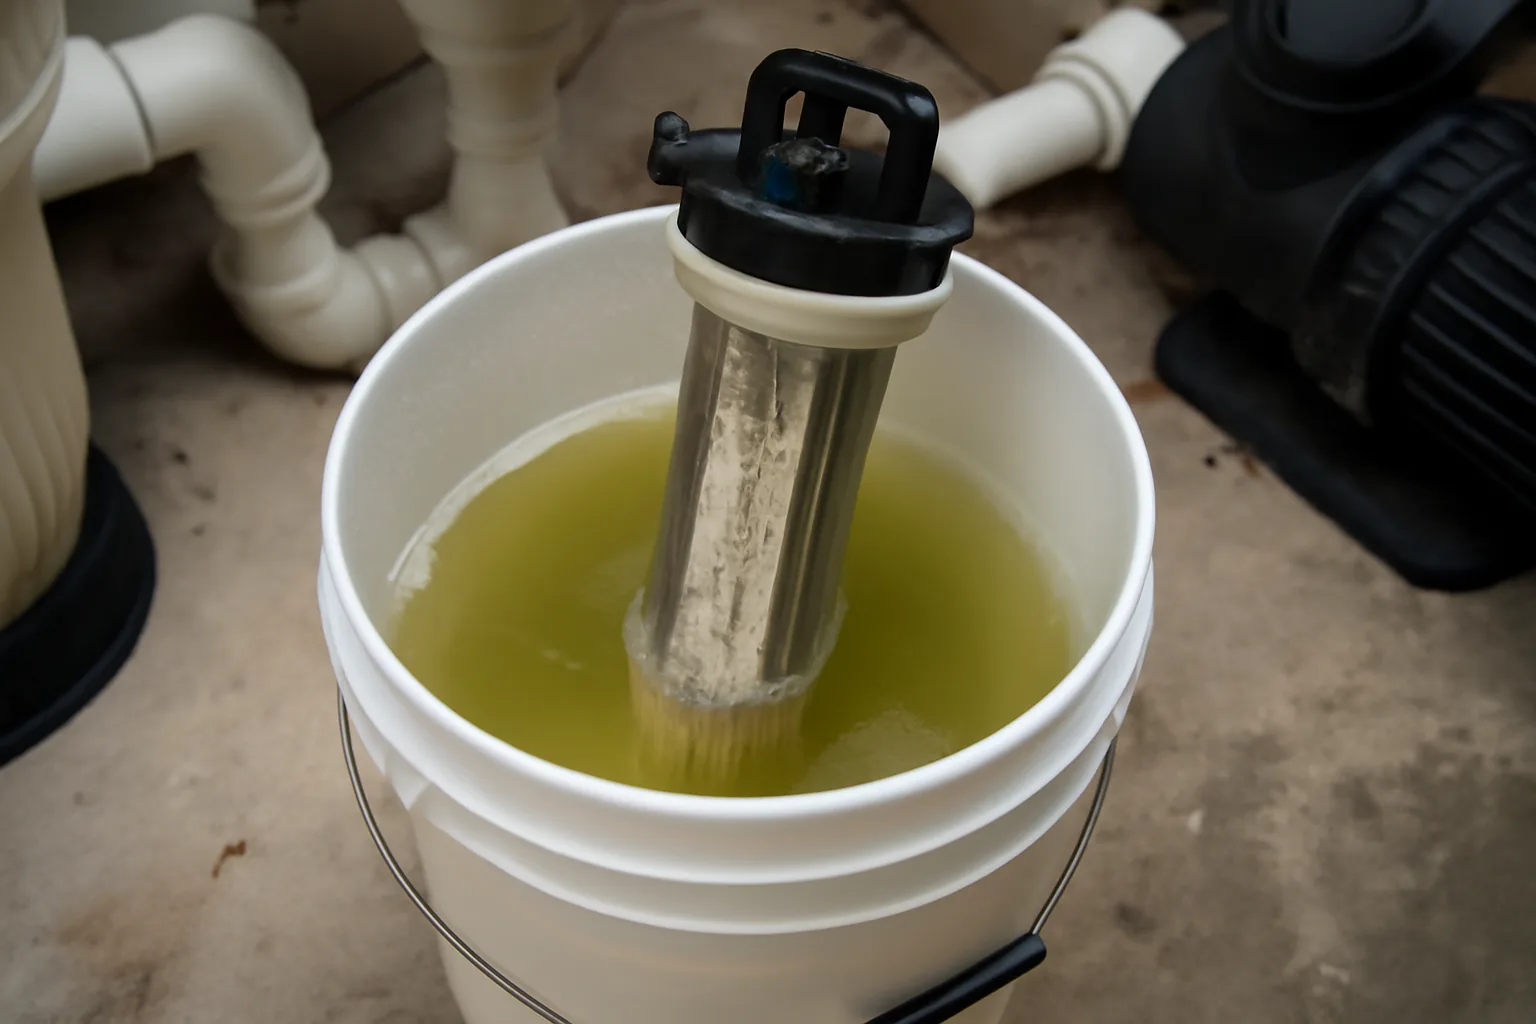
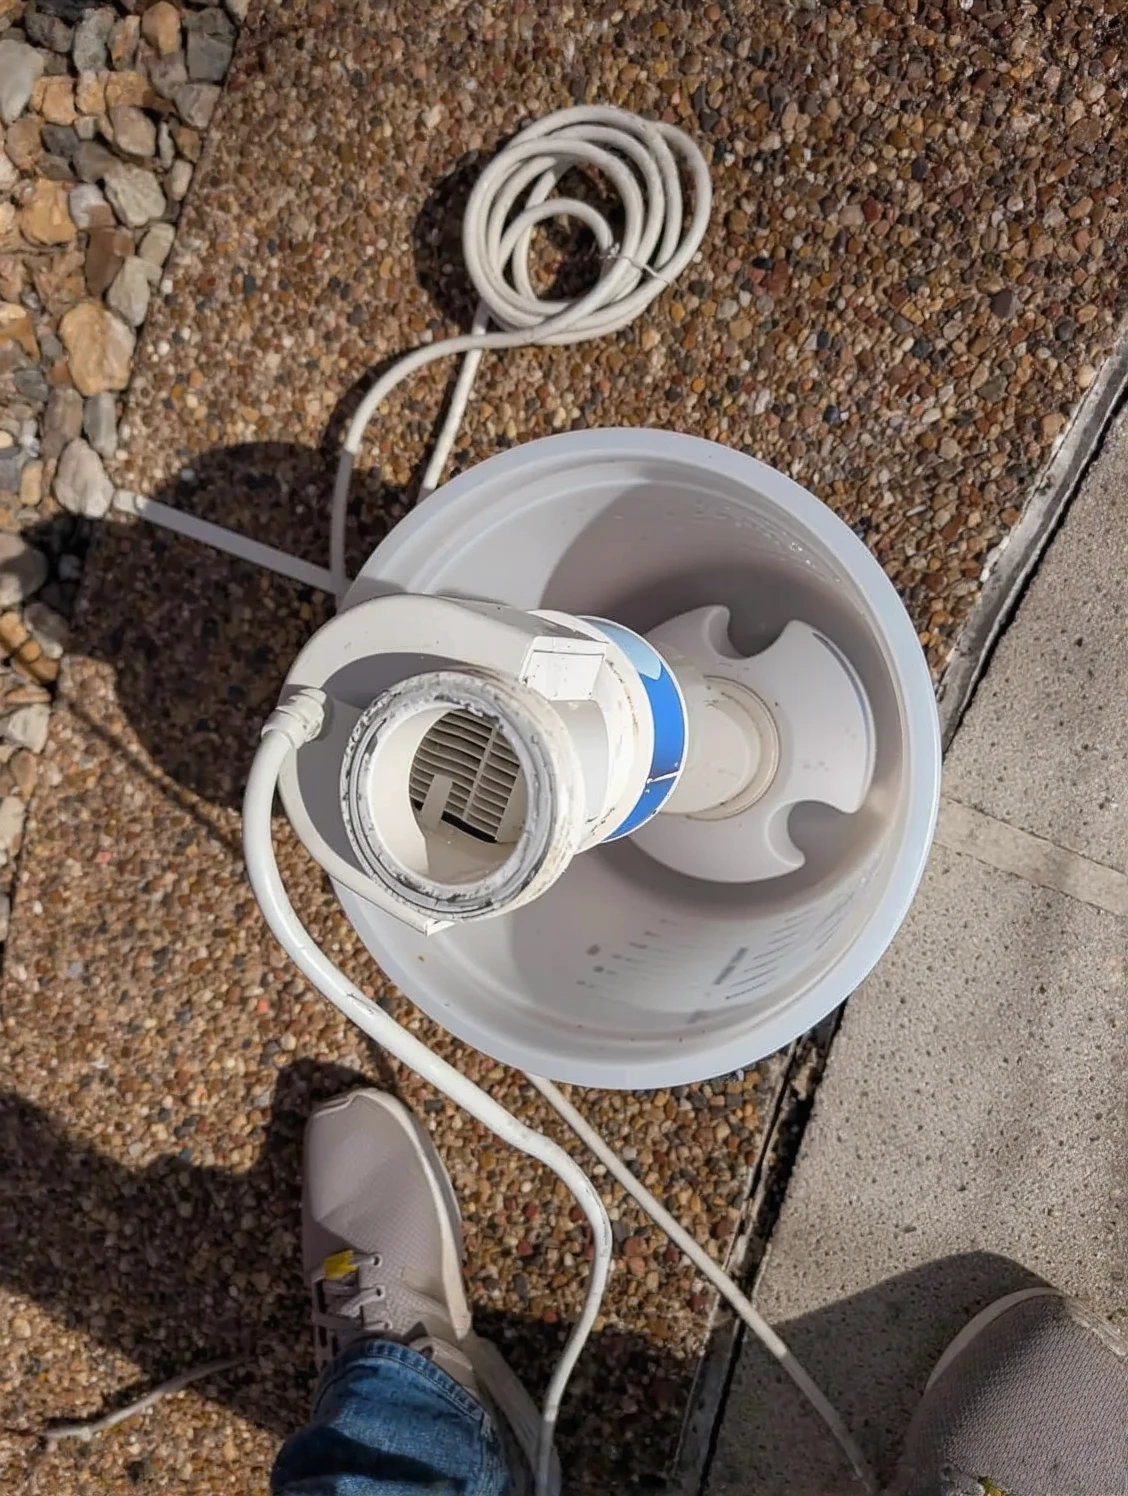
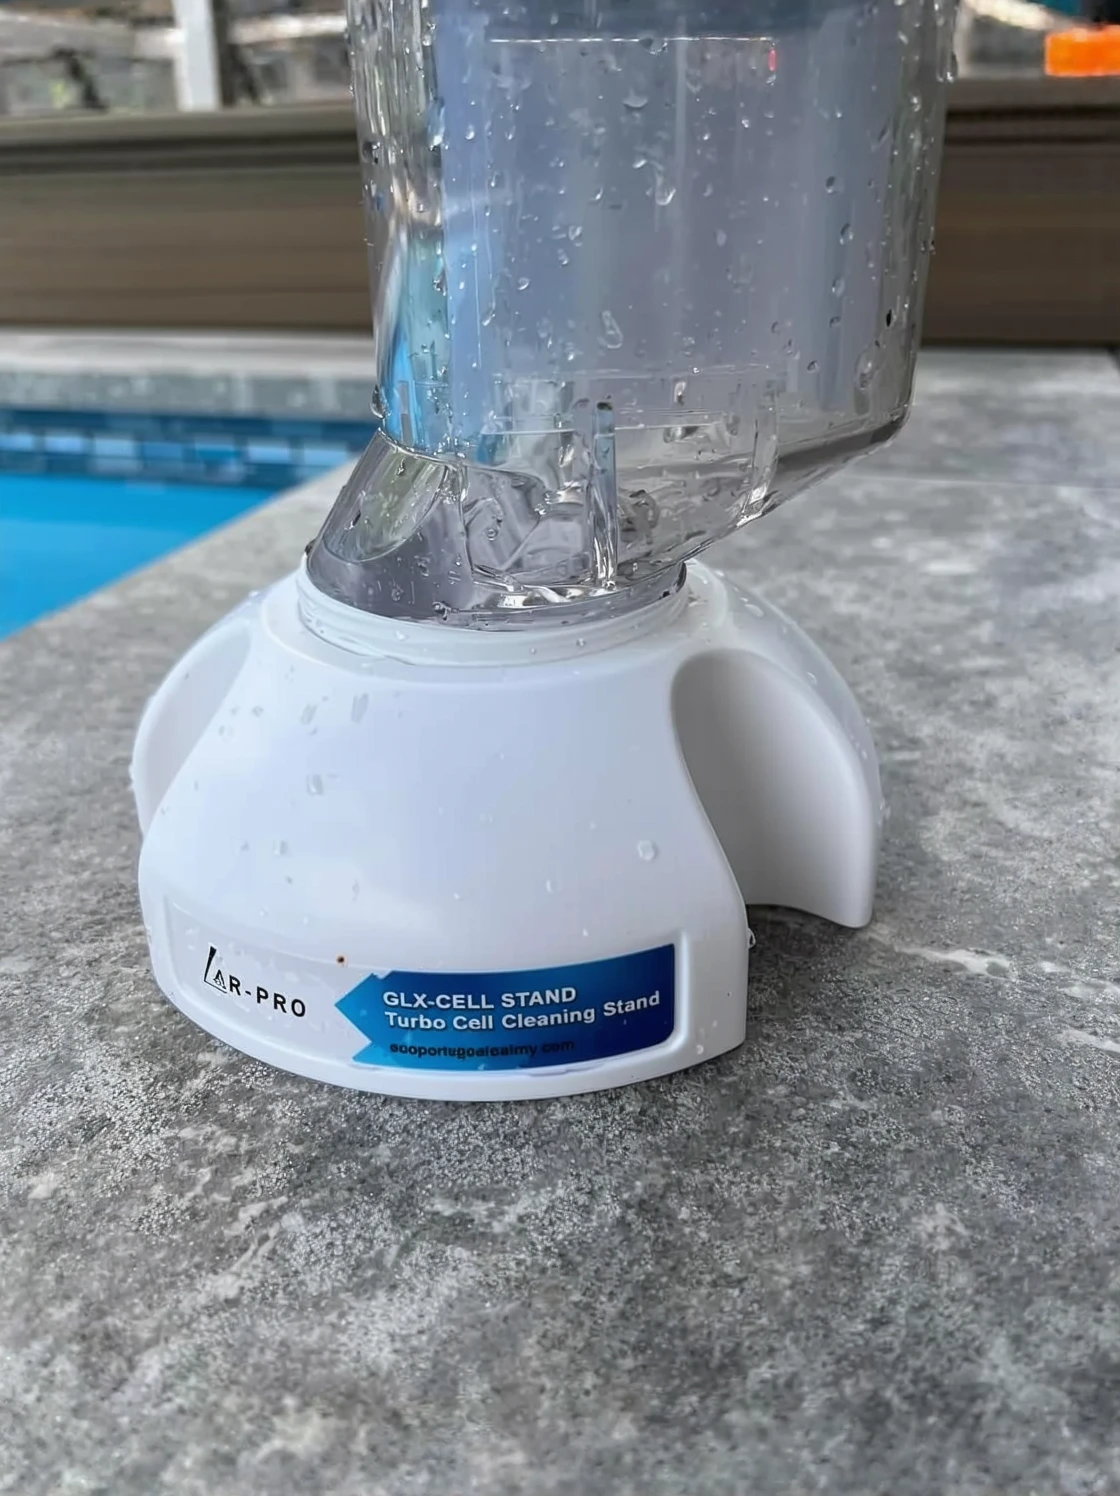
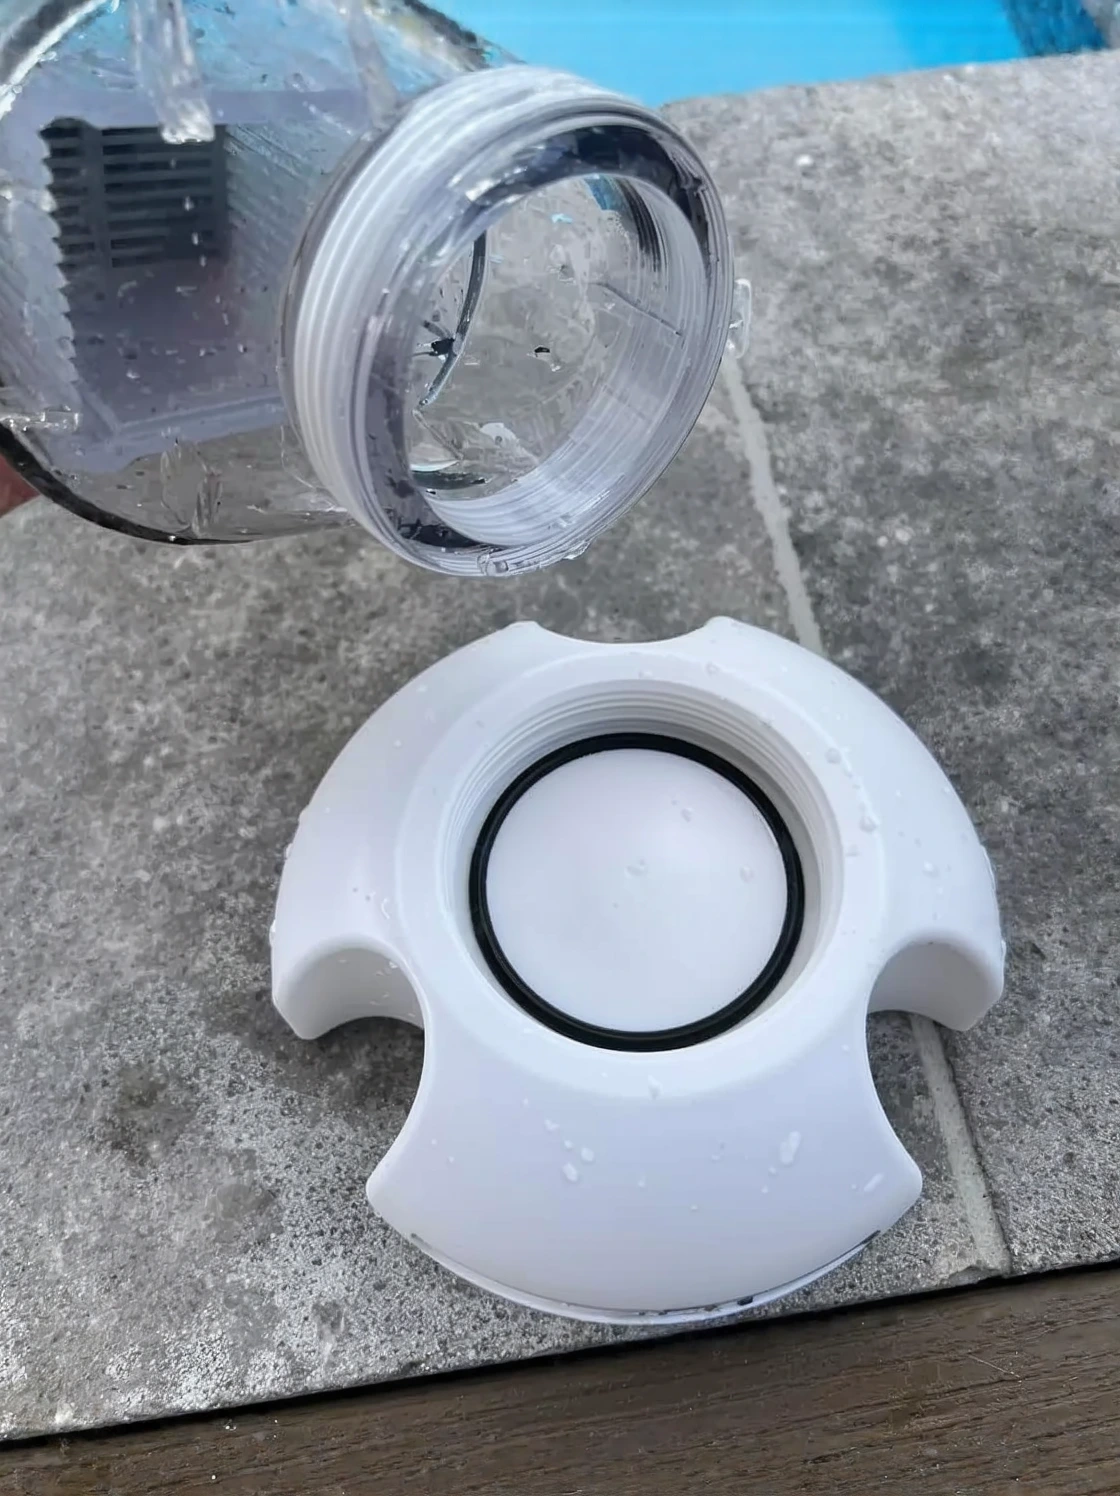
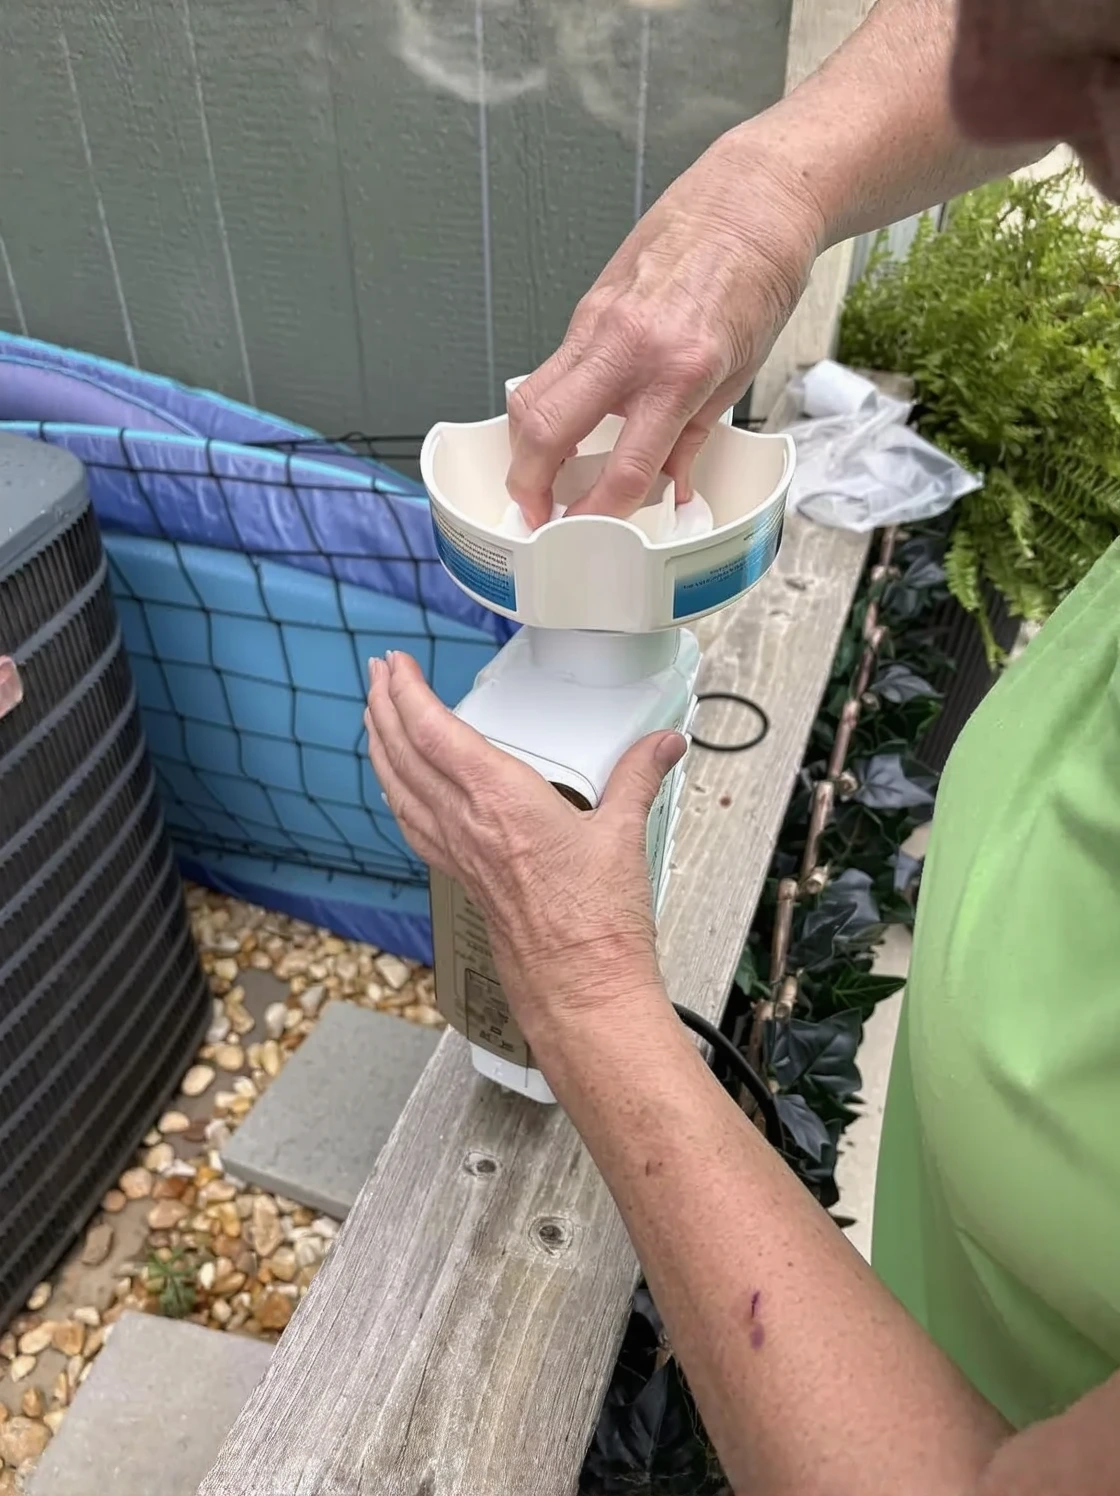
A quality cleaning stand becomes invaluable at this moment. Position the cell upright within the stand, seal off the lower opening, and carefully introduce your prepared acid solution through the upper opening. The stand keeps everything stable and prevents accidentally spilling chemicals across your deck. Allow five to ten minutes for a routine cleaning. More aggressive deposits warrant two consecutive soaking cycles.
You’ll detect a fizzing sound right away — that’s your acid actively breaking down the calcium carbonate buildup. Once the fizzing ceases, the chemical reaction has completed. Transfer the exhausted solution into your neutralizing container (I add baking soda to my catch bucket ahead of time), then spray-rinse the cell completely from end to end.
Step 4: Examine Results and Reinstall the Unit
Hold your cleaned cell up to bright light and examine each plate. The titanium surface should appear bright and reflective with uniform coloring across all plates. Look for any remaining white or off-colored deposits in crevices. Should any stubborn spots persist, perform a brief second soak — but cap total acid contact time at fifteen minutes maximum. Reattach the cell to the plumbing, reconnect the electrical cord, restore power to your system, and confirm that salt concentration registers correctly and chlorine generation resumes at normal output.
Why a Proper Cleaning Stand Changed My Cell Maintenance Game
For a significant stretch of time, I actively avoided cell cleaning sessions because the logistics were miserable. Balancing the cell on deck corners, hunching sideways while mixing acid, fighting to keep it from rolling — the experience was frustrating enough that I’d delay it longer than necessary. Once I switched to using a dedicated cleaning stand, the entire undertaking shifted from something I procrastinated on to something I actually performed on schedule.
The genuine advantages
- Positions your cell completely vertical and motionless, eliminating the awkward juggling act of holding it steady with one hand while working with the other
- Eliminates the physical strain — no more crouching on pavement or twisting your torso to reach cell internals
- Removes the friction from your maintenance routine, making you genuinely willing to do this every couple of months rather than dreading it and letting months slip past before tackling it
The realistic limitations
- Occupies real estate on your deck area when not in active use — you’ll either require storage space or accept it sitting permanently near your equipment pad
- Represents an upfront purchase that feels superfluous until you’re actually using it and suddenly grasp why the investment matters
I almost skipped buying one because it seemed like overkill for something I only do every few months, but that hesitation was exactly why I wasn’t doing it often enough. Grab the AR-PRO GLX-CELLSTAND Cleaning Stand and you’ll remove one more excuse from the “why I’m avoiding maintenance” list.
This post contains affiliate links. As an Amazon Associate, I earn from qualifying purchases at no extra cost to you.
AR-PRO GLX-CELLSTAND Cleaning Stand
I clean my cell way more often now because I’m not hunched over the whole time.
Check Price on Amazon →